
Use a Link Dictionary to Add Tooltips Via Form Buttons
- What is a Tooltip?
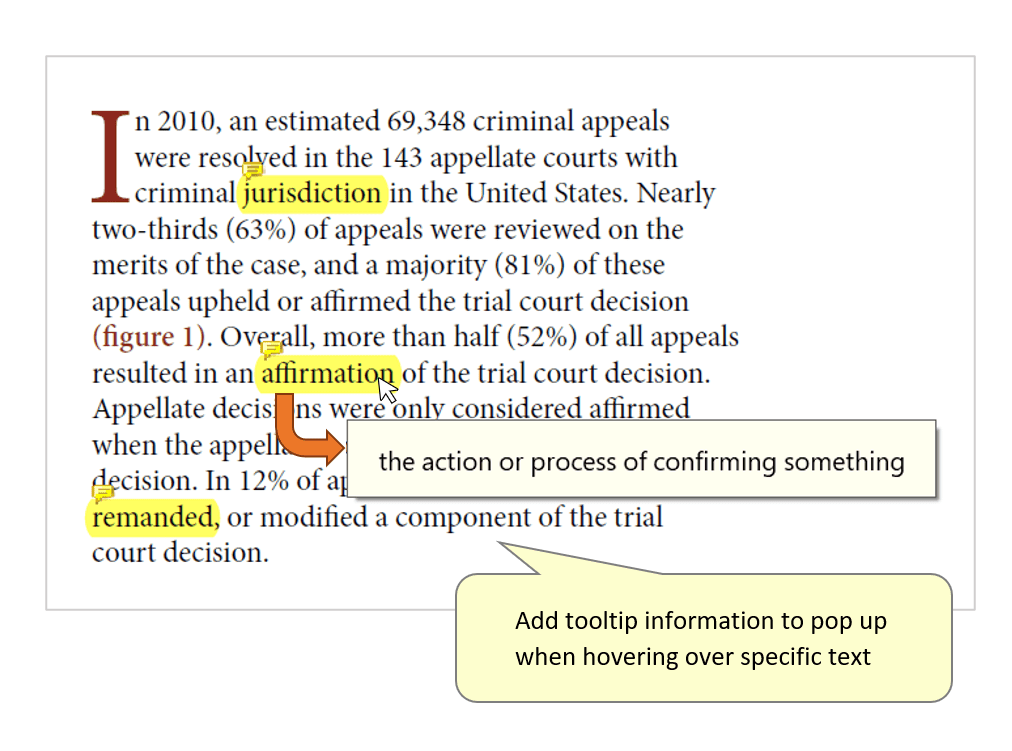
- A tooltip is an informative graphic which appears when hovering over a screen element. It shows a pop-up text box displaying information. Common cases are tooltips displaying a definition of a word when hovering over specific text - or a short description of the function of a particular tool in a toolbar.
- Introduction
- In this tutorial, we will look at a way to add tooltips to pieces of text in a PDF document by using a link dictionary. The dictionary features a list of text items and corresponding tooltip text to be displayed when the cursor is hovered over them. The document is searched for anywhere this text occurs, and makes it ‘interactive’ when hovered over. Instead of adding actions to open a web link or specific page location in a document, a tooltip is displayed.
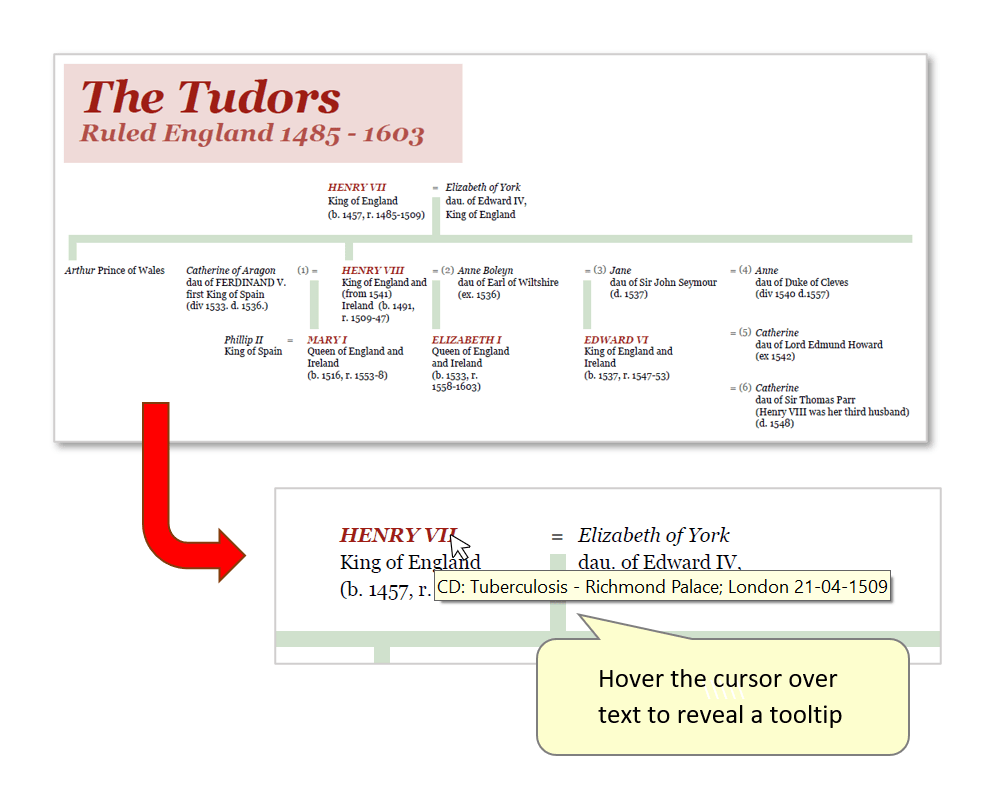
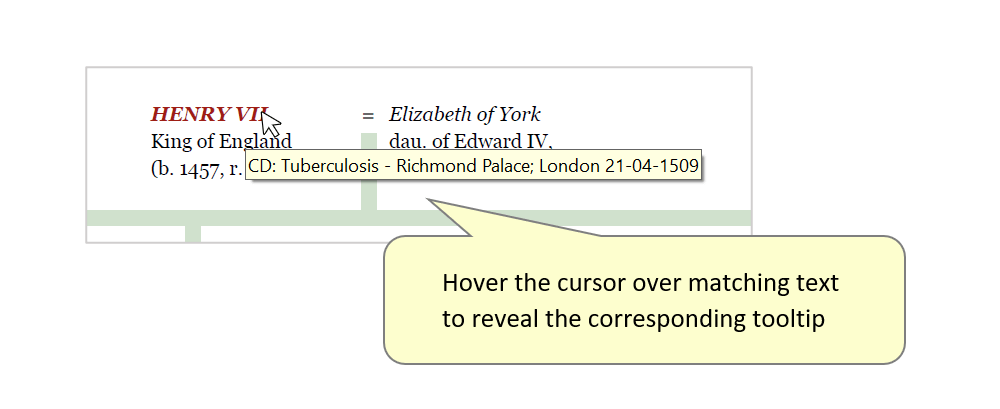
- The goal is to add pop-up tooltips to matching ‘linked’ text (capitalized monarch names) in a sample PDF family tree. When the cursor is hovered over them, the cause/location of death for the individual is displayed within a tooltip box. This is an effective way of providing more detailed information within a document, without including too much complex text in its standard visual appearance.
- Tooltips are created as pop-up text boxes for invisible form buttons, not actual links. The “Prepare Form” tool can then be used to organise/edit these text buttons and their associated tooltip text (see steps 9 - 11 below).
- Note: PDF’s are not designed to handle a lot of form buttons. Using this method to create large numbers of tooltips may create some issues when working with the document later. There is another method for creating tooltips using text highlights.
- Prerequisites
- You need a copy of Adobe® Acrobat® along with the AutoBookmark™ plug-in installed on your computer in order to use this tutorial. Both are available as trial versions.
- Step 1 - Create a New Dictionary
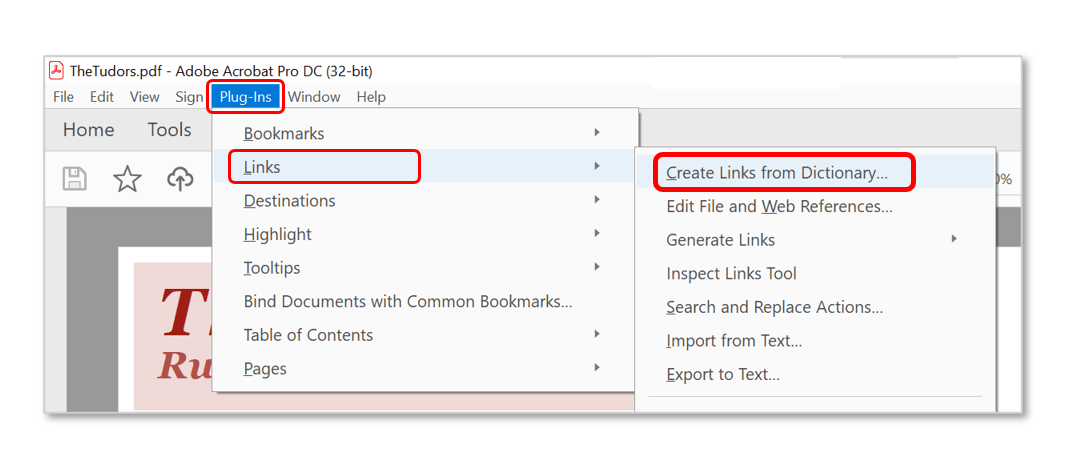
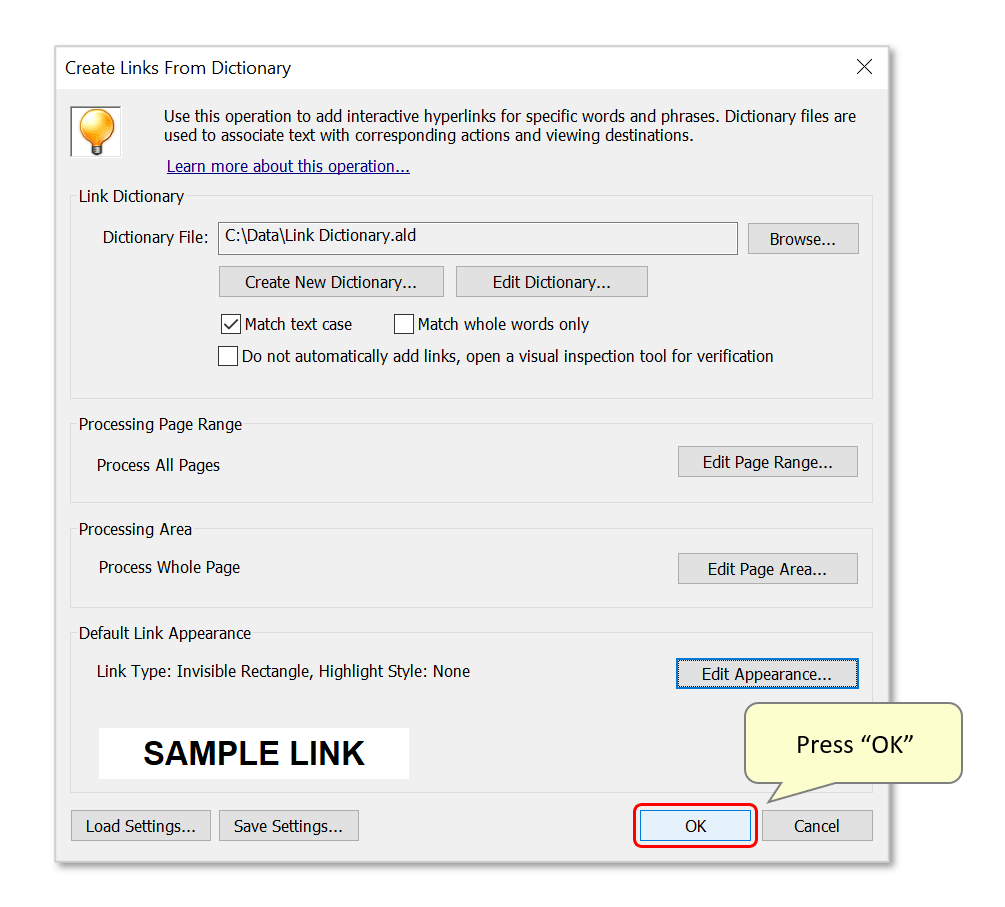
- Open the document that you want to add tooltips to in Adobe Acrobat, and press "Plug-ins > Links > Create Links from Dictionary...".
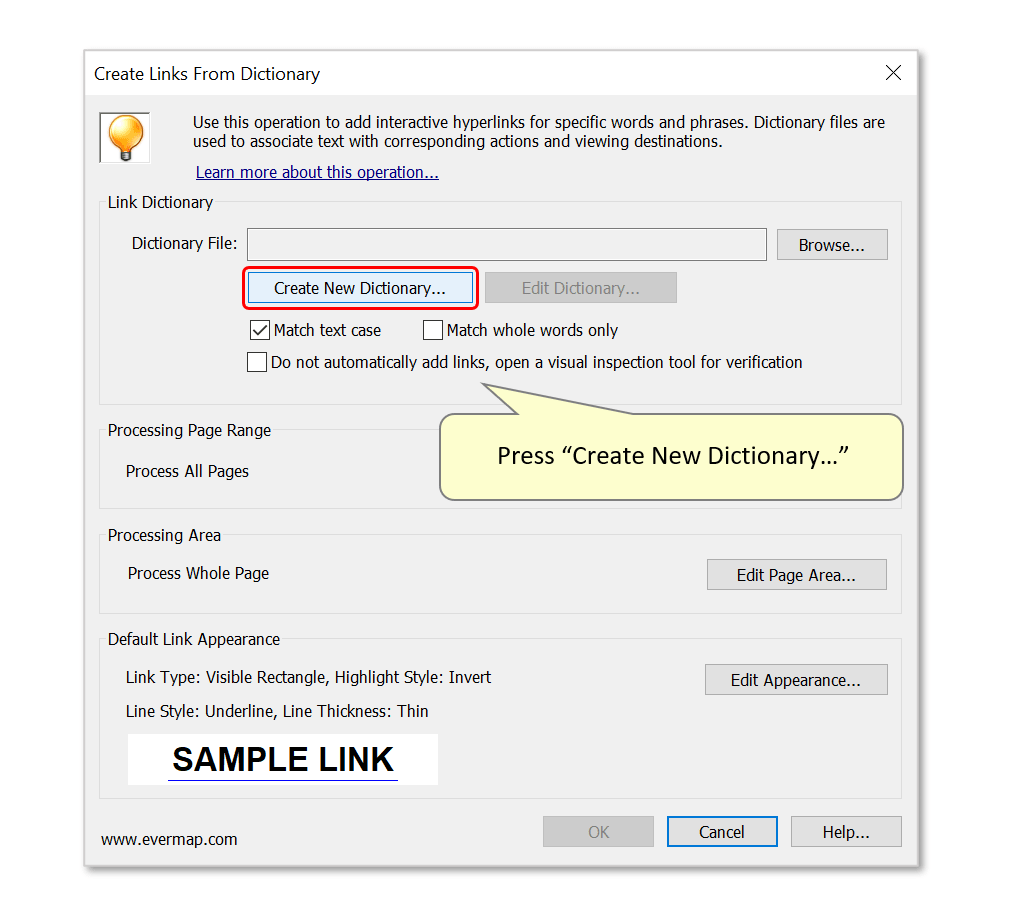
- Press the "Create New Dictionary..." button.
- Step 2 - Add a Toolip Record
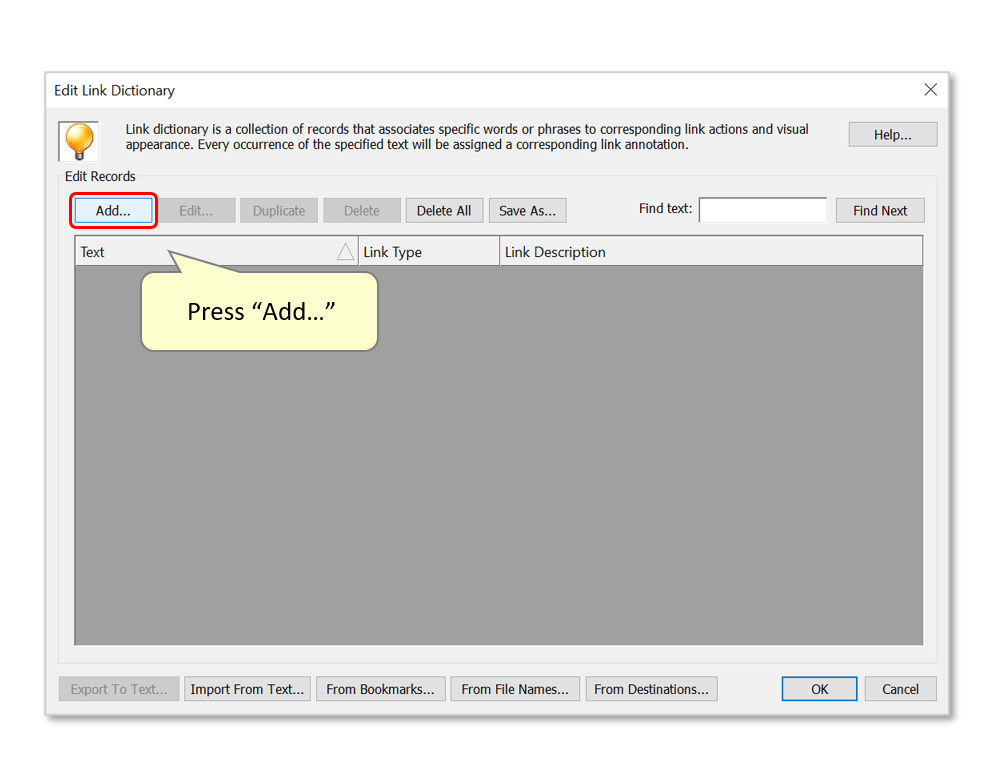
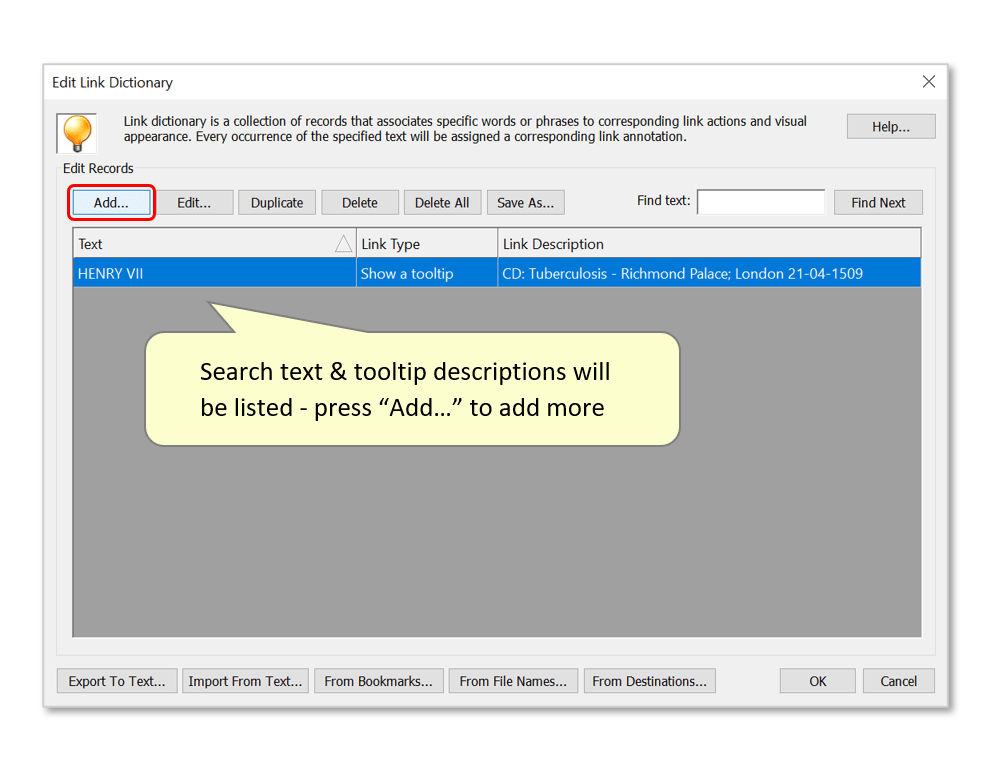
- Press the "Add..." button to configure text to add a tooltip box to.
- Step 3 - Configure a Tooltip
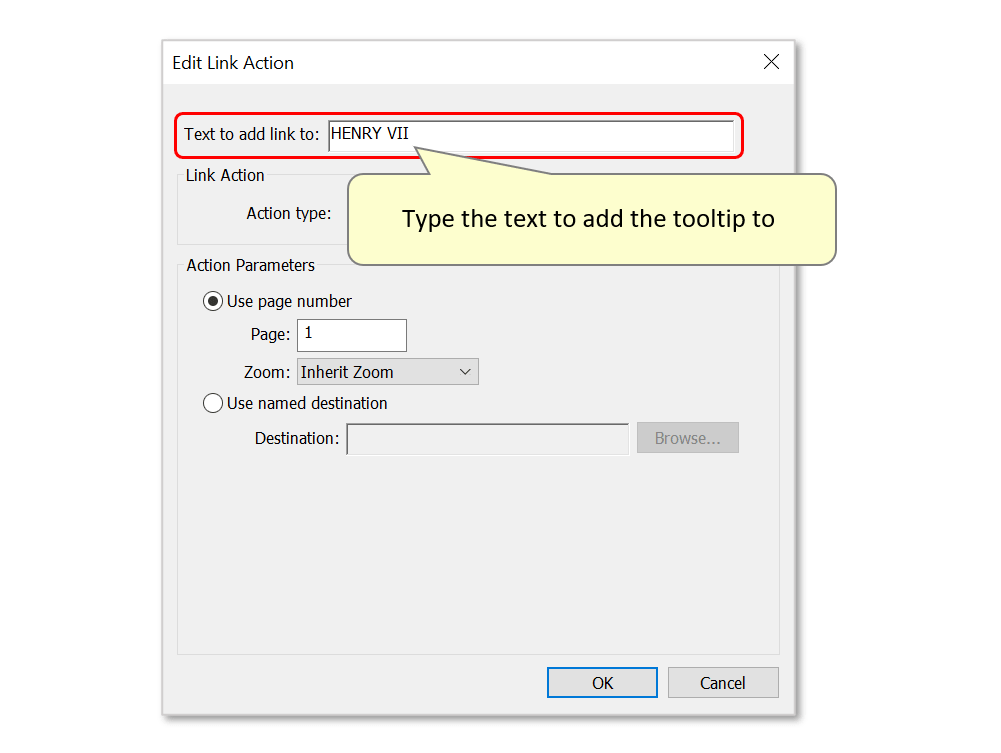
- Next to "Text to add link to:", type the text that you wish to add a tooltip to. Here we will demonstrate using "HENRY VII".
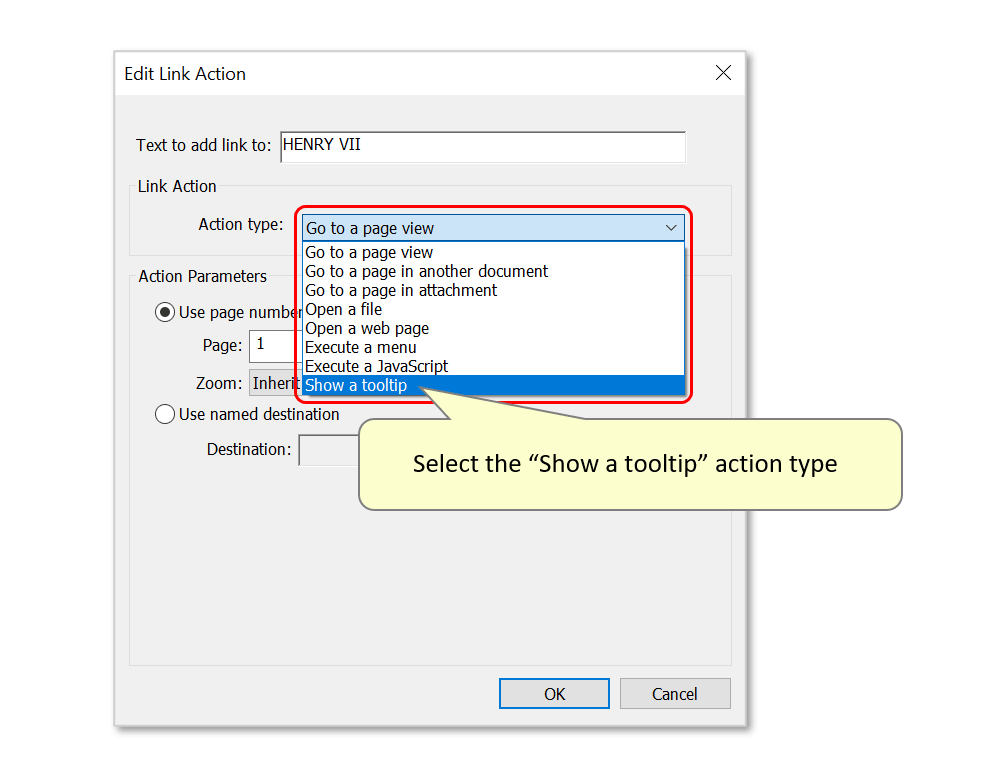
- Now use the drop-down list to select the "Show a tooltip" action type.
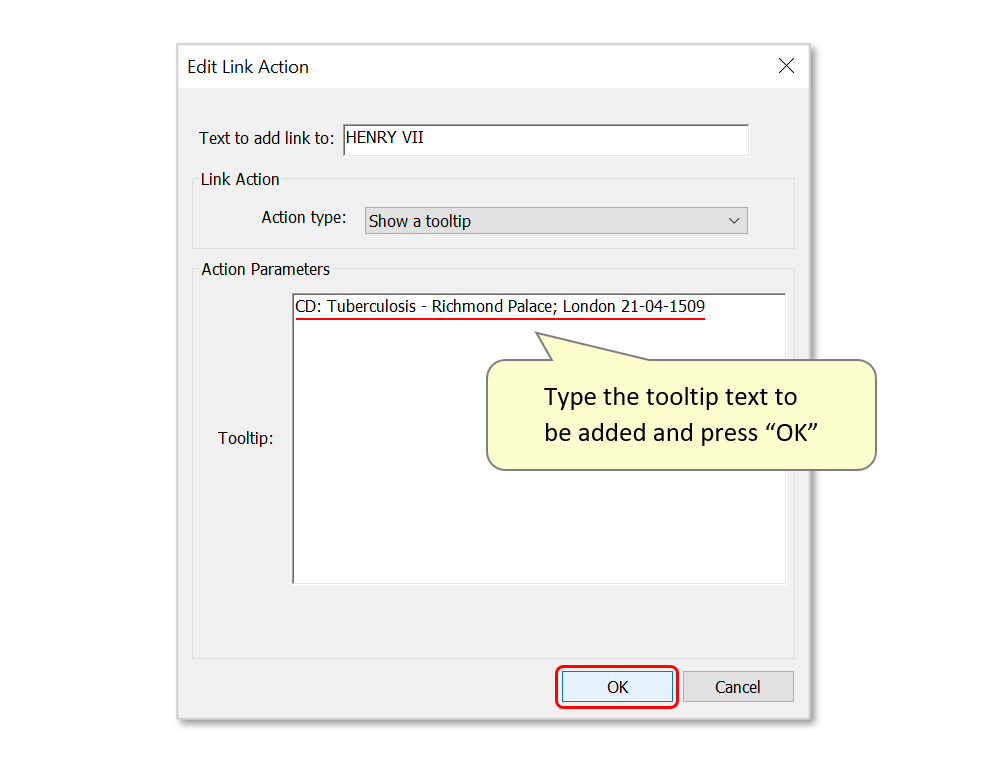
- In the "Tooltip:" entry box, type the desired tooltip text to be shown when then this text is hovered over and press "OK".
- Step 4 - Add More Tooltip Records
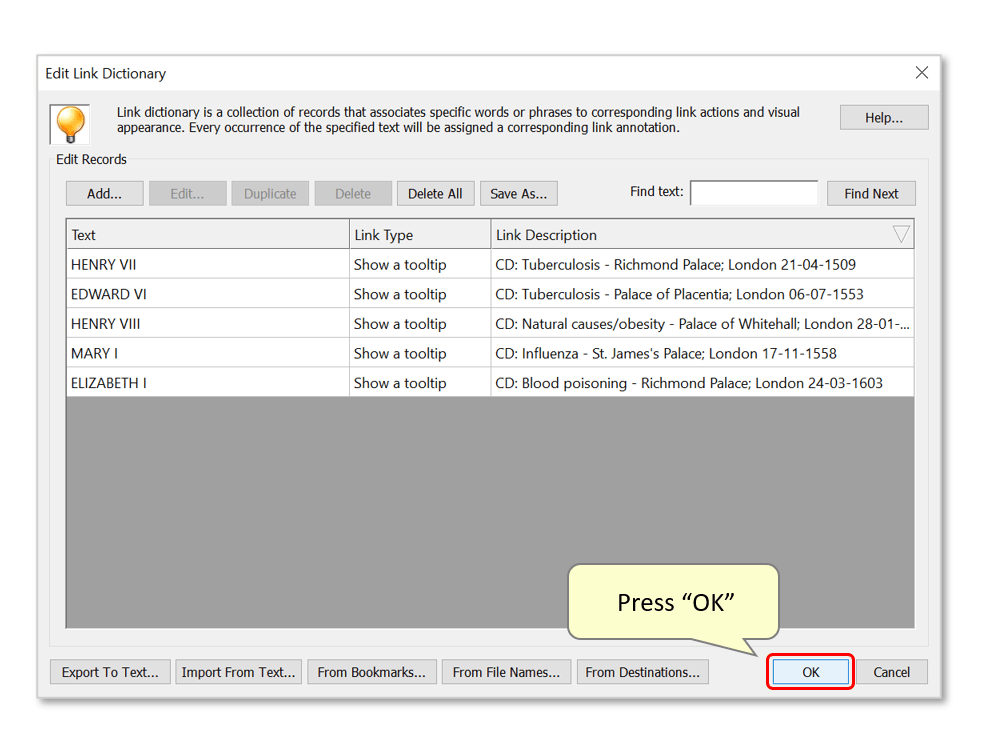
- The text to be searched for and corresponding tooltip text will now be listed. Press "Add..." and repeat step 3 to create more.
- Press "OK" to confirm the tooltip records.
- Step 5 - Save the Dictionary
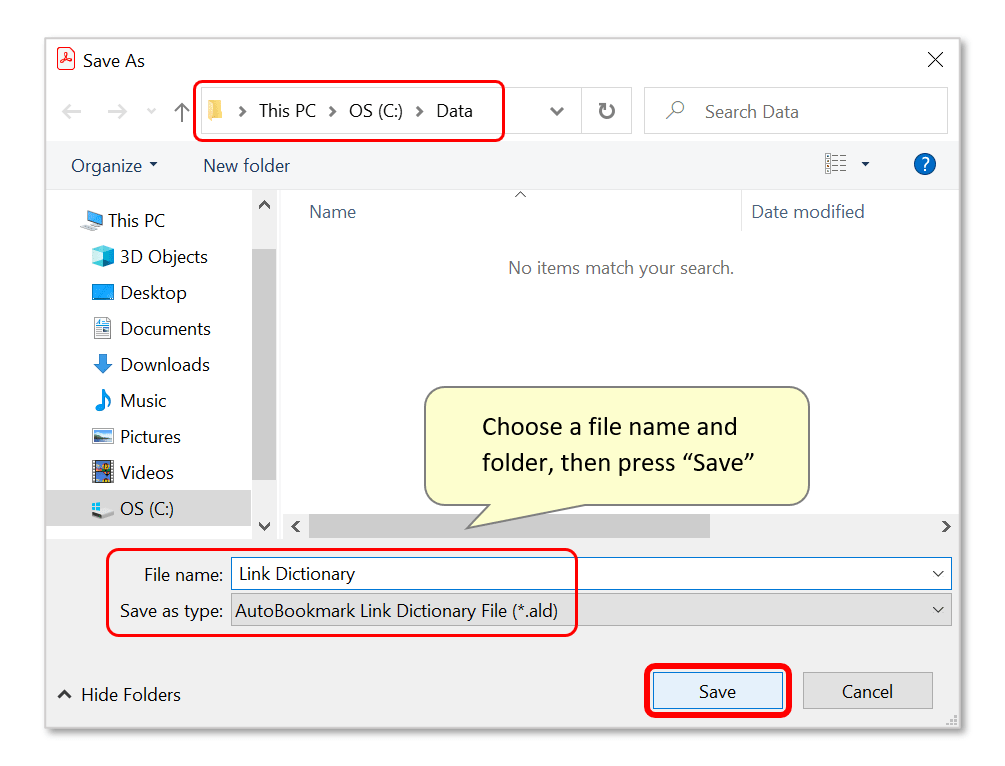
- A "Save As..." dialog will open, prompting the user to save the dictionary. Choose a file name and location, then press "Save". The file will be saved with an *.ald extension.
- Step 6 - Optional: Edit the Appearance of Interactive Text
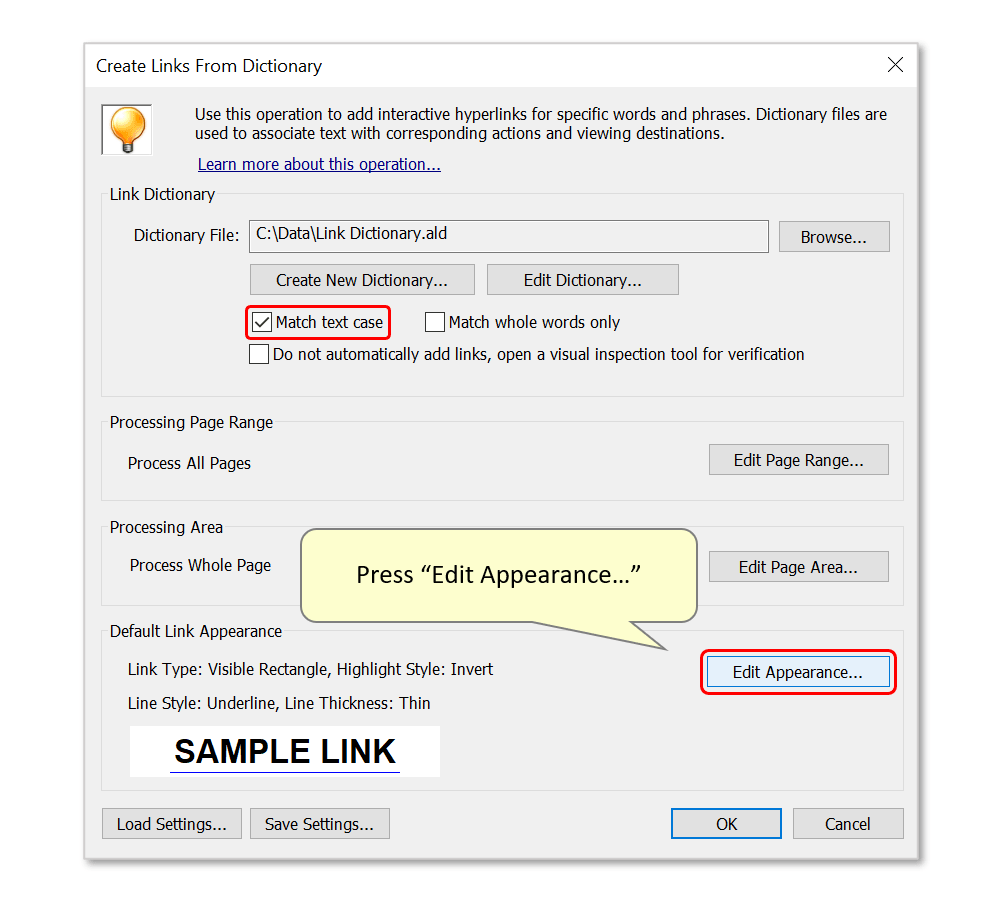
- Note: we will run this operation with the "Match text case" processing option checked so that only capitalized occurrences of the monarch names will have tooltips added to them in the output. Optionally use "Match whole words only" so that only complete words match. This avoids partial matches where search words may appear as part of larger words.
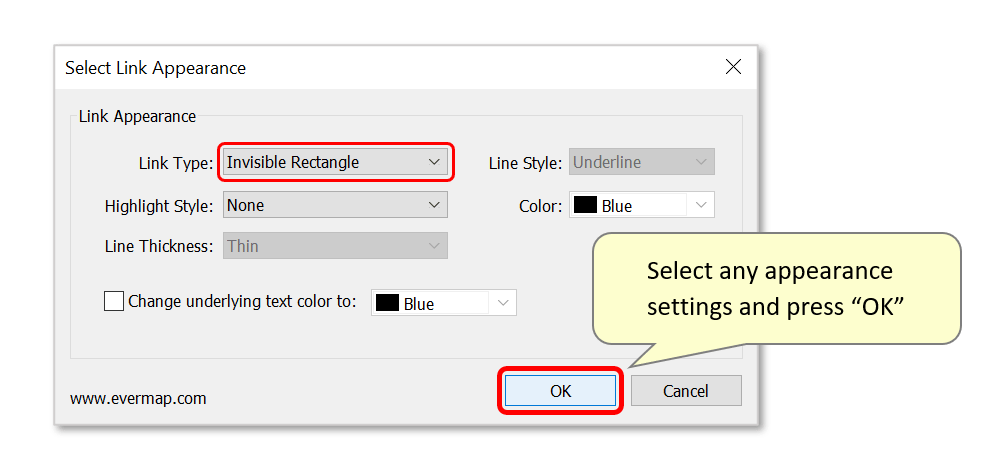
- Press "Edit Appearance..." to change how interactive text will be displayed in the output.
- Text matching the entries created in steps 2/3/4 will become 'interactive' - use this dialog to customize the appearance of these items of text. By default, they will be be underlined in blue - here, we won't add any appearance features to interactive text by selecting "Invisible Rectangle" from the "Link Type:" drop-down list. Press "OK" to confirm these settings.
- Step 7 - Add the Tooltips
- Press "OK" to run the procedure.
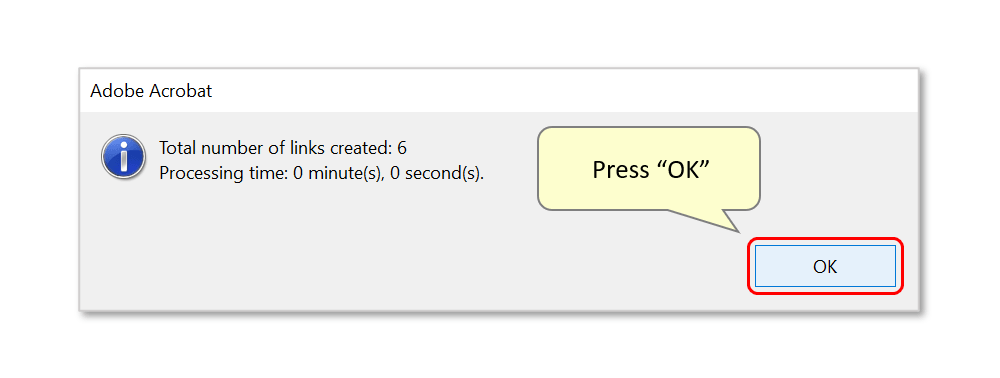
- A report box shows the number of links (tooltips) added to the selected page(s). Press "OK" to close it.
- Step 8 - Inspect the Results
- Hover the cursor over an item of text specified in steps 3/4 above. The corresponding tooltip assigned to this interactive text will appear.
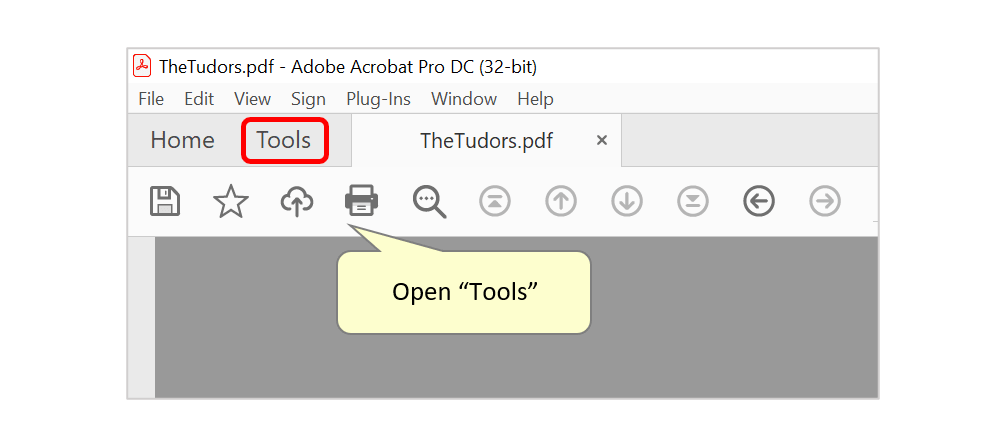
- Step 9 - Open the "Prepare Form" Tool
- Open the "Tools" panel located on the main Acrobat toolbar.
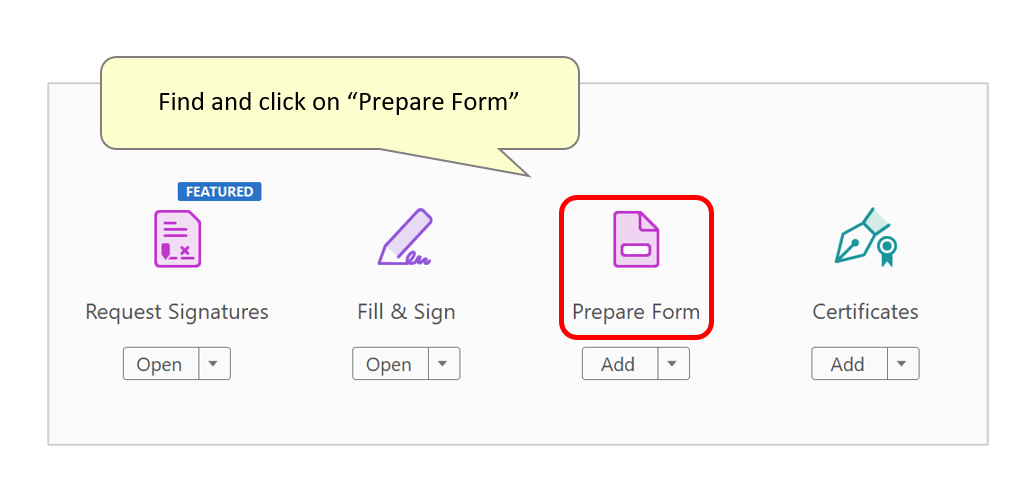
- Find and click on the "Prepare Form" tool icon.
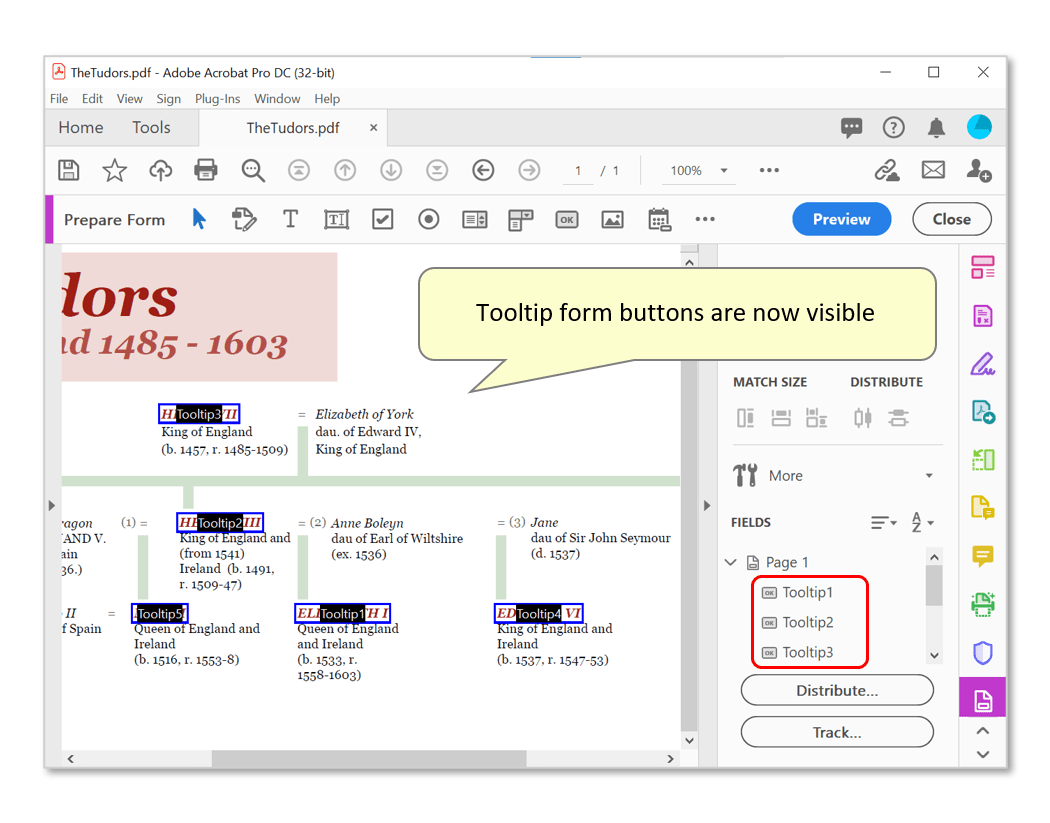
- Step 10 - Manage Form Buttons
- Form buttons are now visible over interactive areas where tooltips will be shown. They can be manually re-sized or moved around the page. All buttons on the page will be listed on the lower right under "FIELDS".
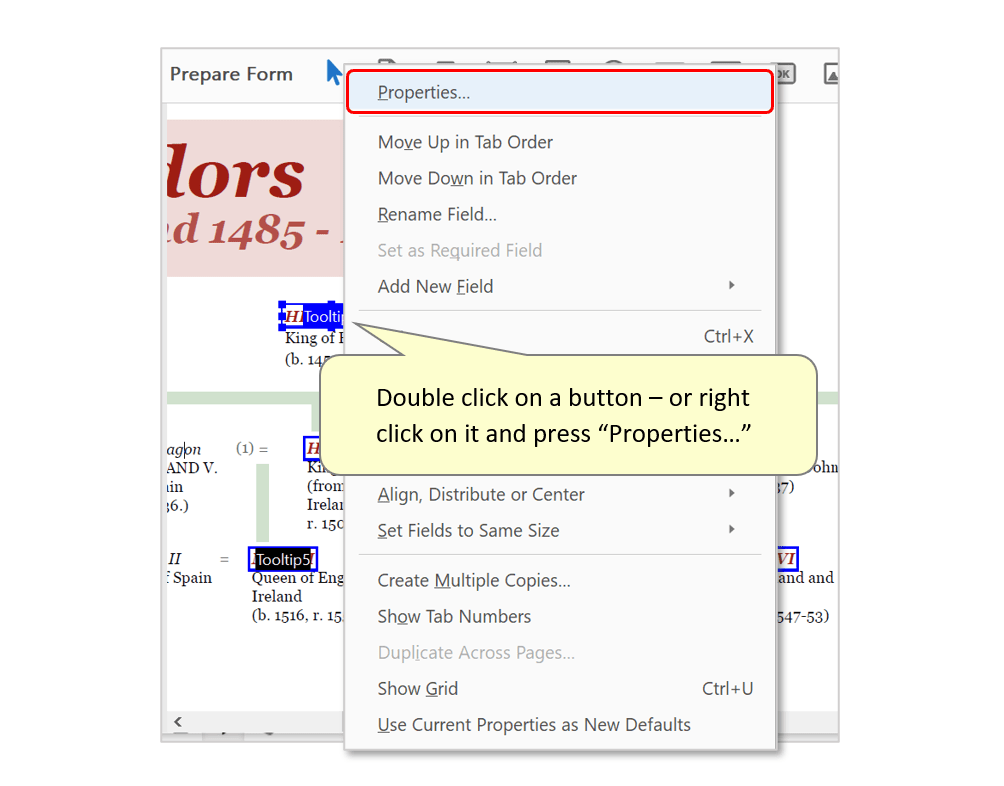
- Double click on a button to edit it - or right click on it and press "Properties...".
- Step 11 - Edit Tooltip Text
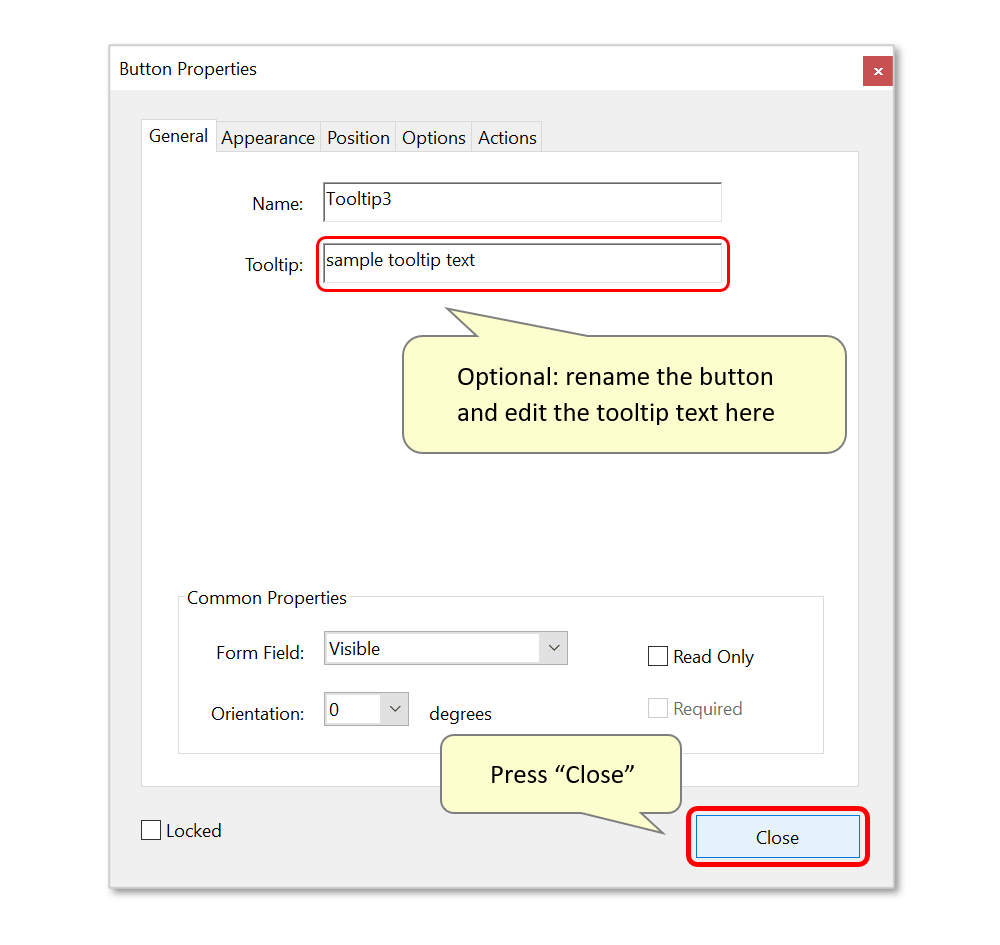
- Use this dialog to make changes to the button's properties. Under the "General" tab, it's possible to rename the button. Edit the associated tooltip text by typing in the box next to "Tooltip:".
- Press "Close" to close the dialog and save changes.
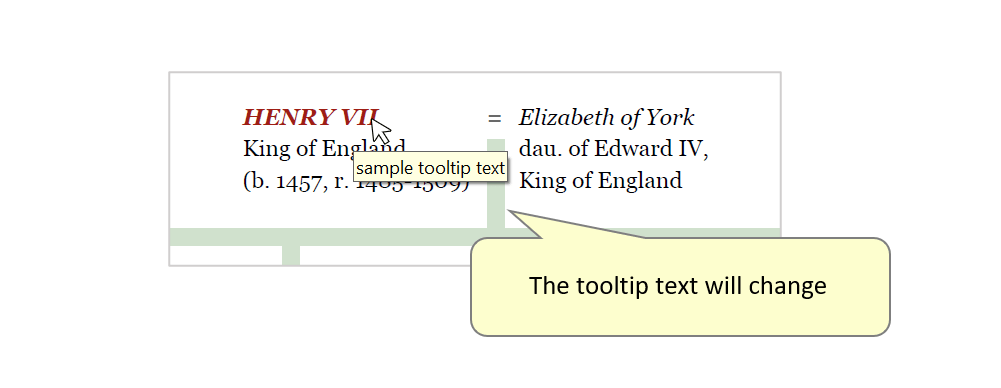
- Press "Close" to exit the "Prepare Form" tool, then hover over the interactive text to view the new tooltip.
- Click here for a list of all step-by-step tutorials available.