Using a Keywords-to-Emails Associations to Send Emails
AutoDocMail for Adobe® Acrobat®
- Introduction
- Sometimes you may need to email multiple business documents that do not contain the recipient's email addresses. It's possible to use AutoDocMail™ to create 'instructions' to send specific files to the correct recipients via email in a different way. With this method, you use unique keywords that are directly associated with individual email addresses. These can be used to create a customised keywords-to-emails address map. This allows you to manually assign email addresses of the recipients based on the presence of these keywords within the documents being sent. For example, assign emails based on the presence of specific account numbers, customer IDs, SSNs, company names and other similar items. It’s ideal for when documents of a similar format/content are regularly emailed to the same group of recipients.
- Sample Documents Description
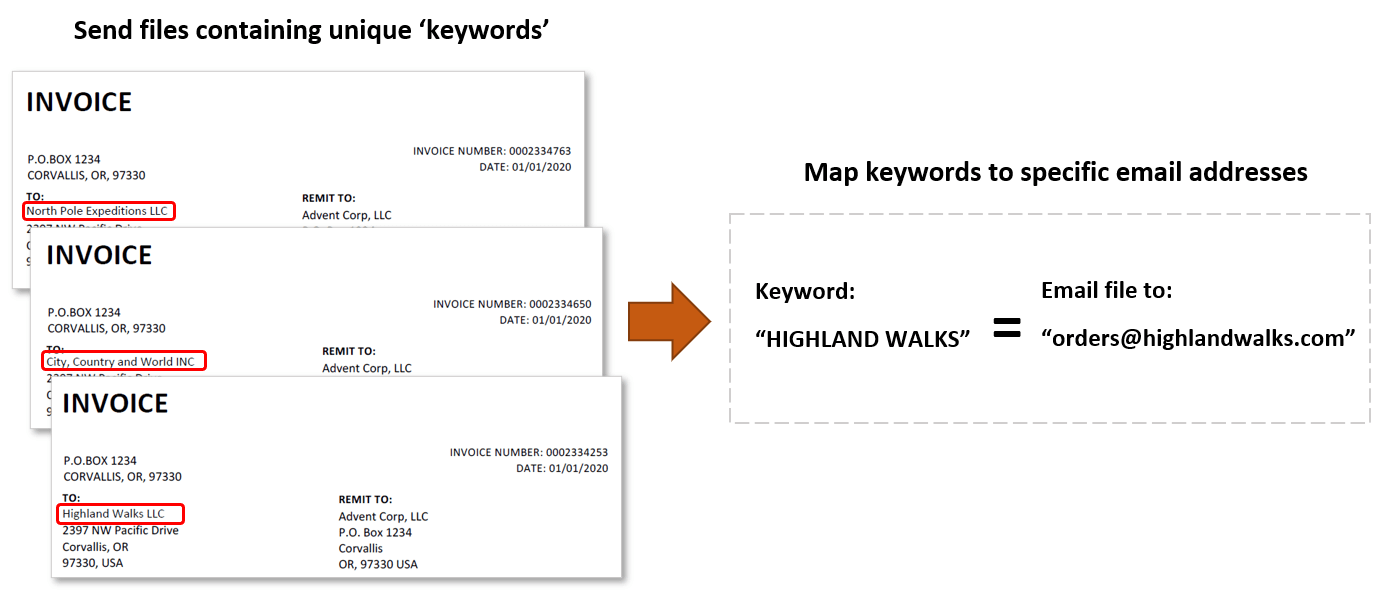
- The files we will distribute via this method are single-page invoices, merged into a single document. Each invoice does not contain an email address for the files to be sent to. Instead, each one has unique 'keywords' that can be linked to user-specified email addresses. The plug-in is used to split this PDF into individual invoices, detect the presence of these 'keywords', and send the correct files to the specific email addresses. The user creates instructions to send invoices containing "xxx" 'keyword' text to "xxx@gmail.com", known as a keywords-to-emails 'map'.
- Prerequisites
- You need a copy of Adobe® Acrobat® (Standard or Pro) along with the AutoDocMail™ plug-in installed on your computer in order to use this tutorial. Both are available as trial versions.
- Step 1 - Open the "Auto-Email Documents" Dialog
- Start the Adobe® Acrobat® application. Select Plugins > Auto-Email Documents… from the main Acrobat menu.
- [⚡ How to locate Plugins menu in Adobe® Acrobat® ⚡]
- Step 2 - Open the Email Settings
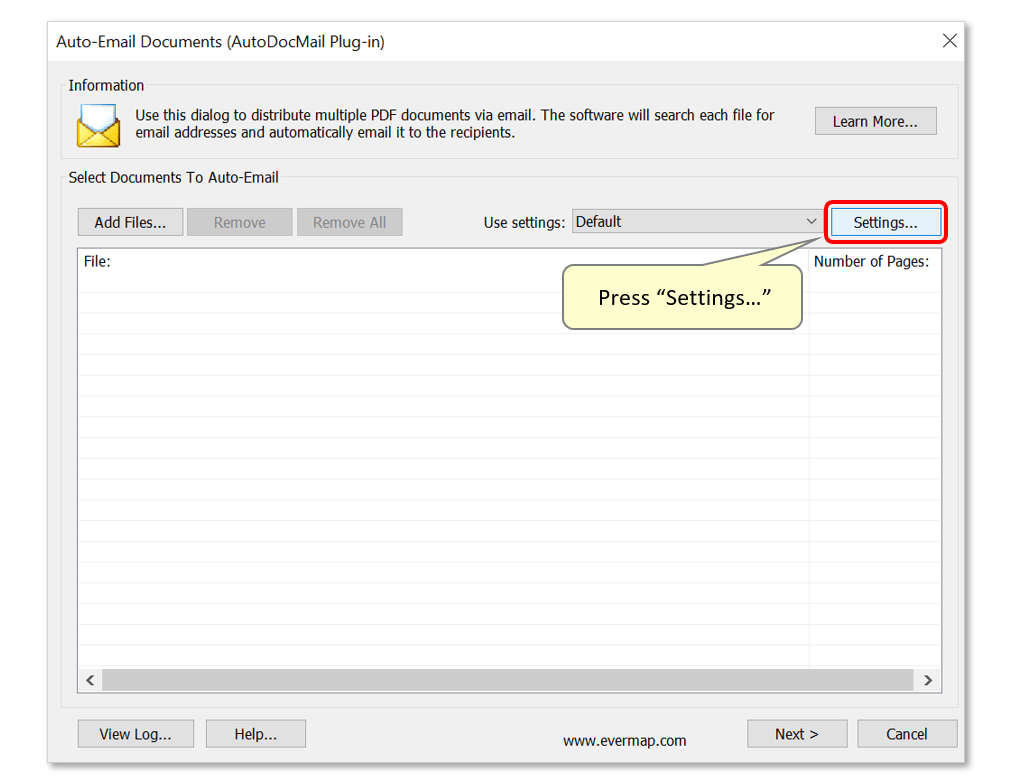
- In the "Auto-Email Documents" dialog, press the "Settings..." button.
- Step 3 - Edit Settings
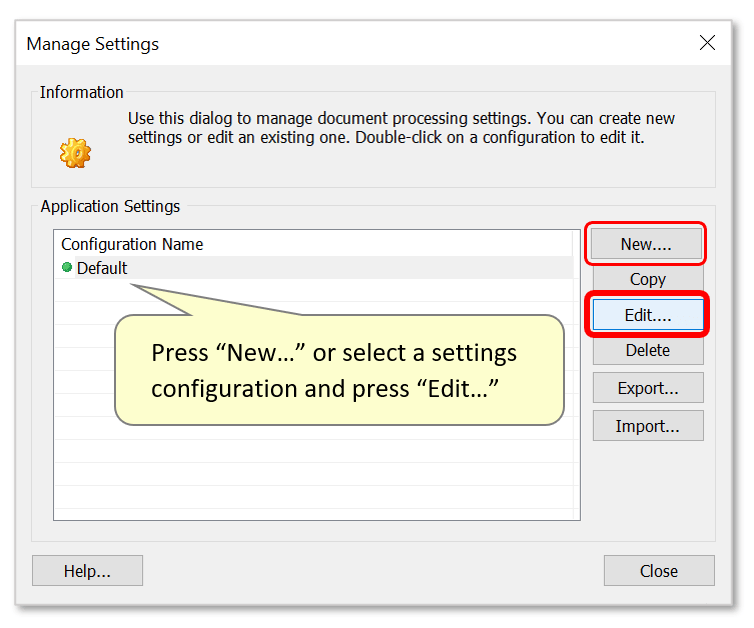
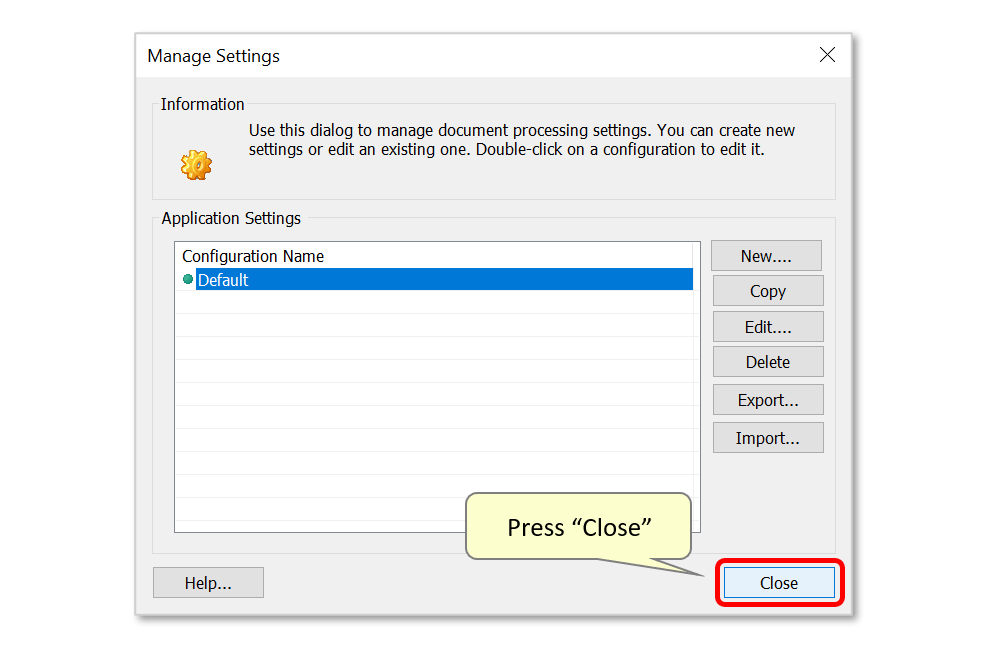
- This opens a dialog showing a list of saved settings configurations. Either click the “New…” button to configure new settings, or double-click on “Default” settings to modify these. The default settings can also be changed by selecting "Default" and pressing the "Edit..." button.
- Step 4 - Open "Email Extraction" Settings
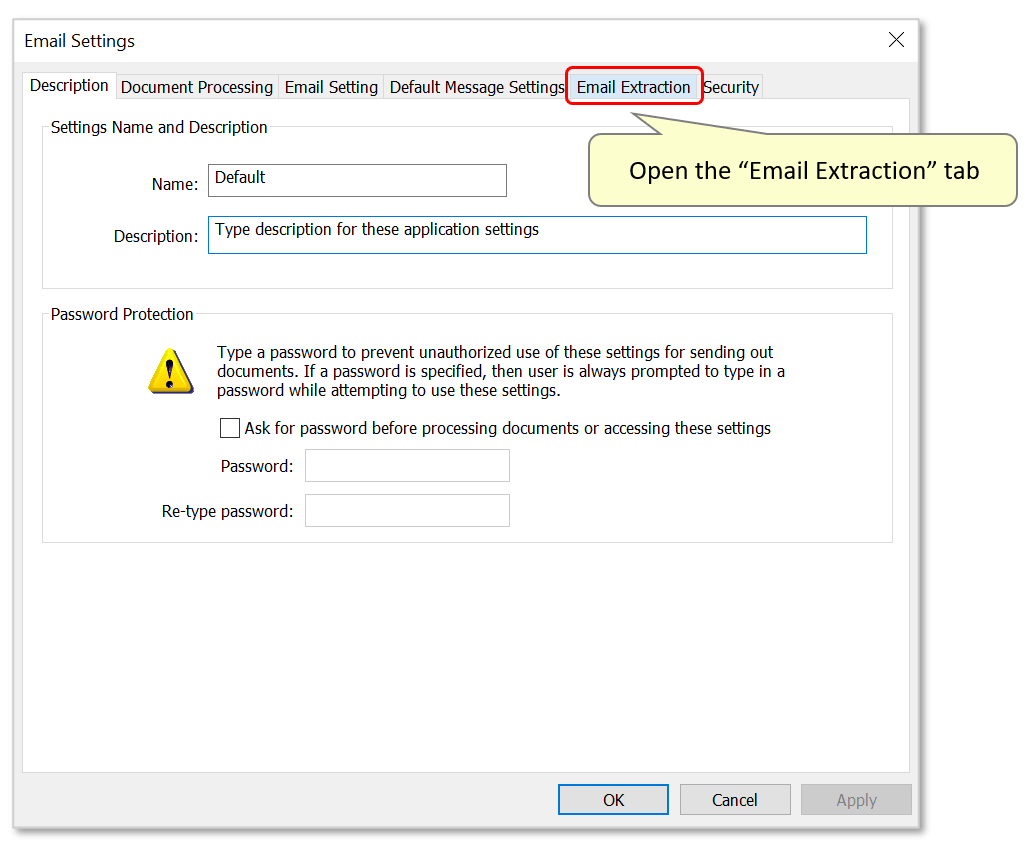
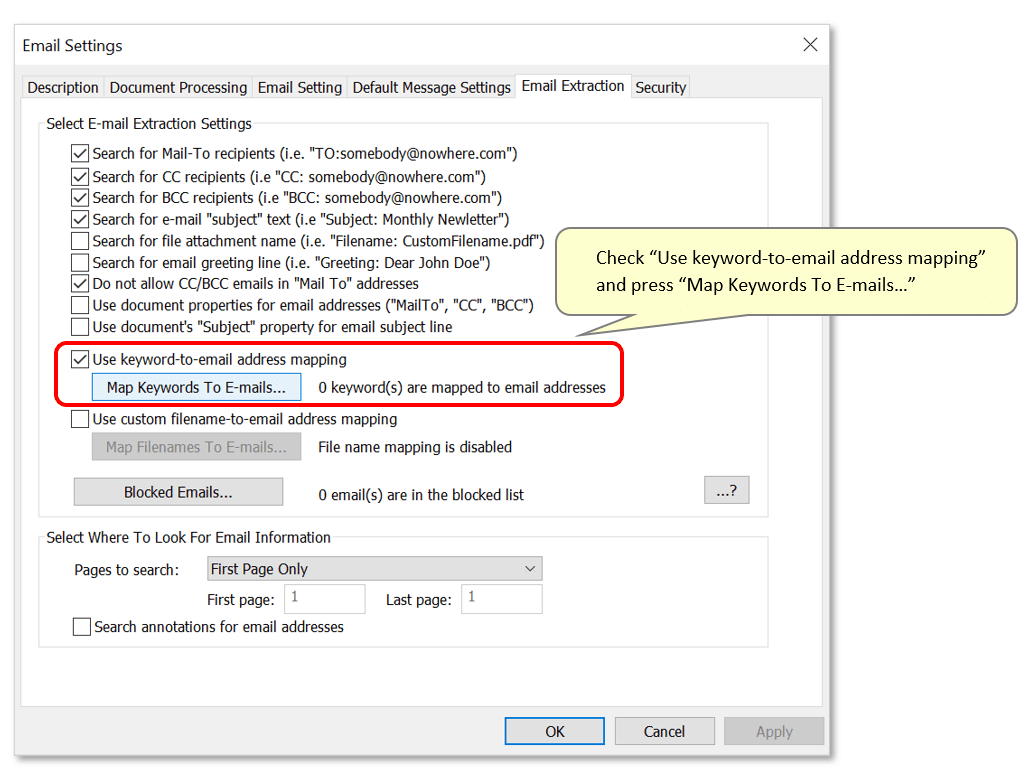
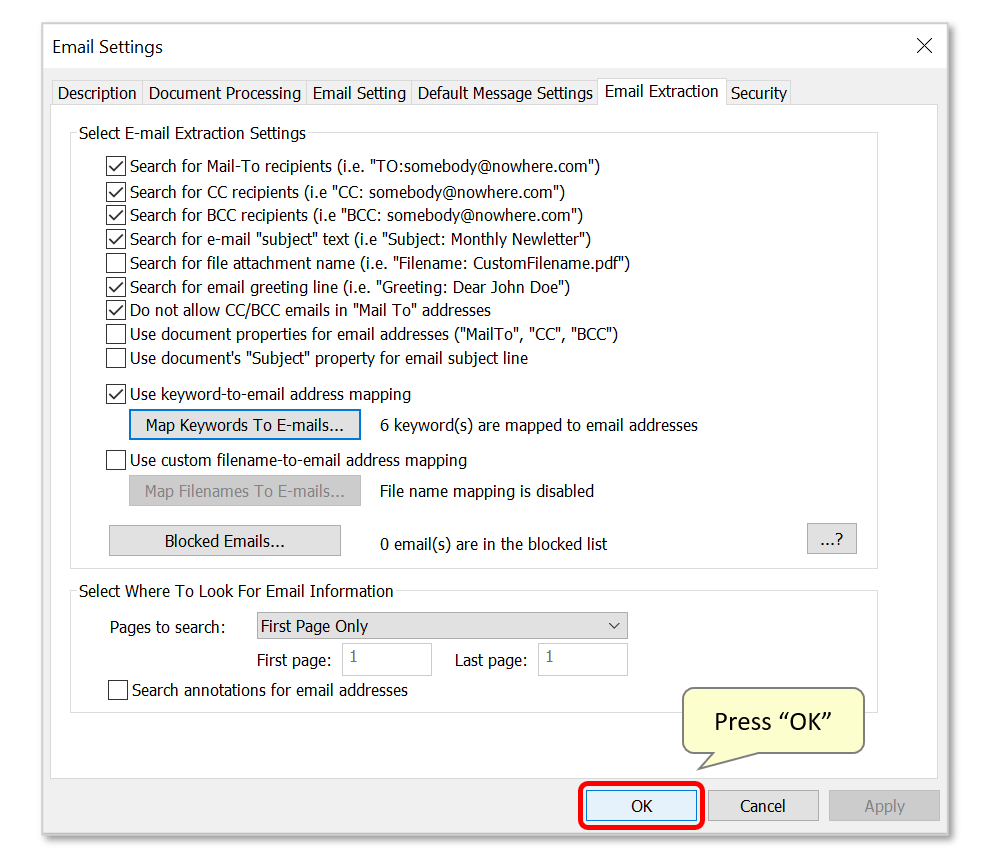
- Open the "Email Extraction" tab by selecting it in the settings bar.
- Step 5 - Select "Email Extraction" Settings
- Select the “Use keyword-to-email address mapping” option, to activate the “Map Keywords To E-mails" button. Press it to access the mapping configuration dialog.
- Step 6 - Map Keywords to Emails
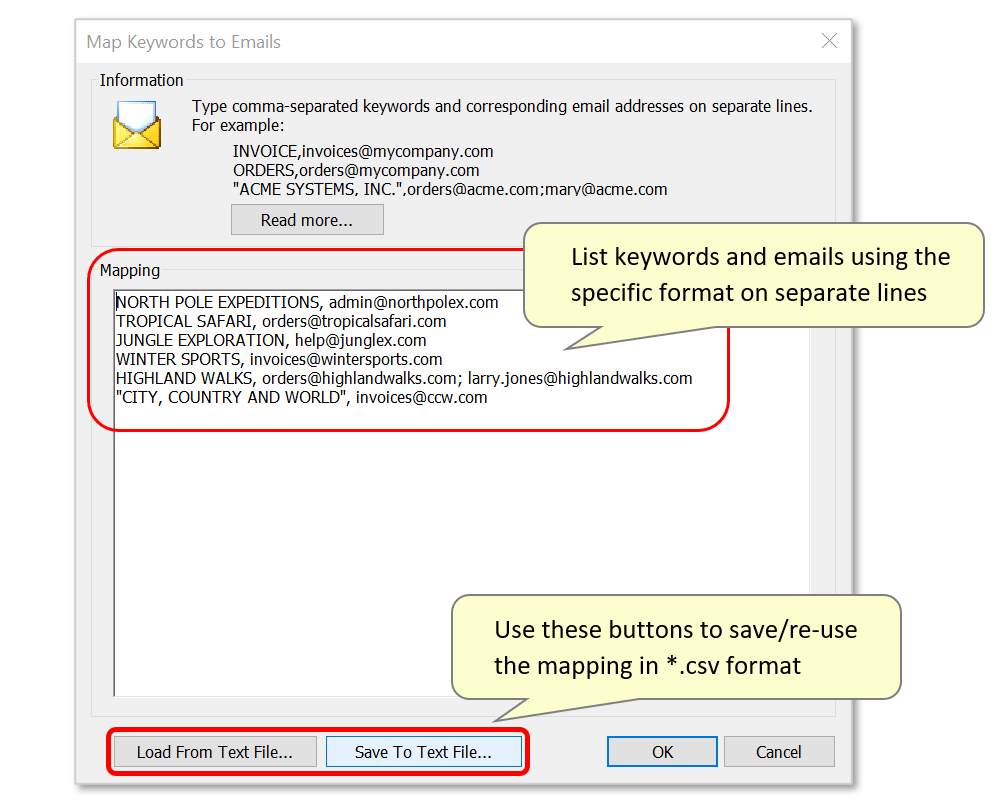
- On this screen, list search keywords, followed by a comma, then the email address of the corresponding recipient (one keyword per line). Separate multiple email addresses with a semicolon if it is necessary to specify more than one email:
- "HIGHLAND WALKS, orders@highlandwalks.com; larry.jones@highlandwalks.com"
- The example above would result in both "orders@highlandwalks.com" and "larry.jones@highlandwalks.com" receiving the document that contains the "HIGHLAND WALKS" keywords.
- If the search keyword(s) themselves contain any commas, then they need to be surrounded with quotation marks:
- E.g.: "CITY, COUNTRY AND WORLD", invoices@ccw.com - the invoice to be sent to 'invoices@ccw.com' contains the text "CITY, COUNTRY AND WORLD."
- Preparing Data in Excel
- You can prepare this data in Excel by entering keywords in one column and emails in another. Save the spreadsheet as a CSV (Comma-Separated Values) file. Then, click "Load From Text File…" button to import your CSV file.

- Specifying Optional Email Parameters
- Use the following syntax to specify optional email parameters such as “Subject”, “CC”, “BCC”, “Filename”, “Greeting”, “From”, “Replyto”:
-
"John Doe Junior", invoices@acme.com|subject:Enter a custom subject line|greeting:Dear John Doe Junior|cc:info@acme.com
- It is possible to enter one or more optional keywords separated by the | symbol. Keyword names are case-insensitive.
- Optional: Saving Mappings to a Text File
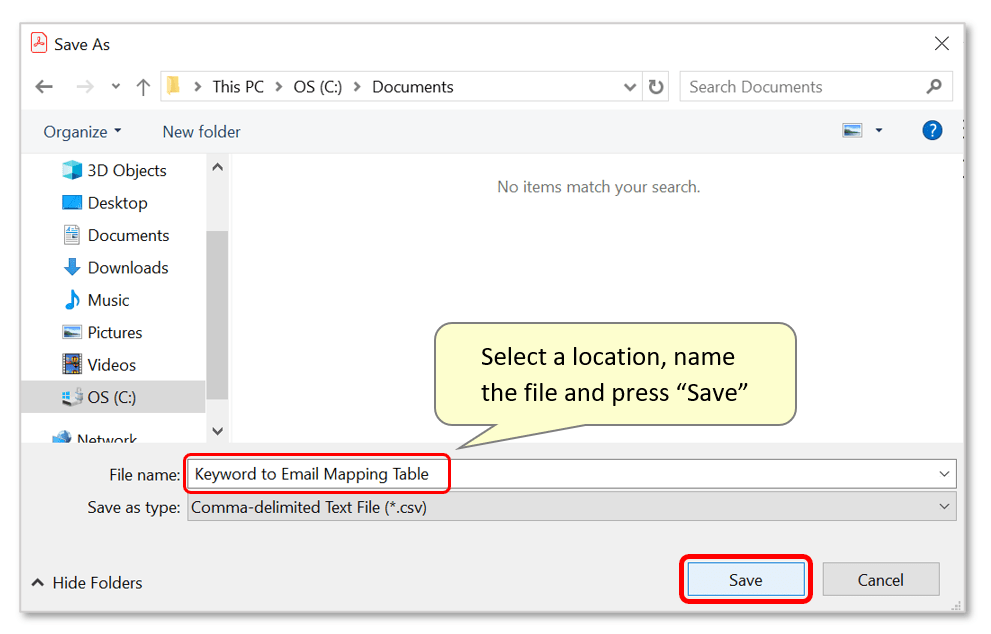
- Optionally press "Save to Text File..." to save this mapping configuration in *.csv format. This could later be loaded via the "Load from Text File..." button to use the same mapping under a different AutoDocMail settings configuration - or be given to another user to process documents in the same way.
- Select a suitable location to save this file - optionally edit the default file name "Keyword to Email Mapping Table" before pressing "Save".
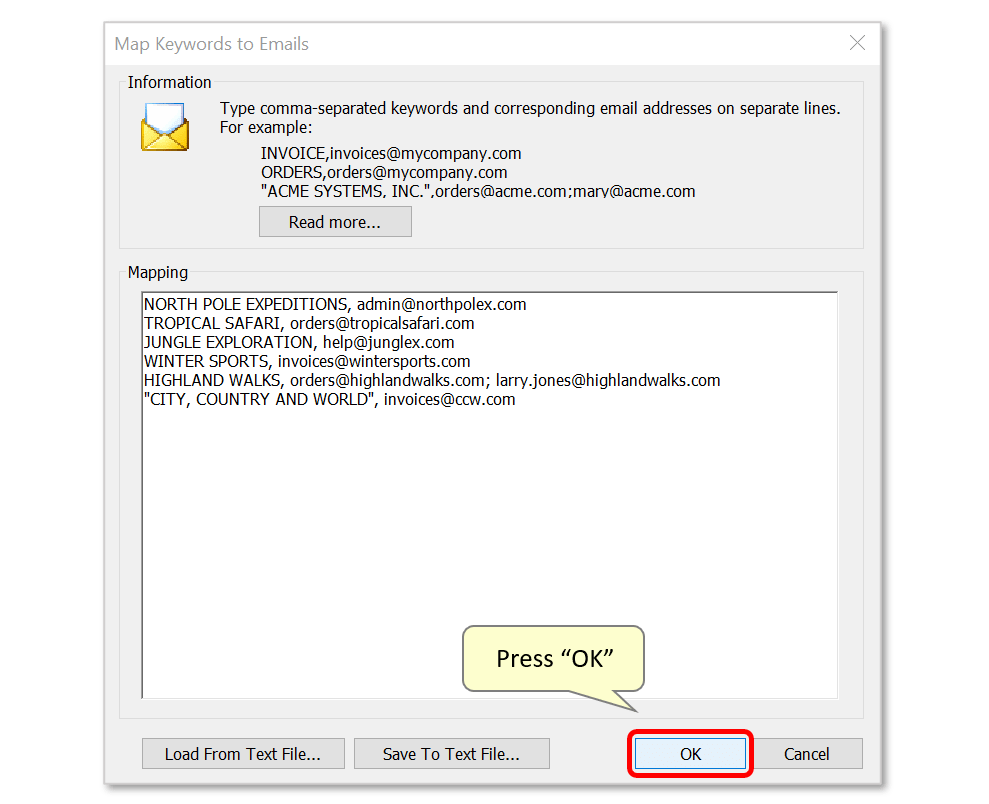
- Step 7 - Save and Exit Settings
- Once the mapping is complete, press "OK" to exit this window.
- Press "OK" again.
- Press "Close" to proceed to processing your documents.
- Step 8 - Select the Source File
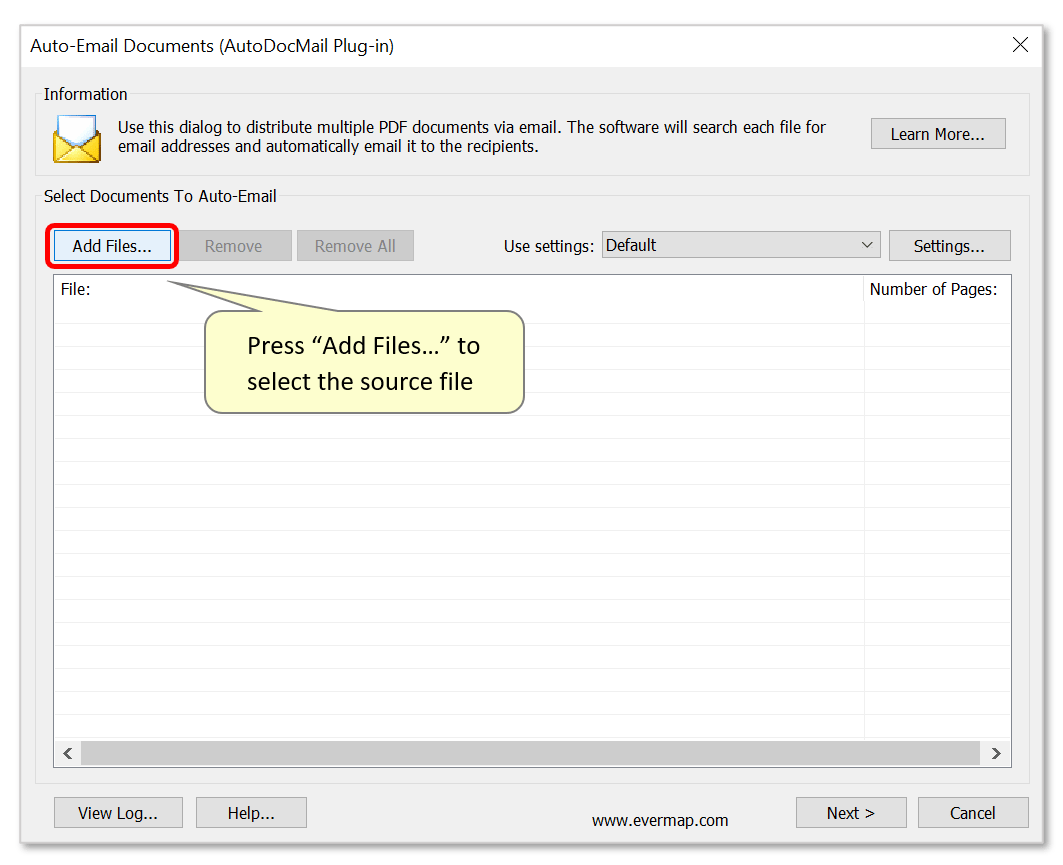
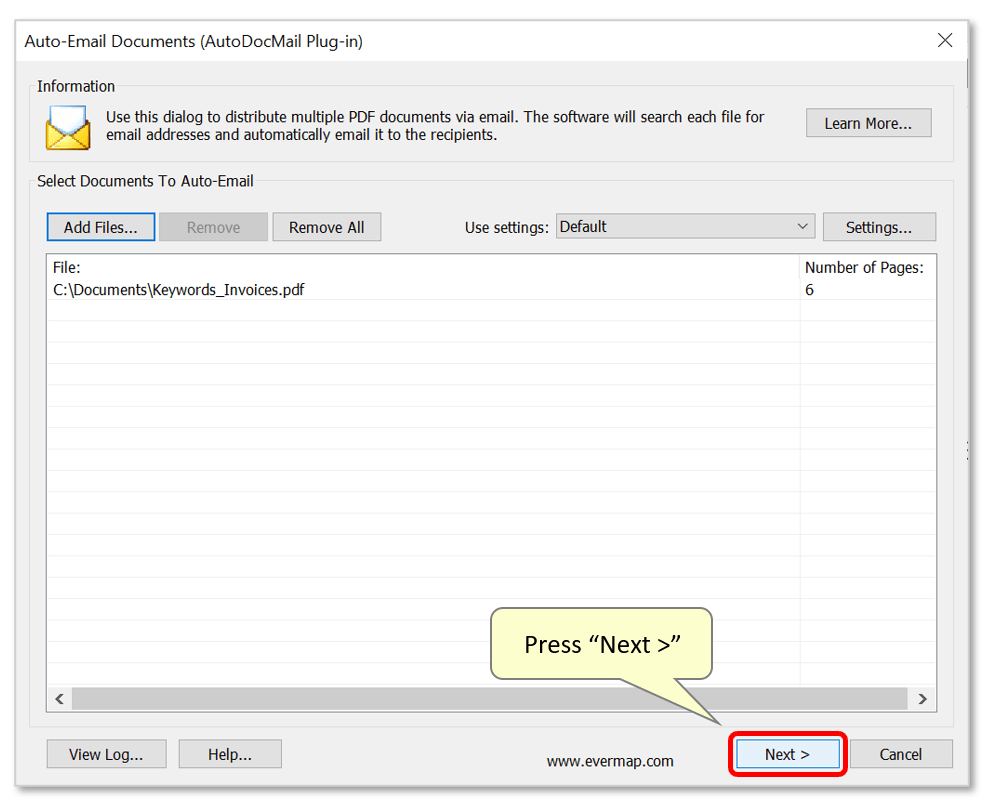
- In the "Auto-Email Documents" dialog, press the "Add Files..." button to select the source PDF file(s) that needs to be distributed. In this example, this is the PDF containing multiple invoices featuring the 'keyword' business names mapped to email addresses in step 6.
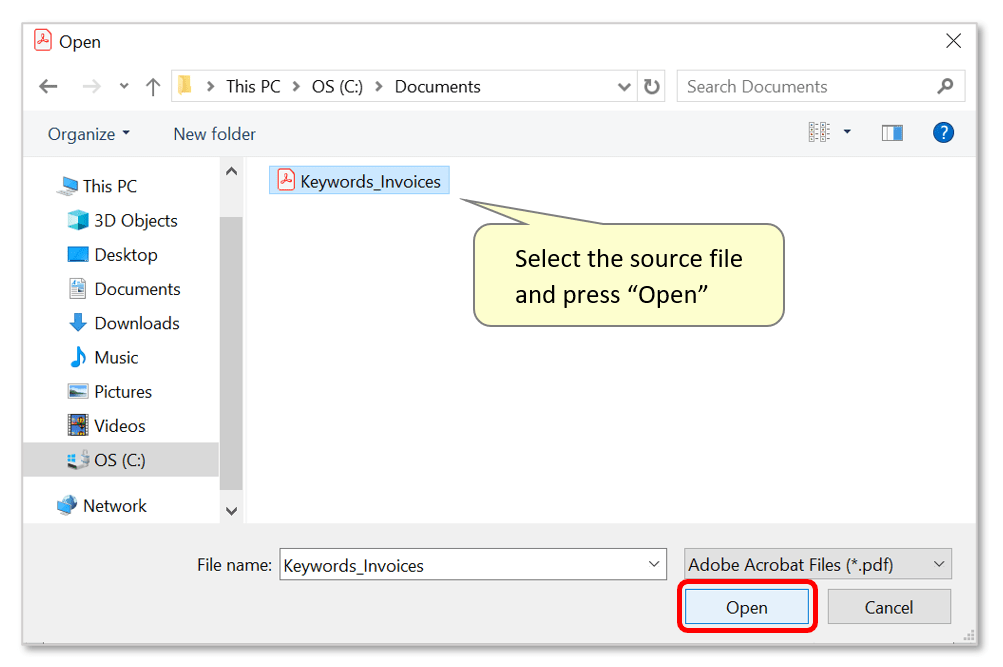
- Locate the file, select it, and press "Open".
- The input file path and it's number of pages will now be listed in the dialog. Press "Next >" to proceed.
- Step 9 - Review Email Recipients
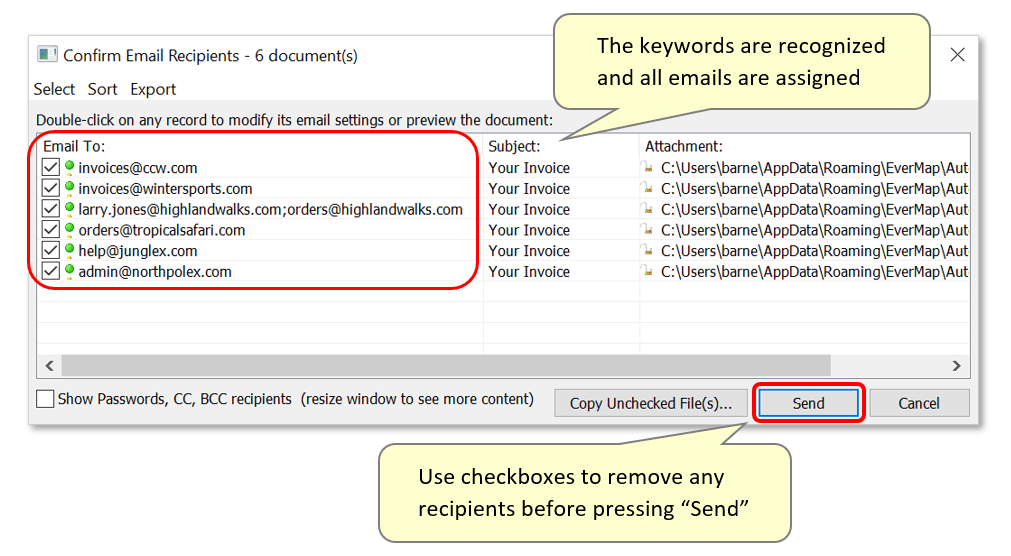
- Once the document is split and processed, the “Confirm Email Recipients” dialog opens. The plug-in will have identified the keywords and assigned the emails using the recipient email addresses listed under "Email To:" on the left. If the same document is being sent to multiple email recipients, their address are separated by a semicolon ";".
- Double-click on a record to preview the attachment and/or manually edit the email message for this recipient.
- Use the checkboxes to control which recipients will receive emails/attachments. Press "Send" to proceed to sending the documents.
- Click here for a list of all step-by-step tutorials available.