Redacting Multiple PDF Files with Guided Actions (Action Wizard)
AutoRedact® plug-in for Adobe® Acrobat®
- Introduction
- The Adobe® Acrobat® Pro offers a powerful tool for automating repetitive tasks called "Guided Actions" ("Action Wizard" in earliest versions). Use this tool to apply a sequence of processing commands (called "actions") to one or more PDF files or all files in a folder. Once an action is created, it can be executed either manually from the Adobe® Acrobat® toolbar or from a command-line batch file using the AutoBatch™ plug-in.
- This tutorial shows how to use Guided Actions (aka Action Wizard tool) and AutoRedact® plug-in for Adobe® Acrobat® to redacts multiple PDF documents. The batch processing "action" executes four operations on all PDF files in the folder:
- Remove all existing annotations
- Mark up text using words from the redacting dictionary
- Redact marked content
- Save redacted PDF document
.png)
- What is Redacting?
- Redaction, by definition, means removing certain types of information from documents. In the context of United States government agency documents, redaction refers to the process of removing classified information from a document prior to its publication. For attorneys, redacting is very important procedure of protecting confidential information. Here are few examples of the redacting applied to a PDF document:
.PNG)
- Prerequisites
- You need a copy of the Adobe® Acrobat® Pro DC along with the AutoRedact® plug-in installed on your computer in order to use this tutorial. You can download trial versions of both the Adobe® Acrobat® and the AutoRedact®.
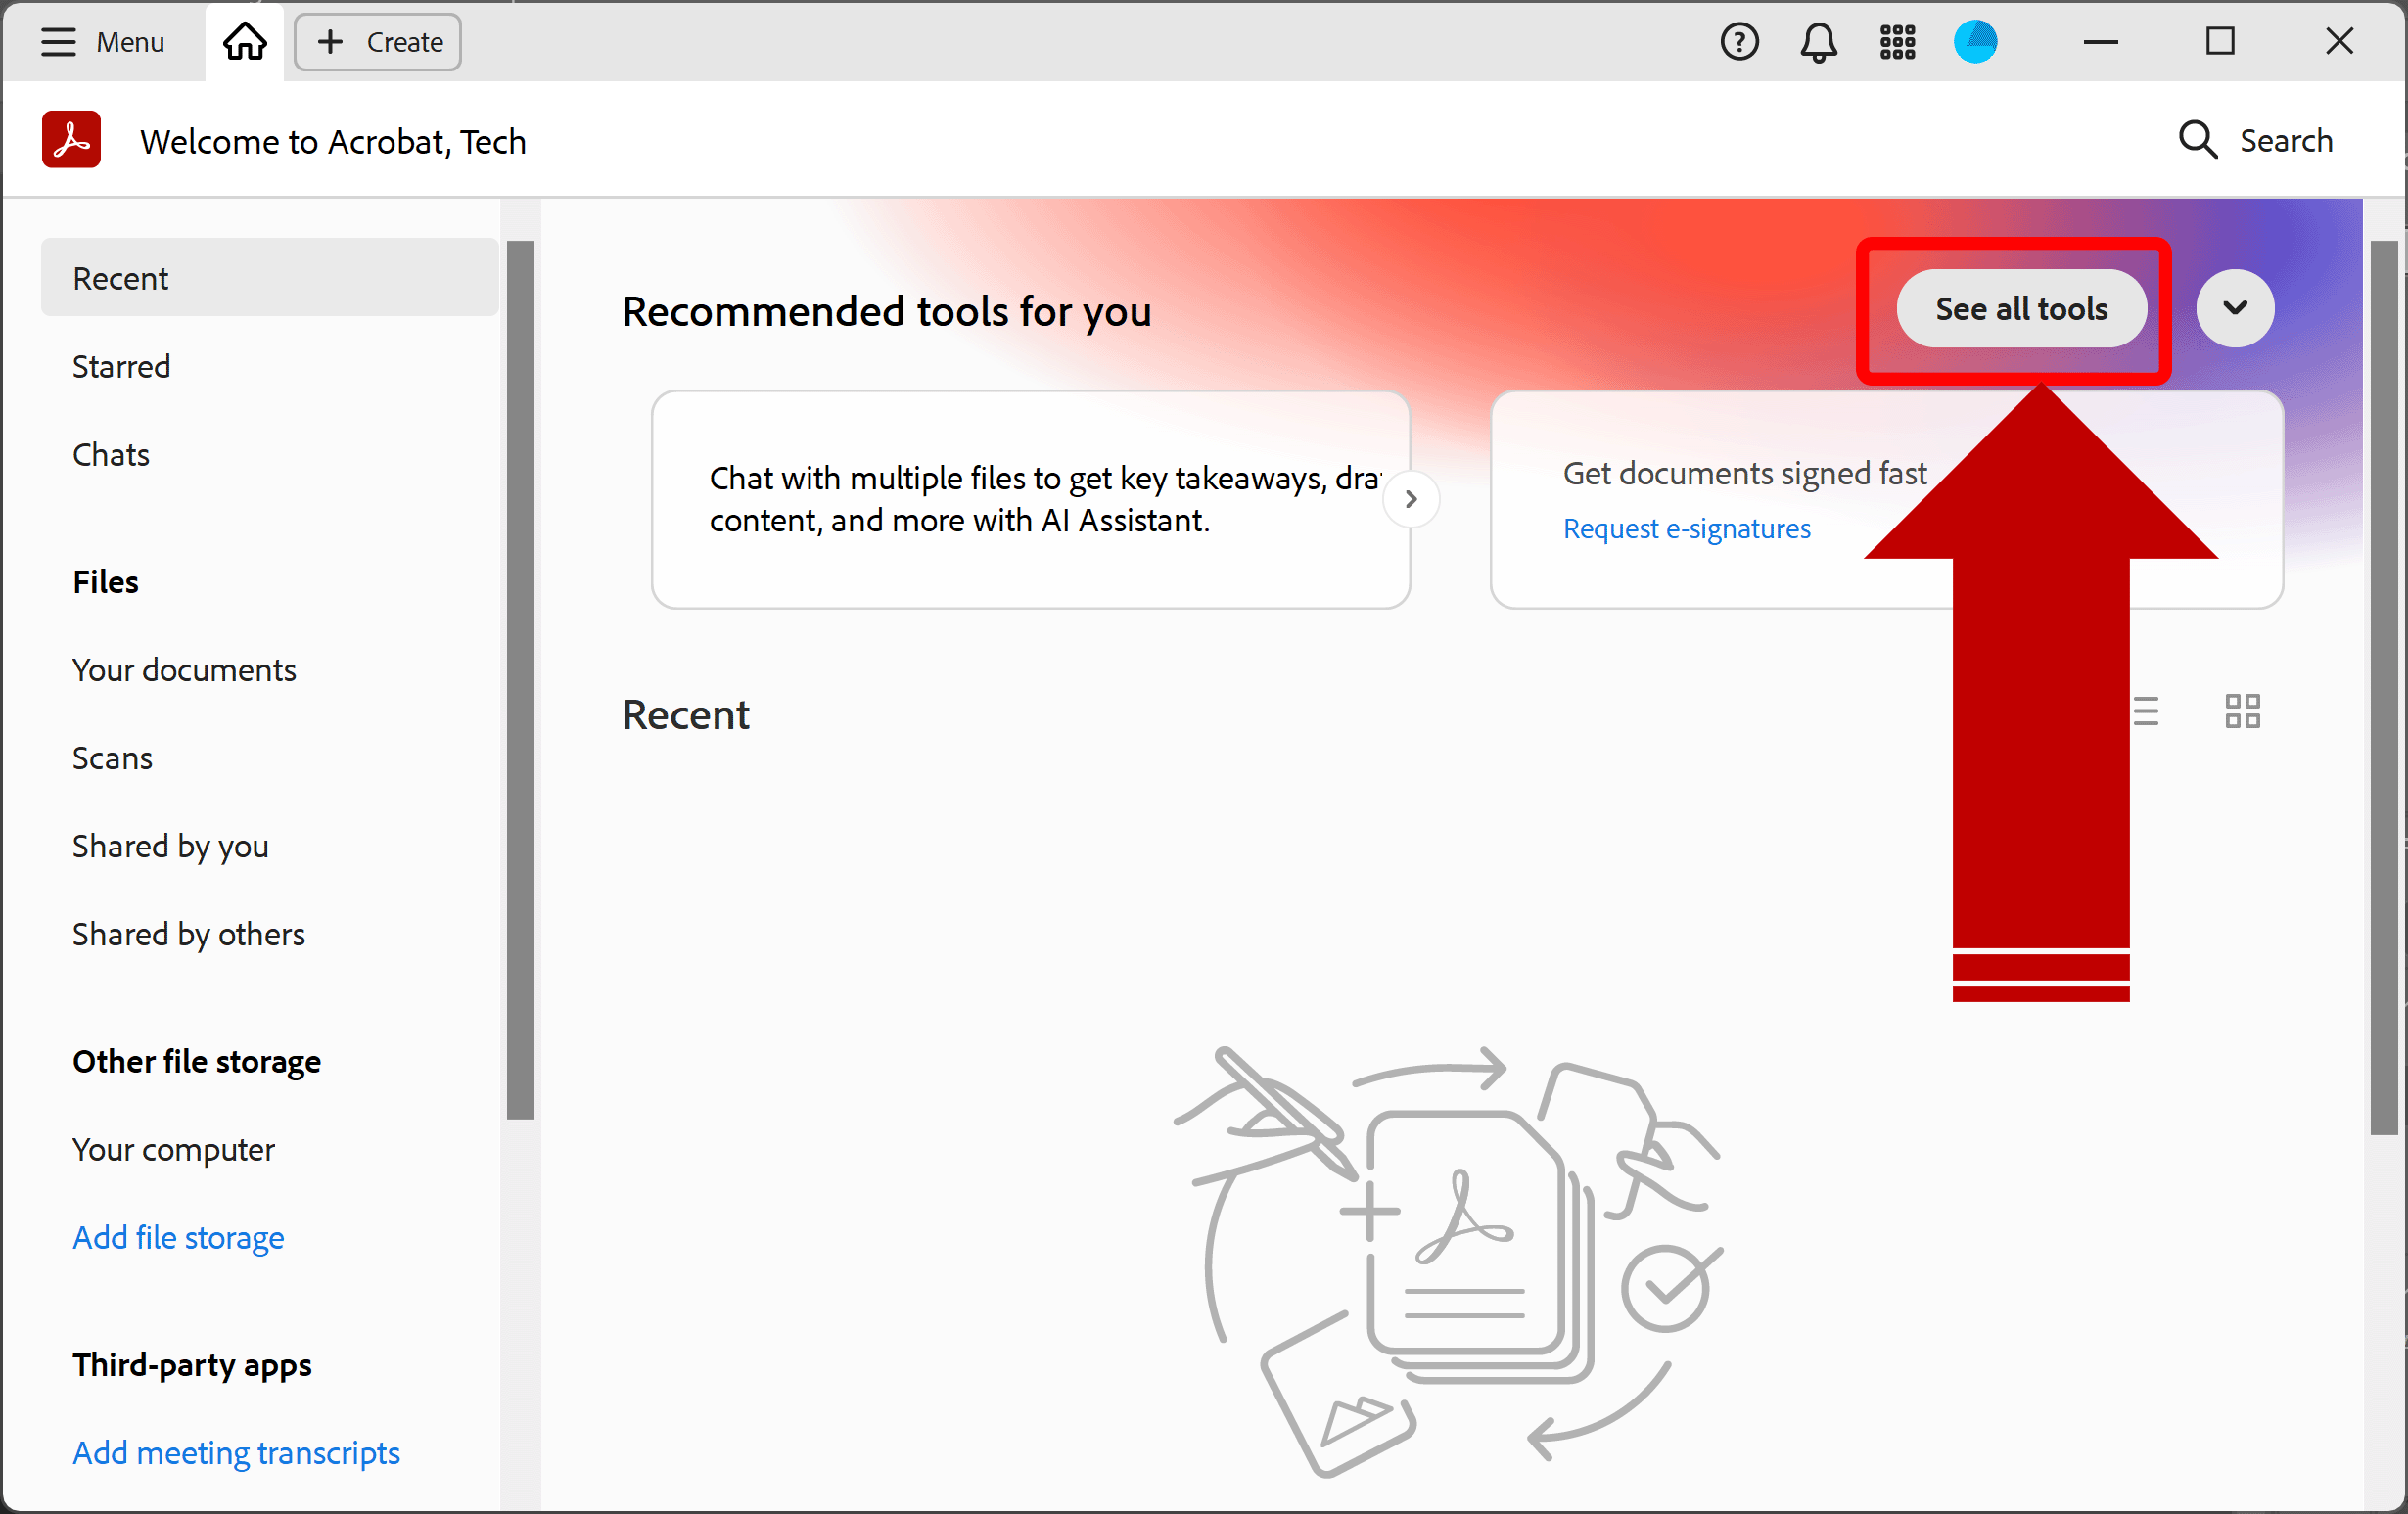
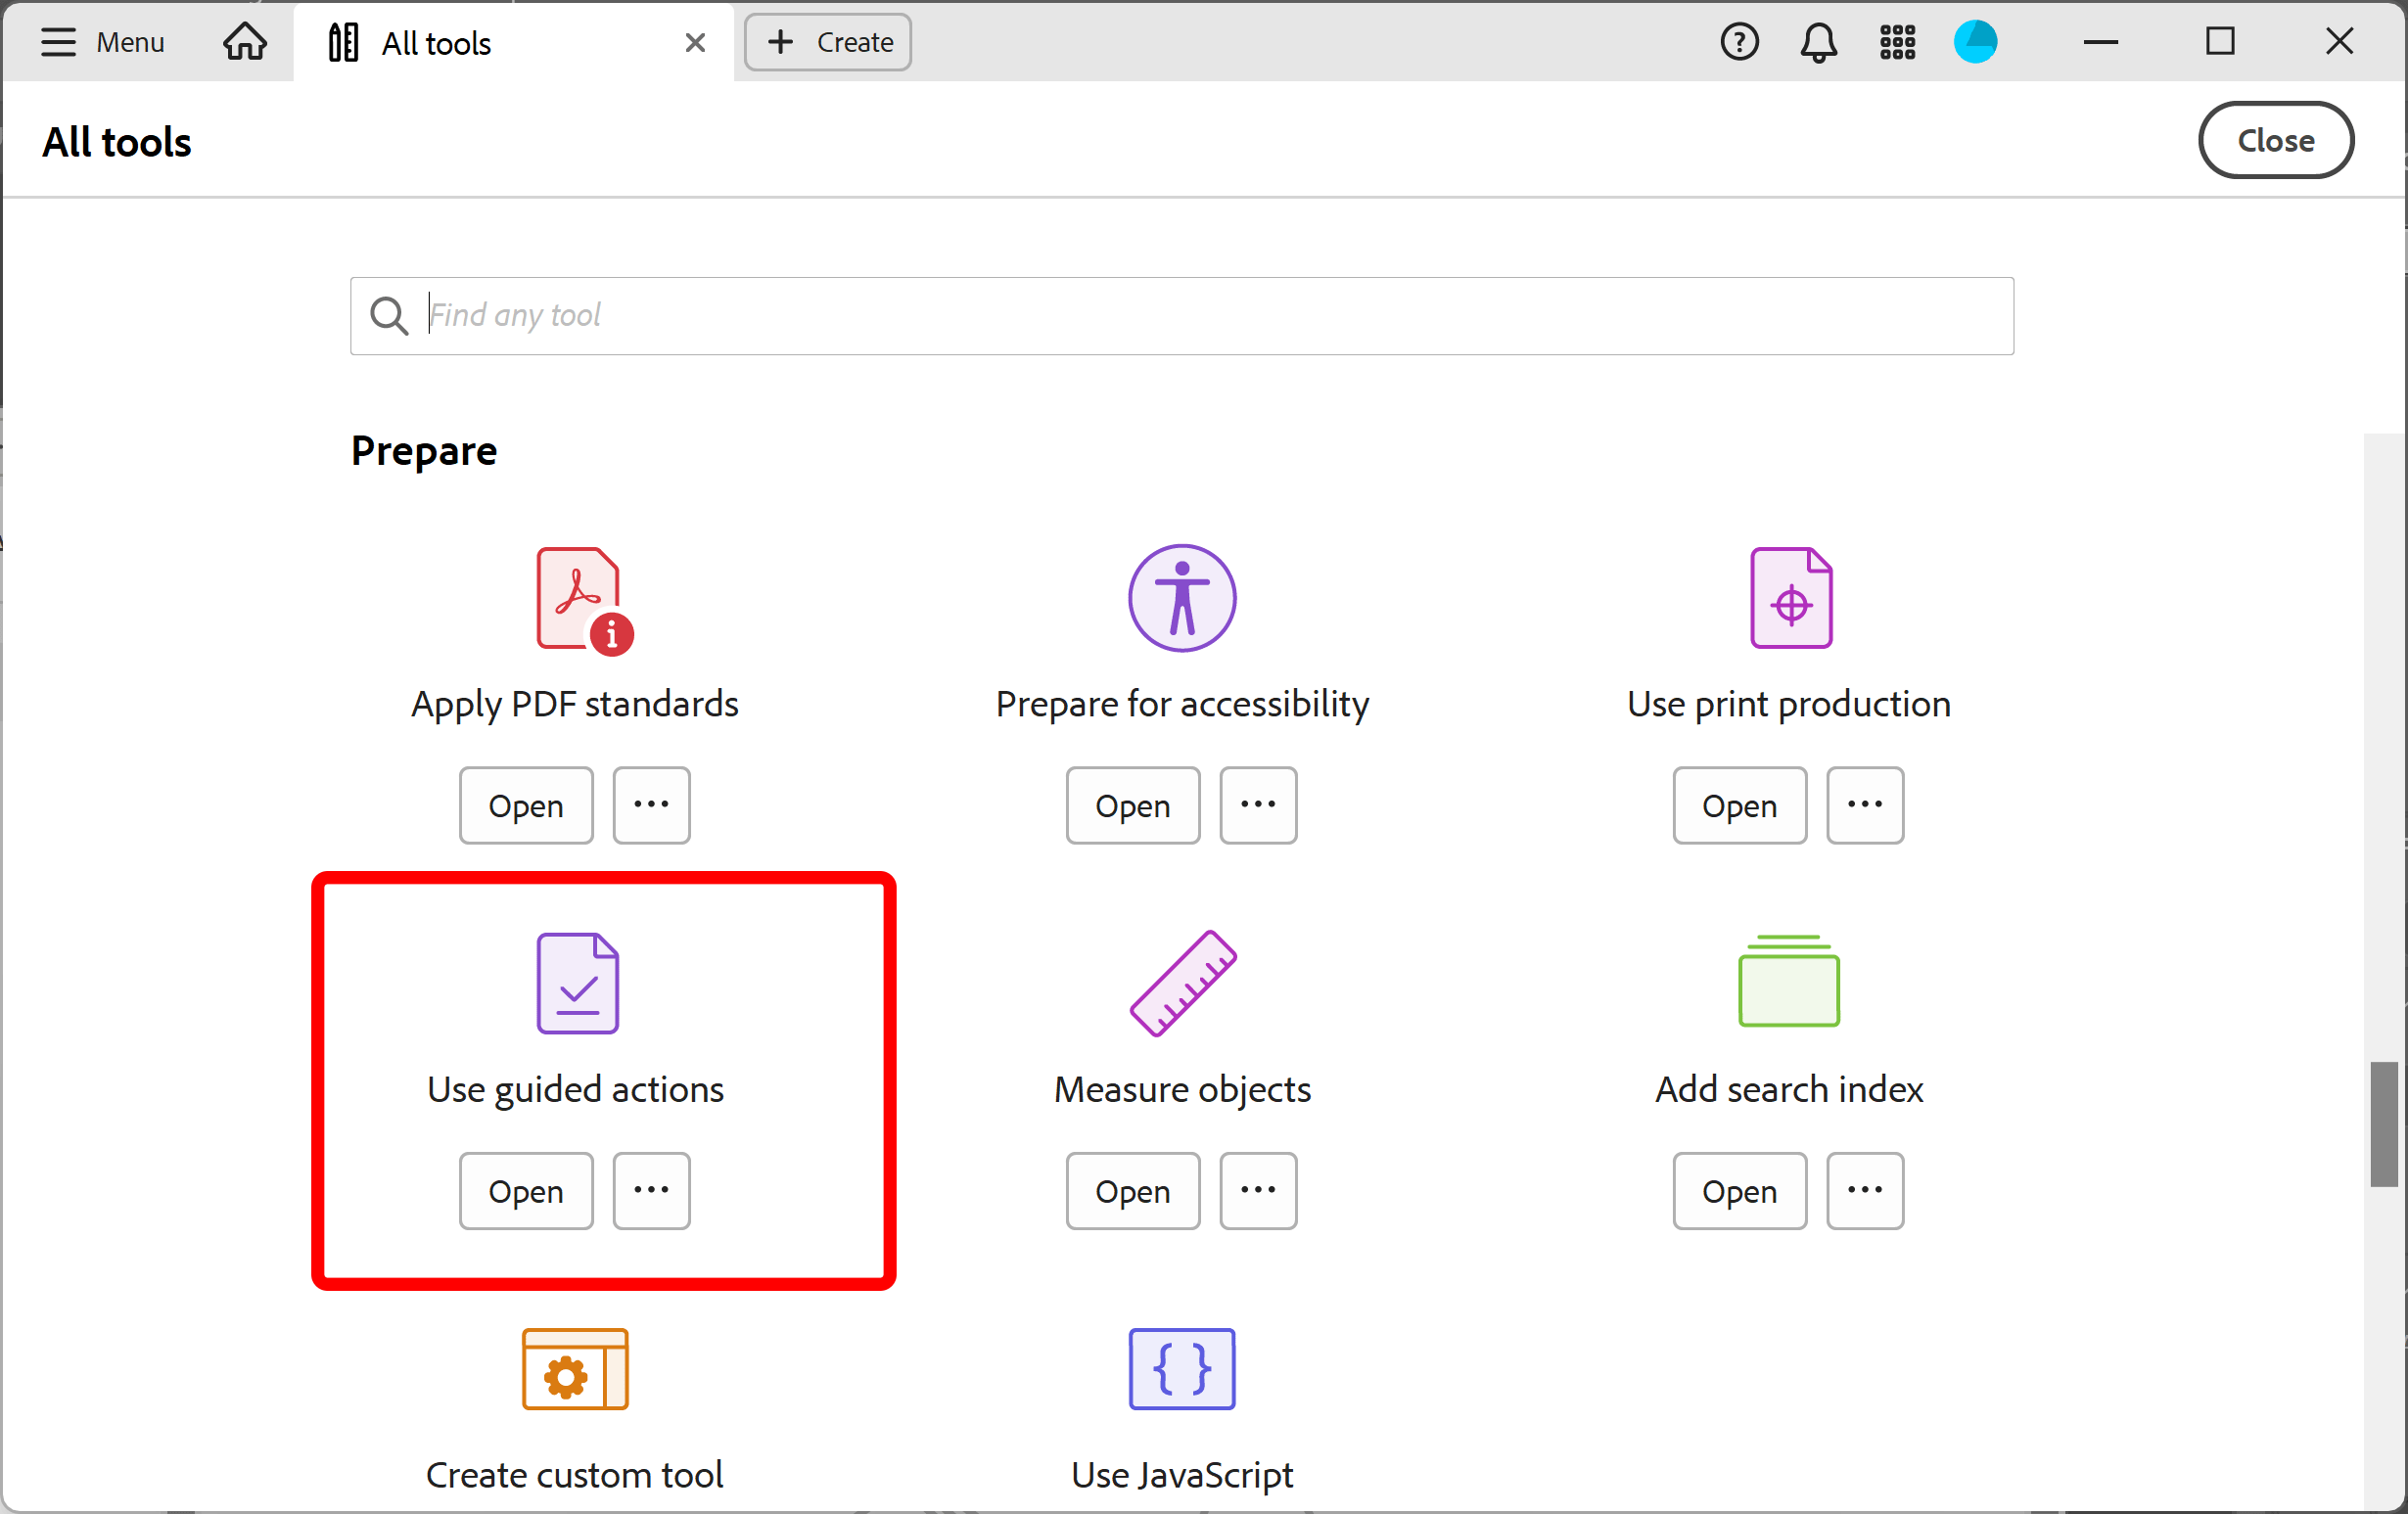
- Open "Use Guided Actions" Tool (aka Action Wizard)
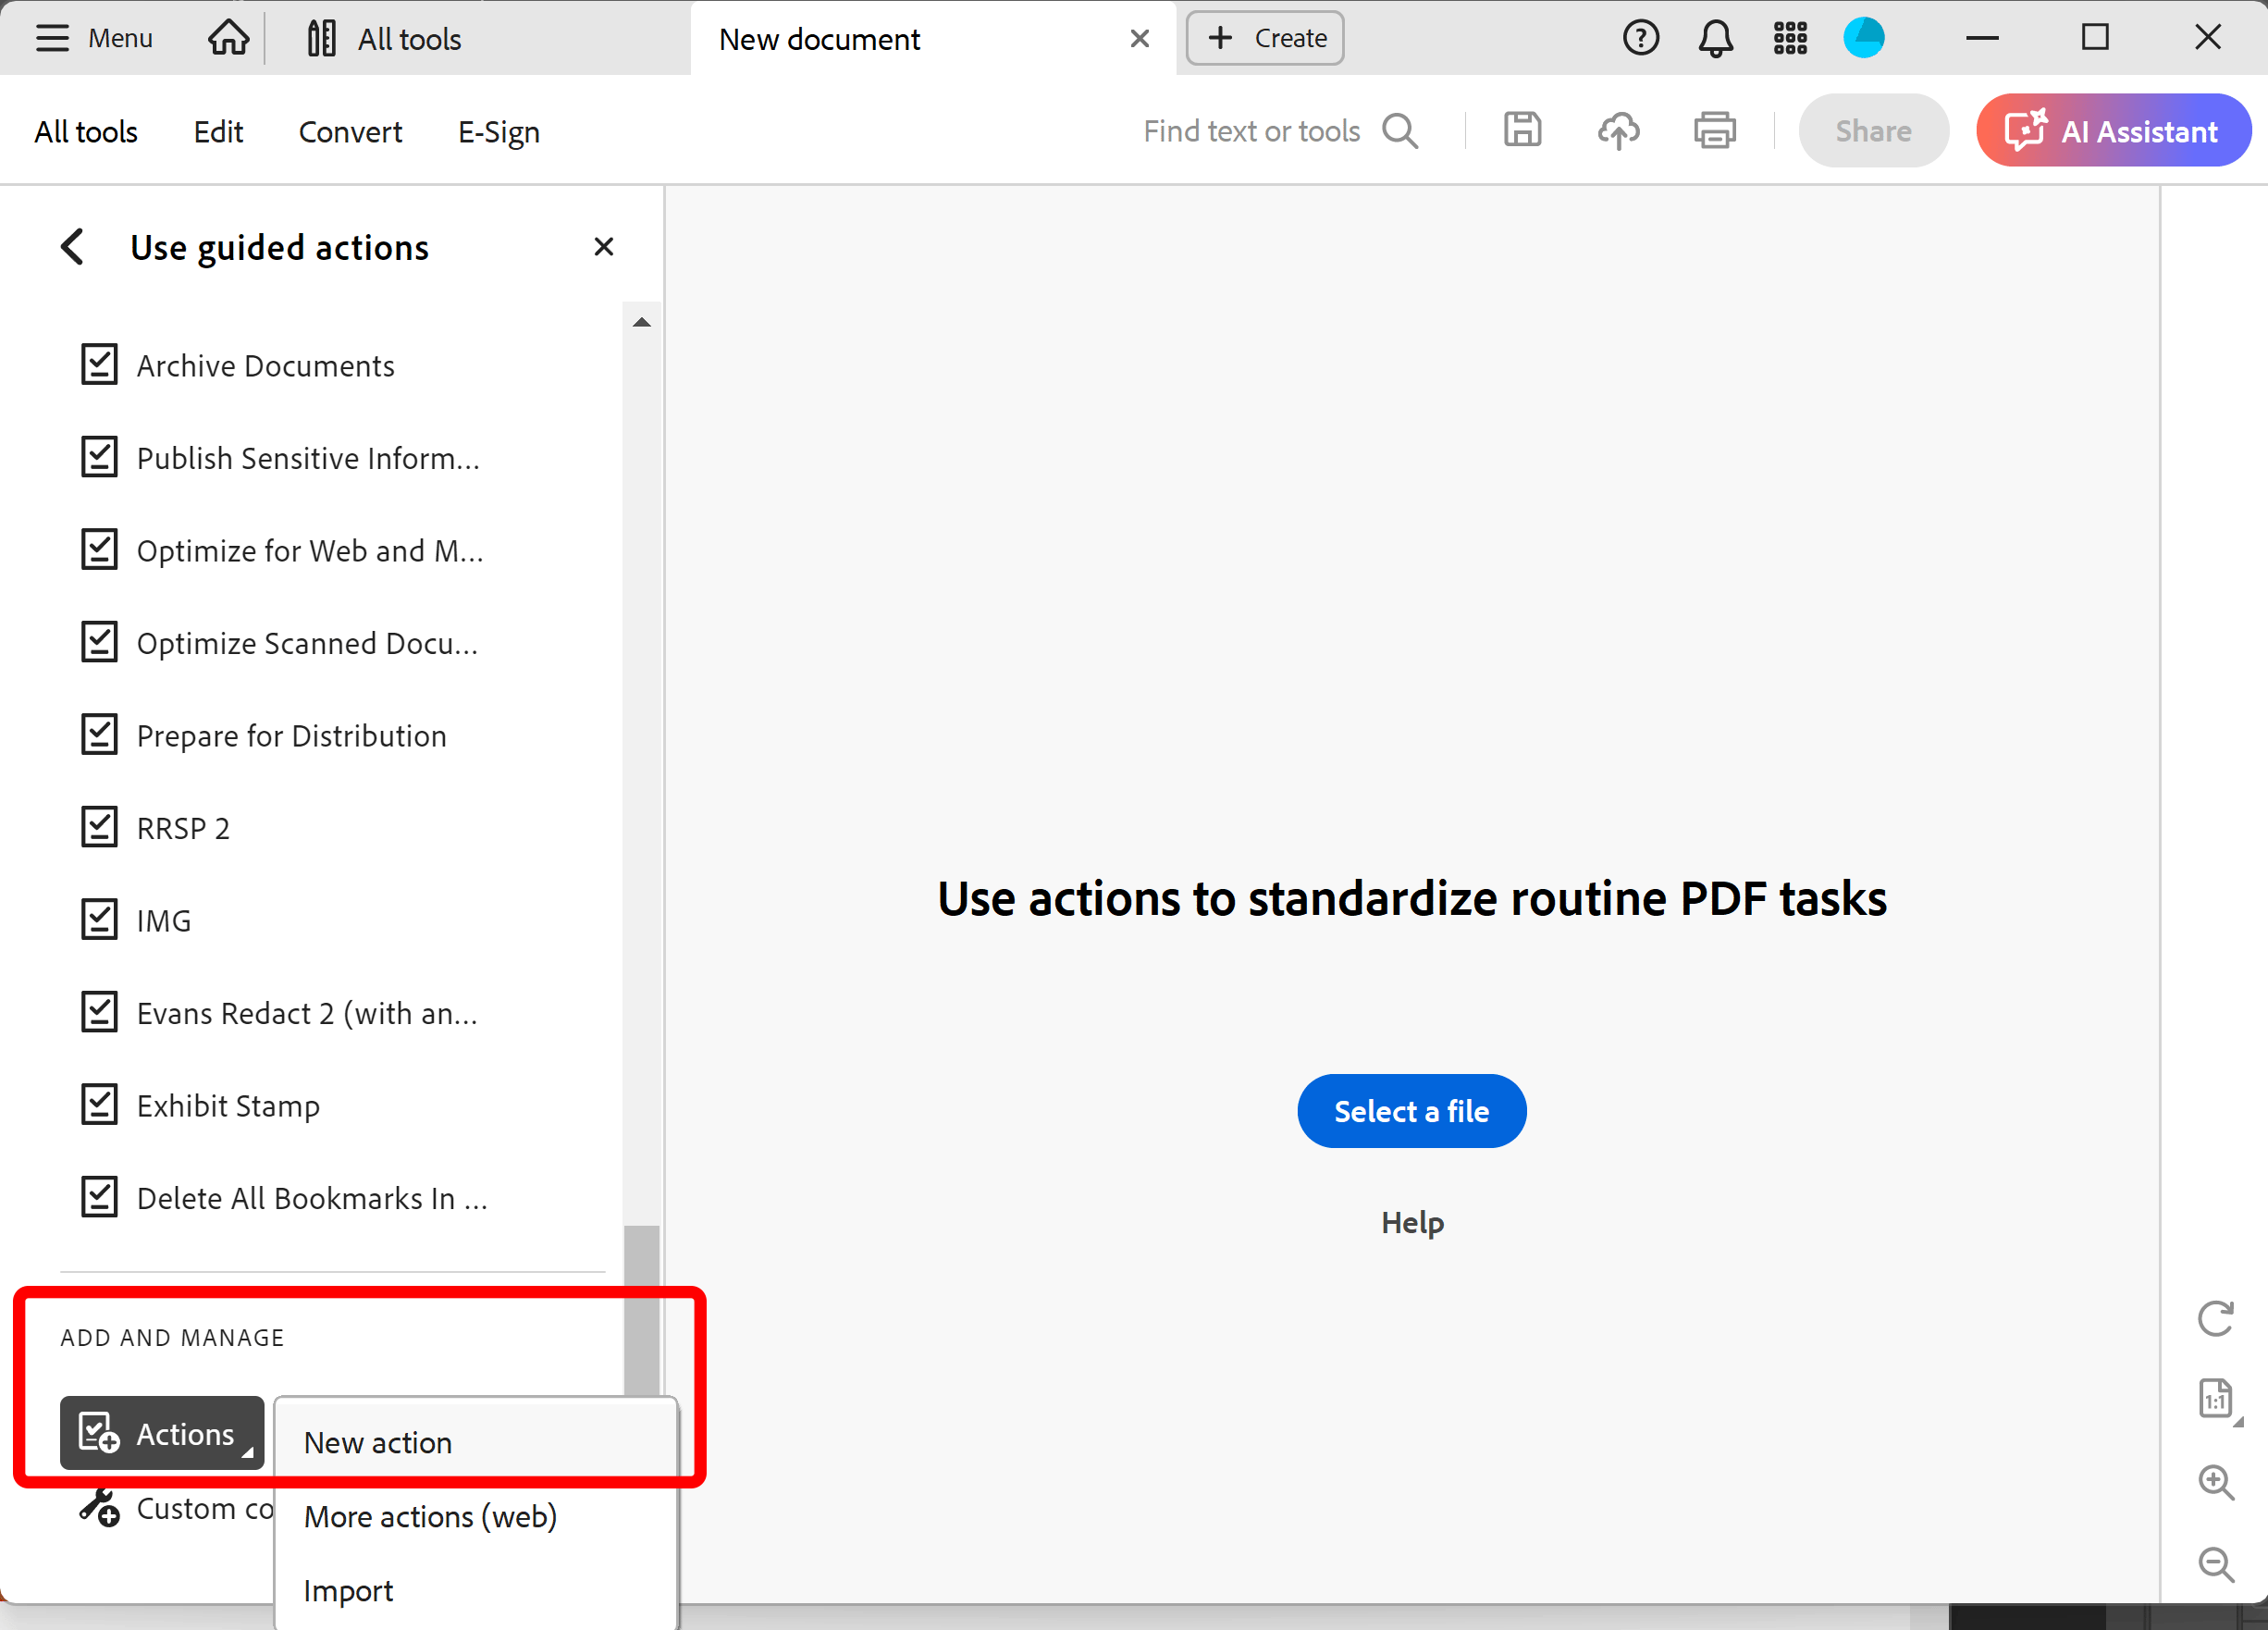
- Add New Action
- Scroll down the list of available actions until you see the ADD AND MANAGE section. Select New Action from the menu.
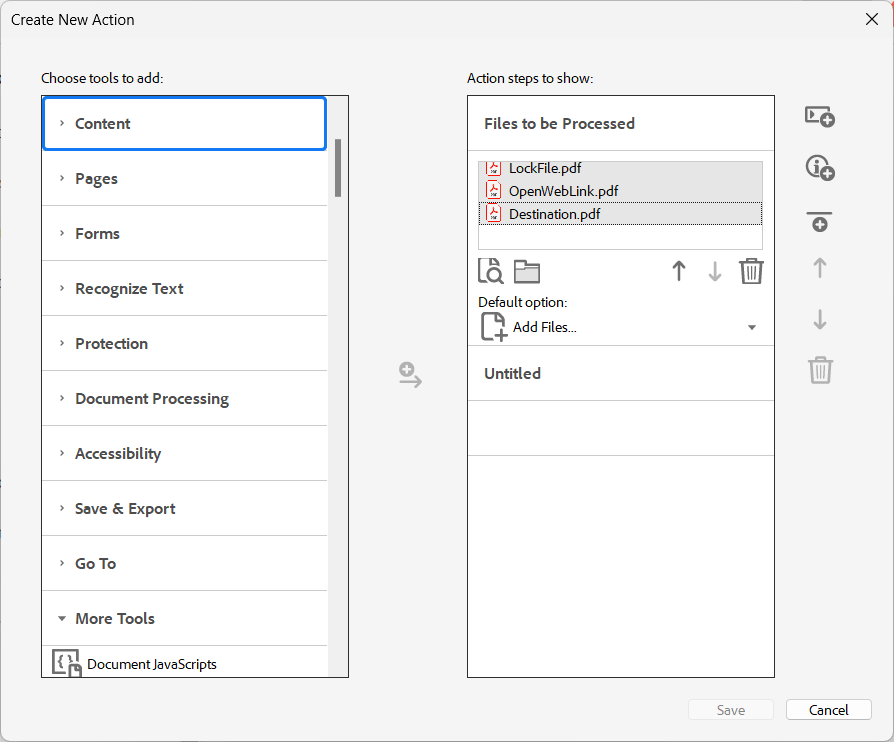
- Add Files for Processing
- Press Add Files icon and select PDF files you want to process. Use standard Windows file selection dialog to select files (not shown).
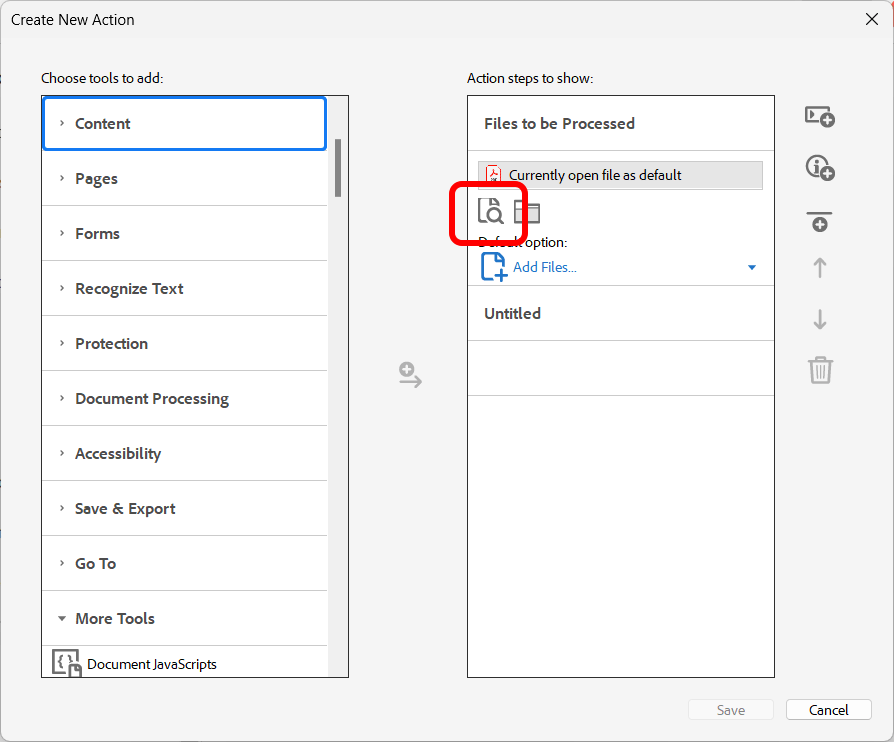
- Selected files will be added to the current list of files.
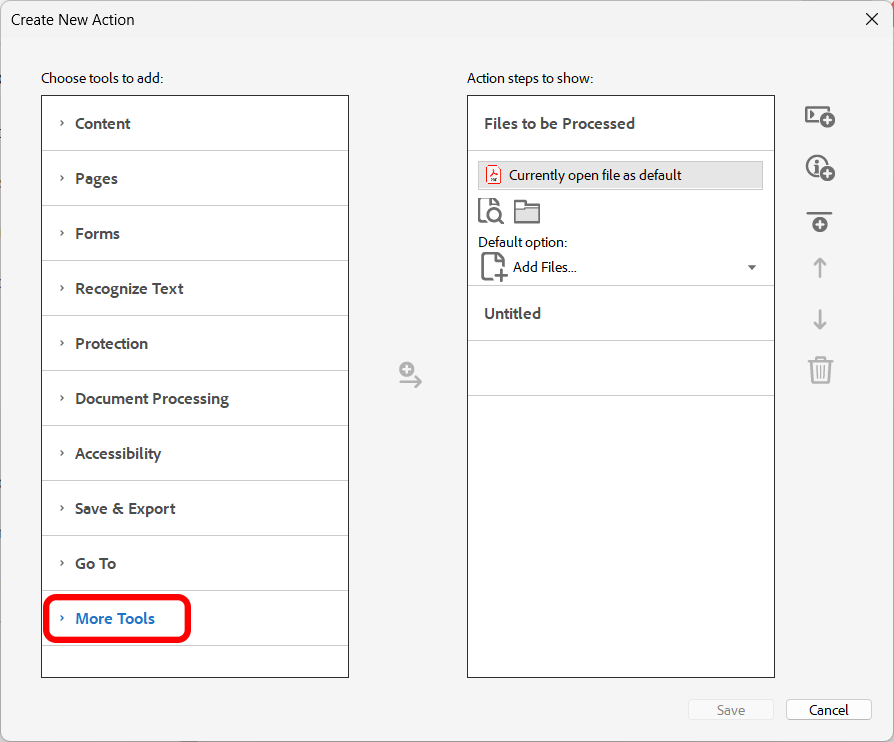
- Add Redaction Command(s)
- Expand More Tools category.
- Add "Remove Annotations" Command
- Double-click on the "Remove Annotations" command or press "+->" button to add it to the list of action steps.
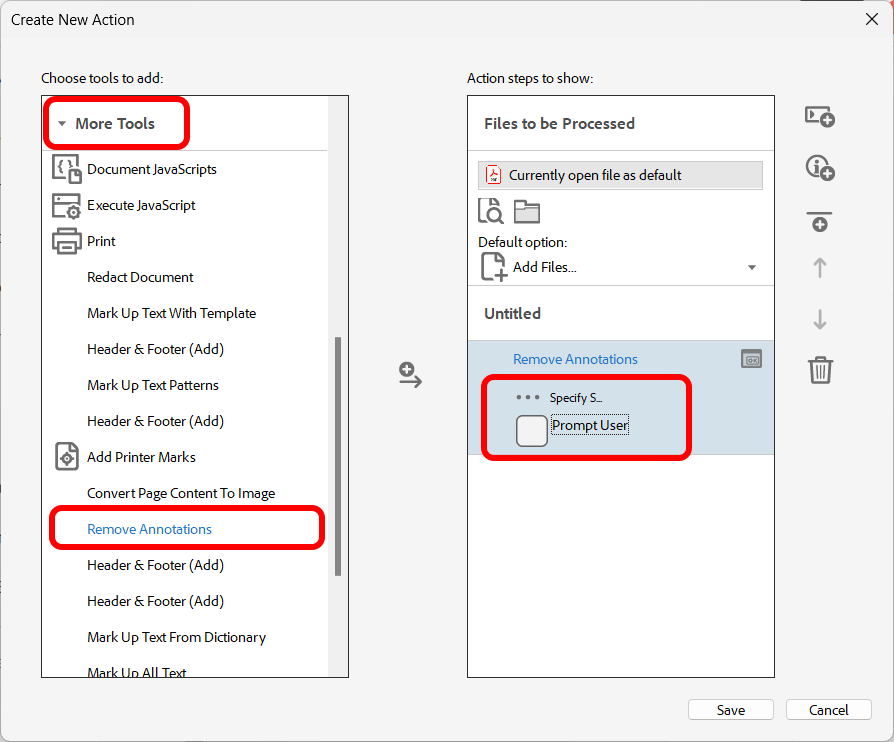
- Uncheck the "Prompt User" box, otherwise this command would always prompt for settings when executed. Click "Specify Settings" in the "Action steps to show" box.
- Specify the "Remove Annotations" Options
- Click on Specify Settings (located right above Prompt User check box). Select a processing page range and annotation types to remove. Click “OK” once done.
.PNG)
- Add "Mark Up Text From Dictionary" Command
- Expand the "More Tools" category and double-click on the "Mark Up Text From Dictionary" command or press "+->" button to add it to the list of action steps. This command searches the PDF document for the user-defined set of words and highlights them for redacting. The search terms are stored inside a "redacting dictionary". Redacting dictionaries are collections of words/phrases that need to be redacted from documents. The content of the redacting dictionary is typically user-specific and is often used on the regular basis to redact multiple similar documents.
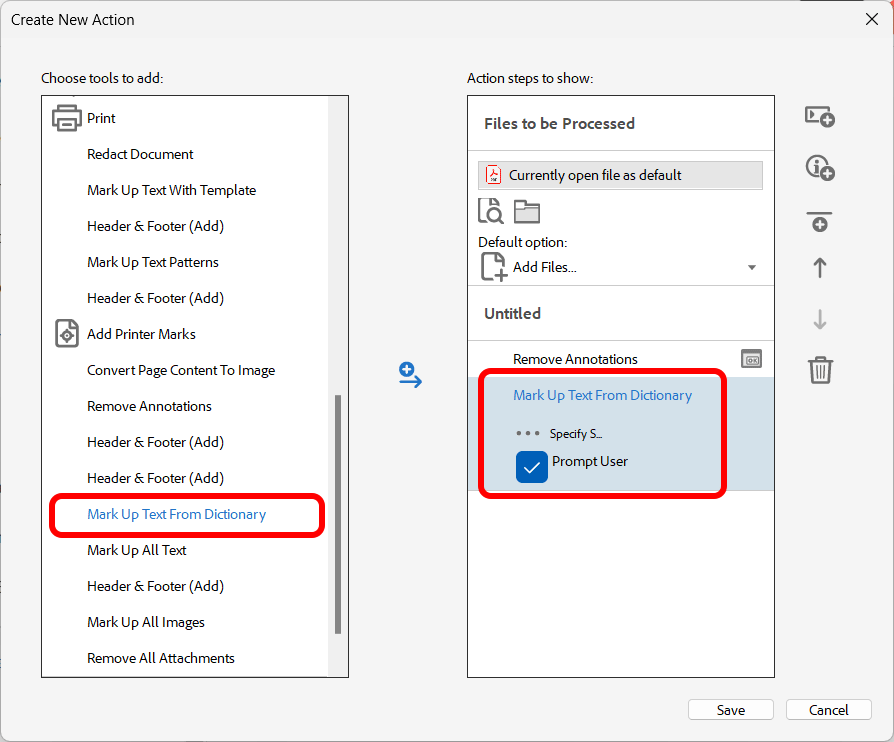
- Uncheck the "Prompt User" box, otherwise this command would always prompt for settings when executed. Click "Specify Settings" of the "Mark Up Text From Dictionary" command.
- Open Managing Redacting Dictionaries Tools
- The "Select Redacting Dictionary" dialog will be opened. If you have previously created a redacting dictionary that you want to use, then skip to Step 14. Click “Manage…” to open the managing redacting dictionaries tools.
.PNG)
- Create a New Dictionary
- Click "Create New…" button in "Redacting Preferences" dialog to create a new redacting dictionary.
.PNG)
- Enter Dictionary Name and Description
- The "Edit Redacting Dictionary" dialog will appear on the screen. Enter dictionary name and description for the new dictionary. It’s a good idea to provide a short unique name and a longer description. This will help you to identify this dictionary later.
.PNG)
- Enter Redacting Entries
- Click in the "Redacting Text" column to enter new or edit existing words and phrases that need to be redacted from the documents. Click in the "Exemption Code" column to enter new or edit existing exemption code. Optionally, redacting text can be exported to ASCII text file by clicking on "Save As Text…" or imported by clicking on “Import From Text". Click "OK" once done entering all required redacting items.
.PNG)
- Finish Editing Redacting Dictionary
- Click "OK" to close the "Redacting Preferences" dialog.
.PNG)
- Select a Redacting Dictionary
- Select a redacting dictionary to use for search and markup by selecting one from the "Select dictionary to use" list. Click "OK".
.PNG)
- Add "Redact Document" Command
- Expand the "More Tools" category and double-click on the "Redact Document" command or press "+->" button to add it to the list of action steps.
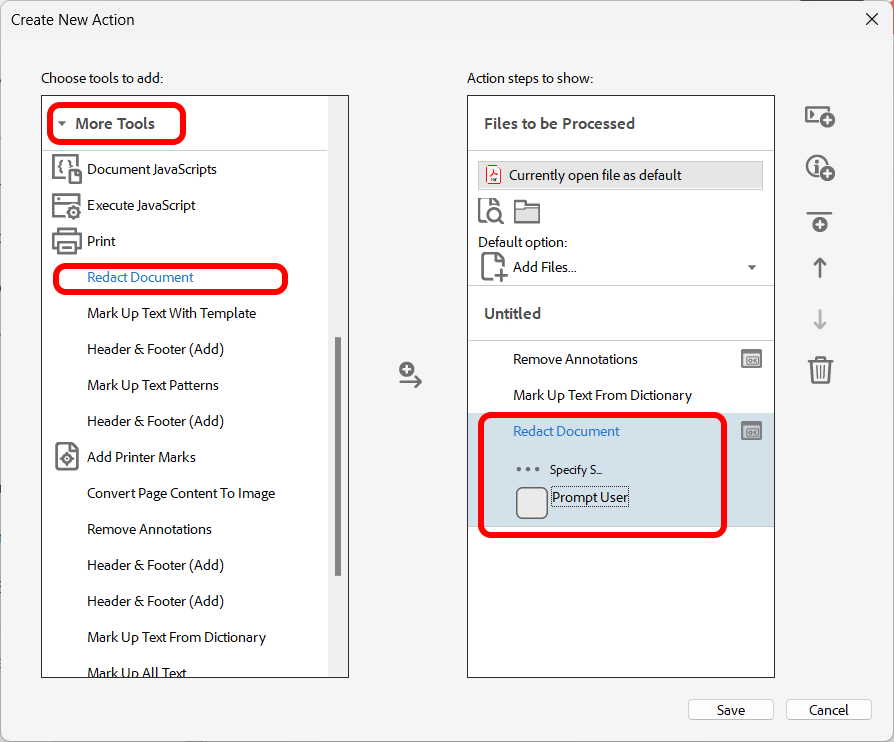
- Uncheck the "Prompt User" box, otherwise this command would always prompt for settings when executed. Click "Specify Settings" of the "Redact Document" command.
- Edit Redacting Preferences
- Press the "Edit Preferences..." button.
.PNG)
- Select Processing Options
- Select desired processing options in the "General" tab of the "Redacting Preferences" dialog.
.PNG)
- Select Visual Appearance of the Redacted Areas
- Use the "Redacting" tab to control a visual appearance of the redacted documents.
- Specify a redacting character to use for replacing the redacted text. By default, a blank space character is used.
- Uncheck the "Add exemption codes to the redacted areas in output document" box in the "Exemption Codes" section if there is no need to display exemption codes on the redacted areas.
- If redacting bars are required in the output, then check "Fill redacted areas with the color" option and select a desired color. IMPORTANT: Redacting bars are used solely for the visual appearance of the redacted areas. They are not used to cover the text. The AutoRedact® always removes redacted text from the document by replacing it with a user-specified redacting character. Click "OK" once done with processing options.
.PNG)
- Here are the various appearance options that can be achieved:
- Finish Editing Preferences
- Click "OK" to proceed.
.PNG)
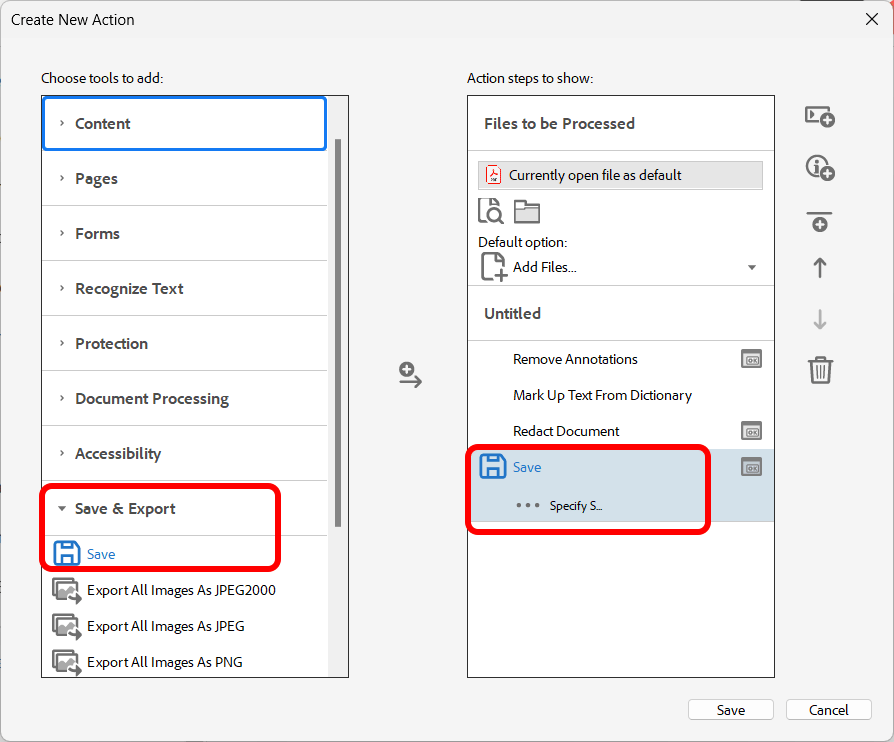
- Add "Save" Command
- Expand the "Save & Export" category and double-click on the "Save" command or press "+->" button to add it to the list of action steps.
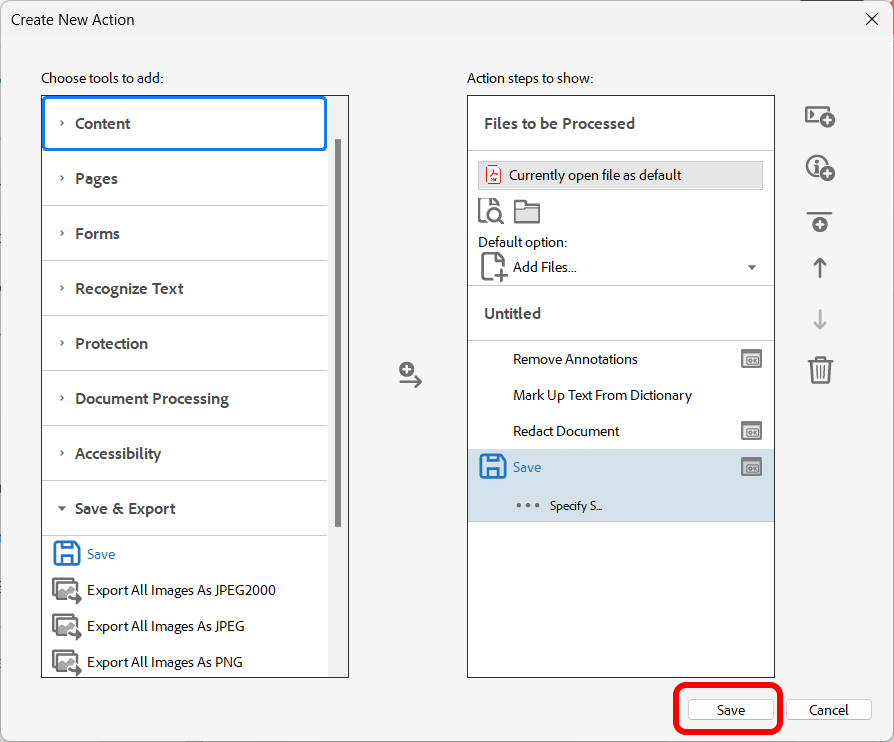
- Save Action
- Click "Save" to proceed.
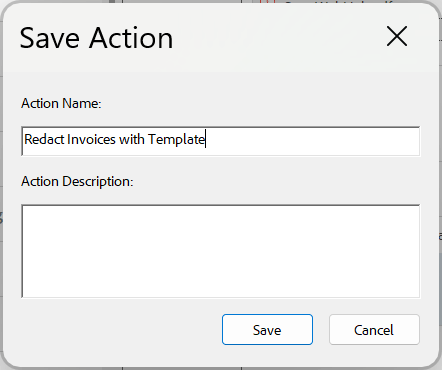
- Add Action Name and Description
- Enter a desired "Action Name" and, optionally, enter an "Action Description" into the "Save Action" dialog. Press the "Save" button to save the action.
- Run Action
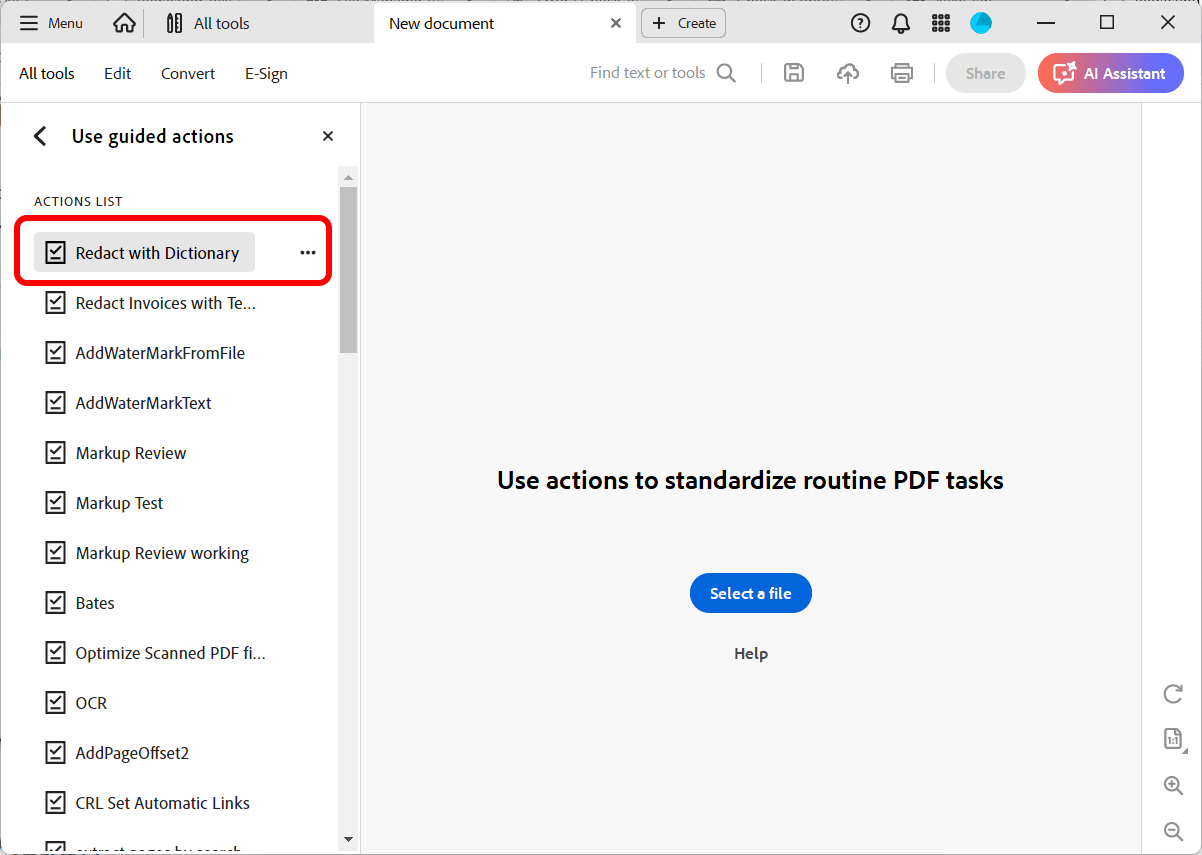
- Now you should see the new action added to the "ACTIONS LIST" toolbar. Click on the action in the "ACTIONS LIST" to execute it.
- Click here for a list of all step-by-step tutorials available.