Adding Password Restrictions for Opening, Editing and Printing Split Files
AutoSplit plug-in for Adobe® Acrobat®
- Introduction
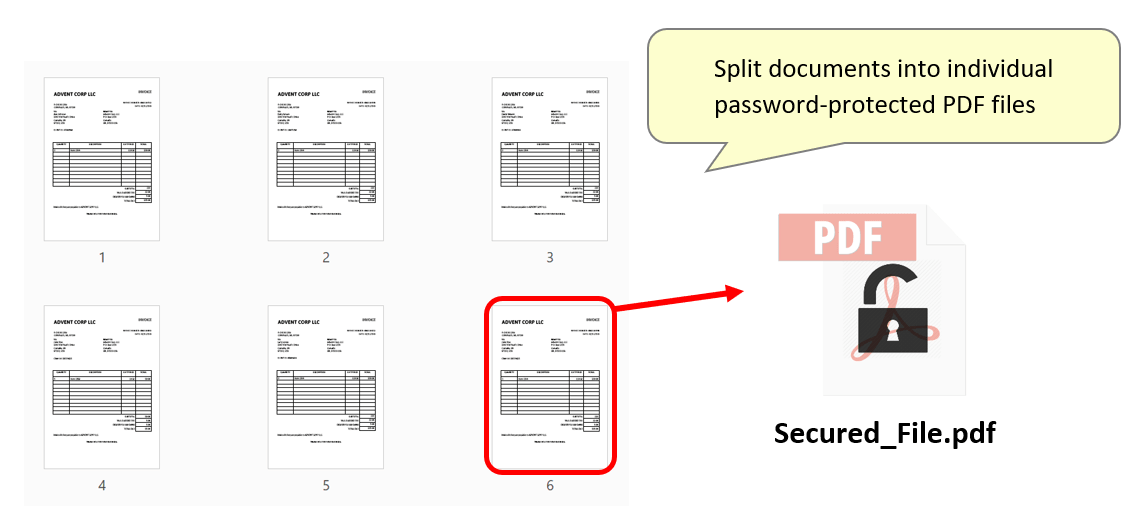
- During a split operation, it’s possible to limit access to the output PDF documents by password-protecting them. You can also restrict certain features, such as printing and editing. When a document has restricted features, any tools and menu items relating to those features will be dimmed until the password is entered. This tutorial explains how to configure both password types - as well as how to change/remove any security settings that have been applied.
- Input Document Description
- To demonstrate how to add passwords, we will carry out a basic splitting operation. The input document is a PDF file containing six combined single-page sample invoices, which will be split into six separate documents. These files will have a 'document open' password added to them, as well as an additional password that will need to be entered in order to edit or print the output document.
- Prerequisites
- You need a copy of the Adobe® Acrobat® along with the AutoSplit™ plug-in installed on your computer in order to use this tutorial. Both are available as trial versions.
- Step 1 - Open the "Split Document Settings" Dialog
- Select "Plug-Ins > Split Documents > Split Document..." from the
main menu to open the "Split Document Settings" dialog.
[⚡ How to locate Plugins menu in Adobe® Acrobat® ⚡] - Step 2 - Configure the Splitting Method
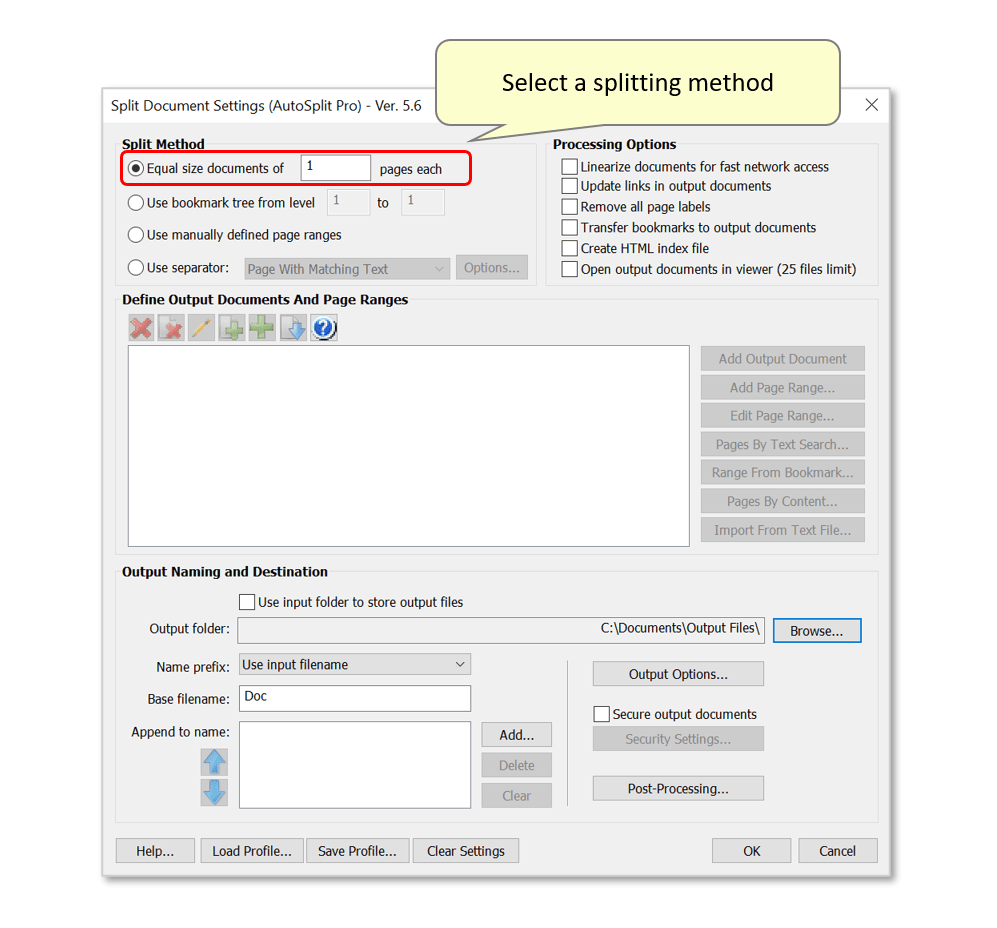
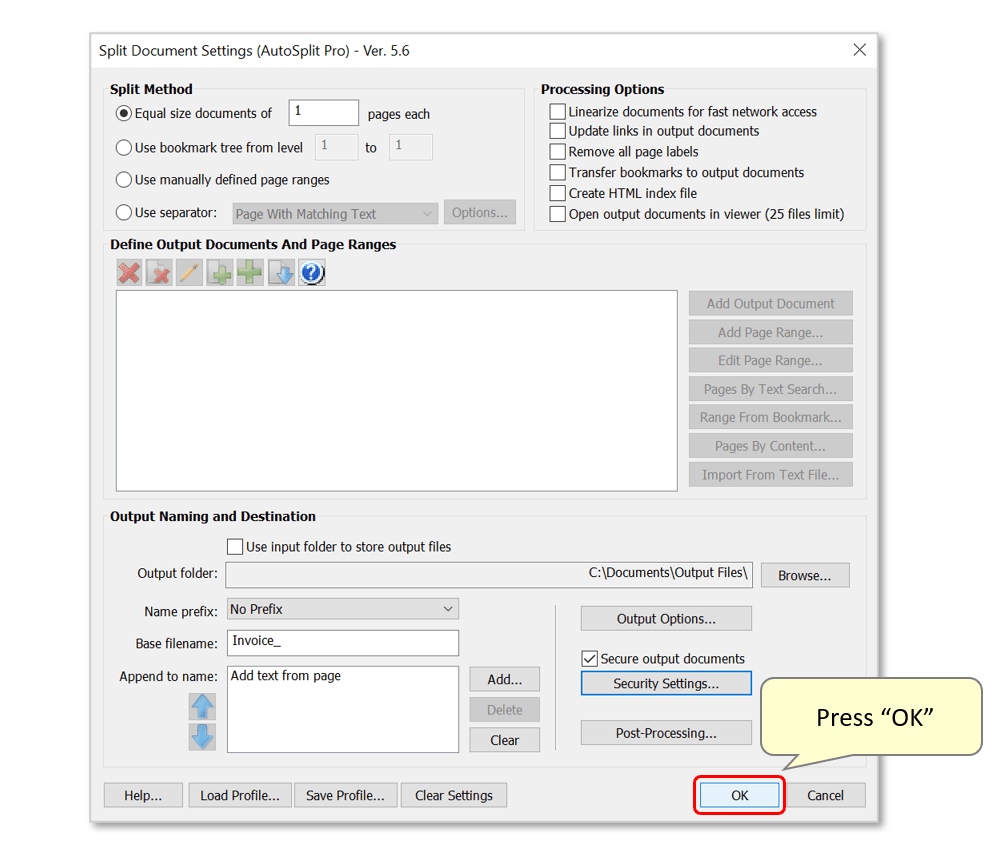
- Select a splitting method from the "Split Method" list. In this example, we use the "Equal size documents of X pages each" option. By default, this is set to "1" page-long documents. Click here for a list of splitting tutorials explaining different methods for separating large documents into individual files.
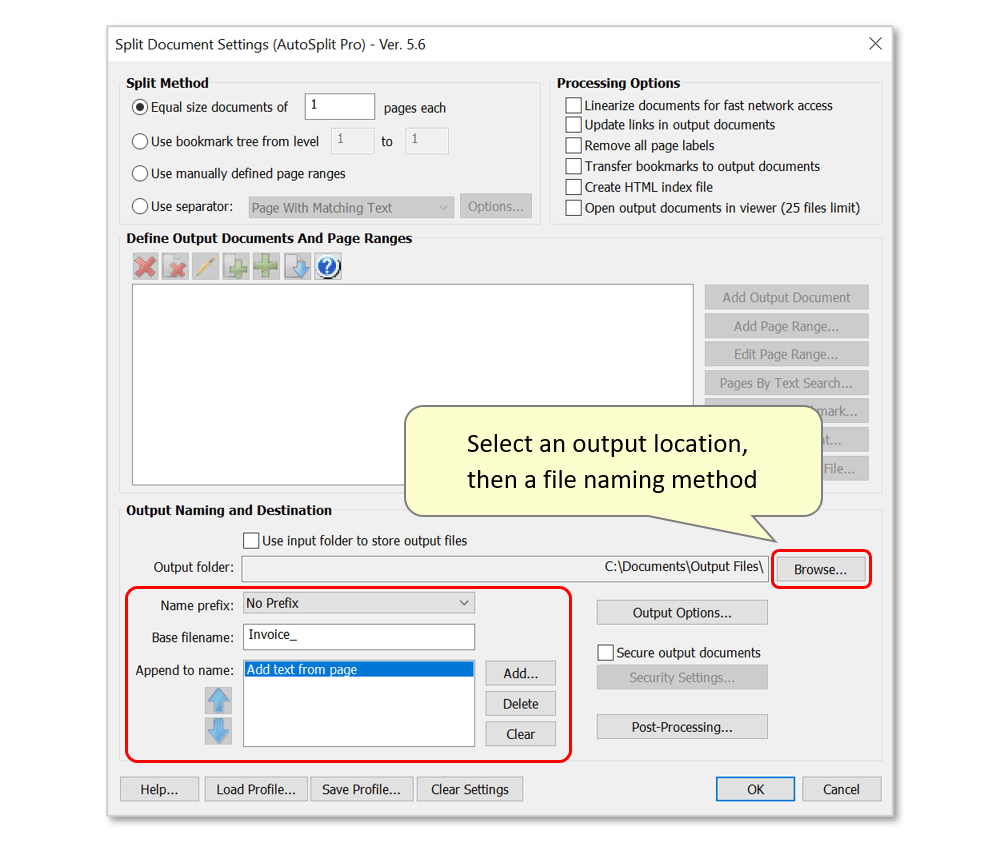
- Choose an output location for the split files with the "Browse..." button. Also configure a file naming method using the naming section - AutoSplit™ offers various ways to name output documents - for example, by extracting text from a specific page location or by using a text search. In this example, output files will be named using "Invoice_" followed by the customer name that features within each document.
- Step 3 - Open the Security Settings
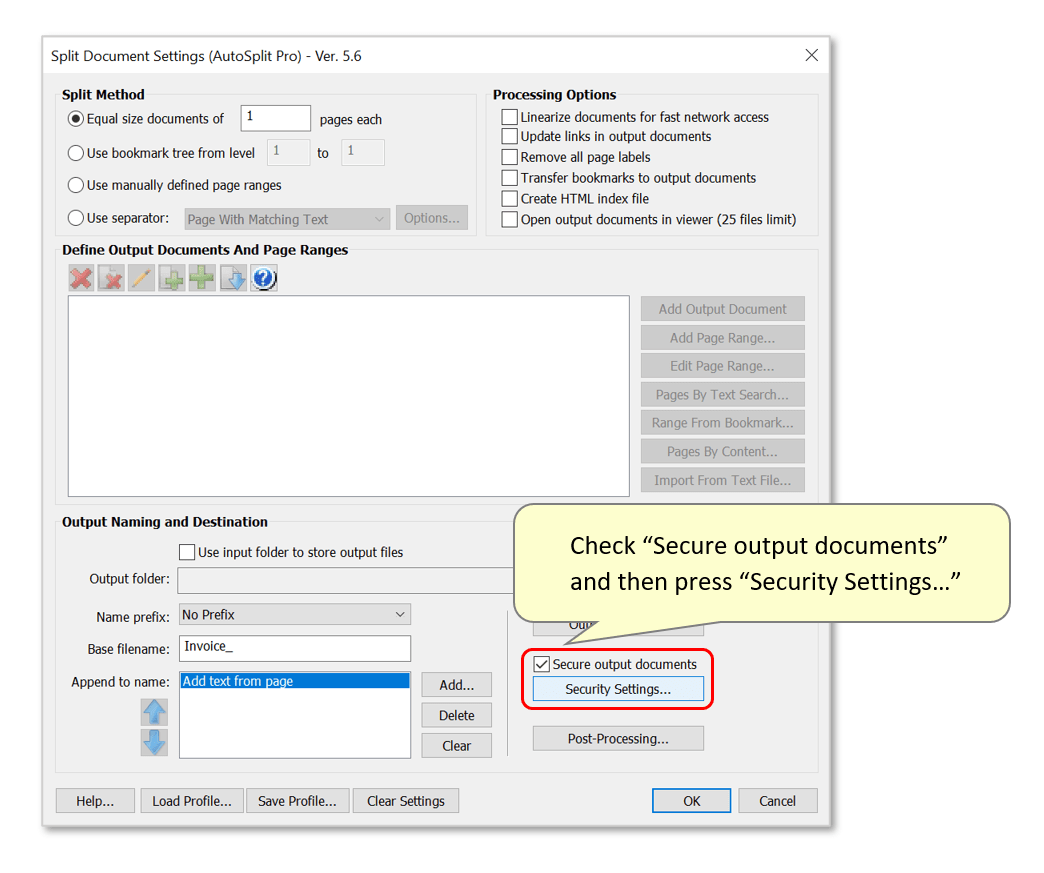
- Check "Secure output documents", then press "Security Settings...".
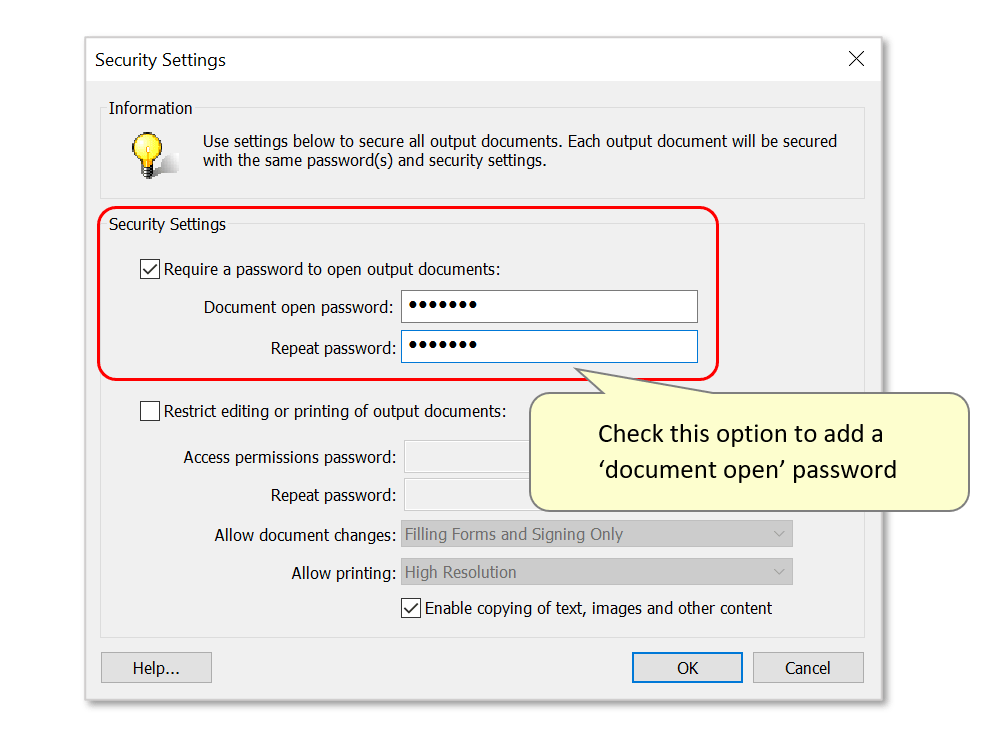
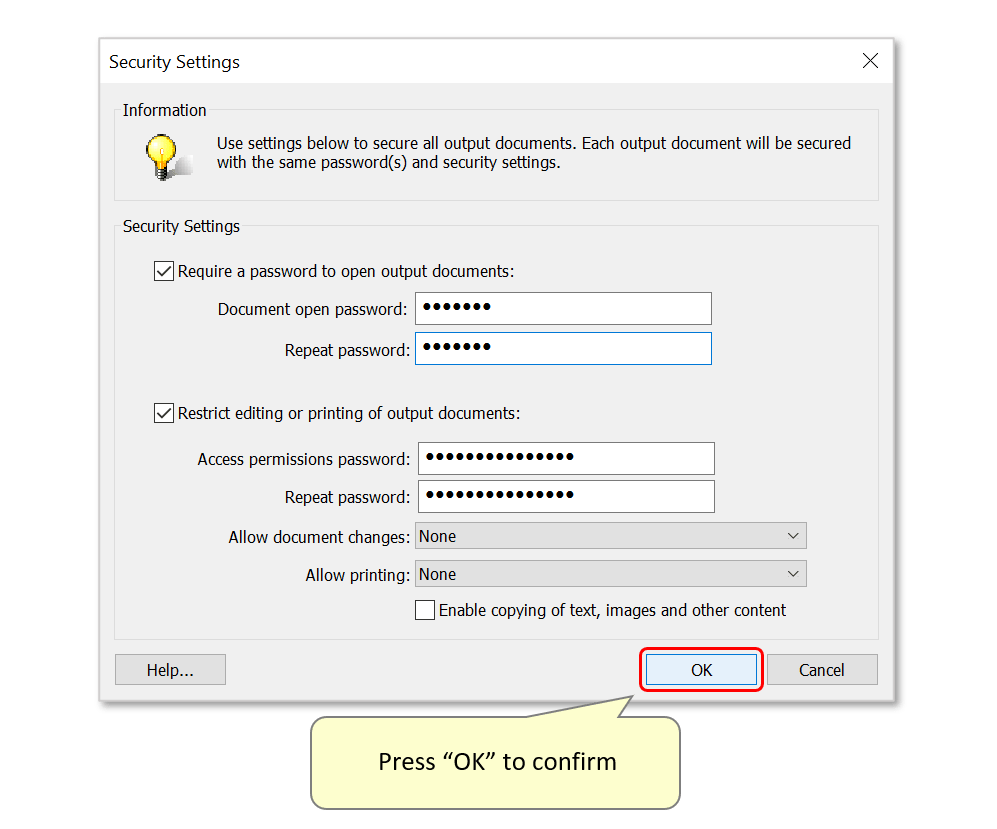
- Step 4 - Add a 'Document Open' Password
- Check the "Require a password to open output documents:" option. Now type the desired password into both boxes - they must be an identical match to be accepted.
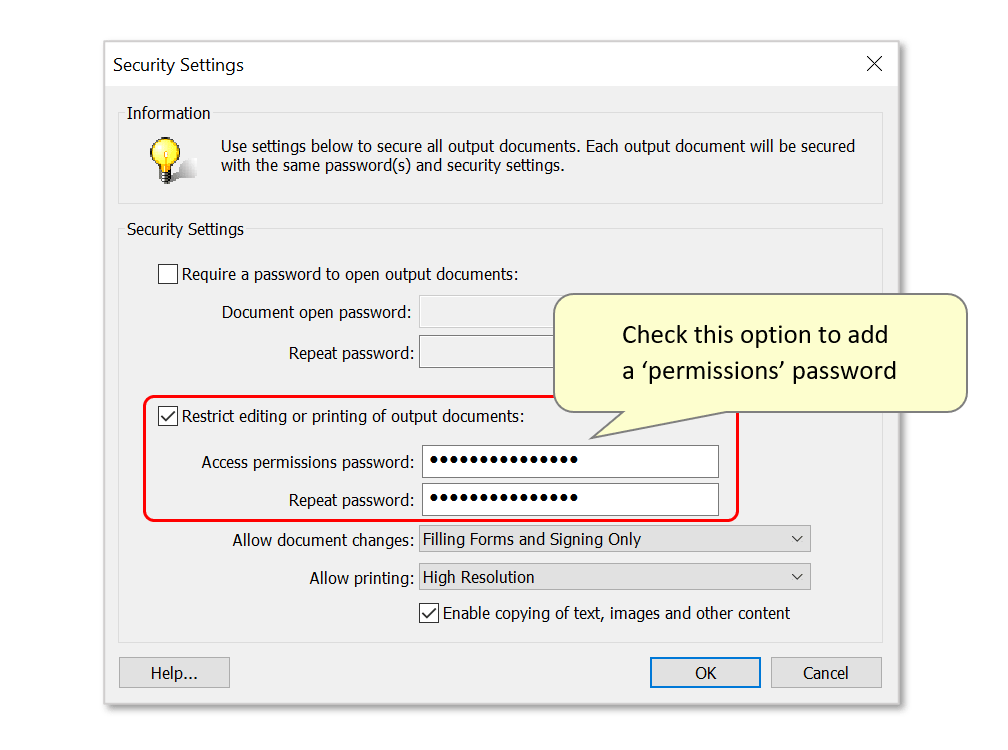
- Step 5 - Add and Configure a 'Permissions Password'
- The following settings can be used to modify how restricted output documents are until a password is entered. Begin by checking the "Restrict editing or printing of output documents:" option, then type the desired password into both boxes - they must be an identical match to be accepted.
- To modify permitted document changes, use the drop-down list next to "Allow document changes:". "Filling Forms and Signing Only" is the default option, meaning that until the permissions password is entered, only form fields can be filled and documents may be signed electronically. This can be changed so that all document editing is permitted without the password by selecting "All" - or none at all by selecting "None". The latter would mean that no modifications can be made to the output documents until the permissions password has been entered. In this example, we have selected "None":

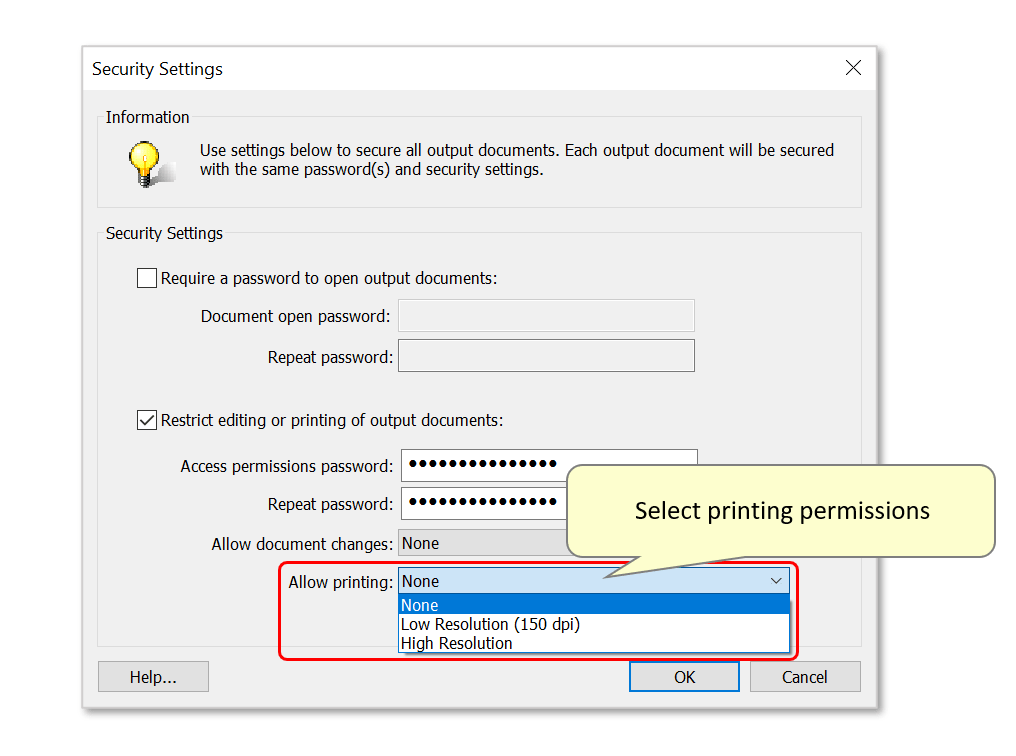
- Now use the drop-down list next to "Allow printing:" to select printing permissions when the password has not yet been entered. "High Resolution" printing is permitted by default, but this can be changed to "Low Resolution" or "None". In this example, we have selected "None" - meaning that until the password is entered, printing is NOT allowed:
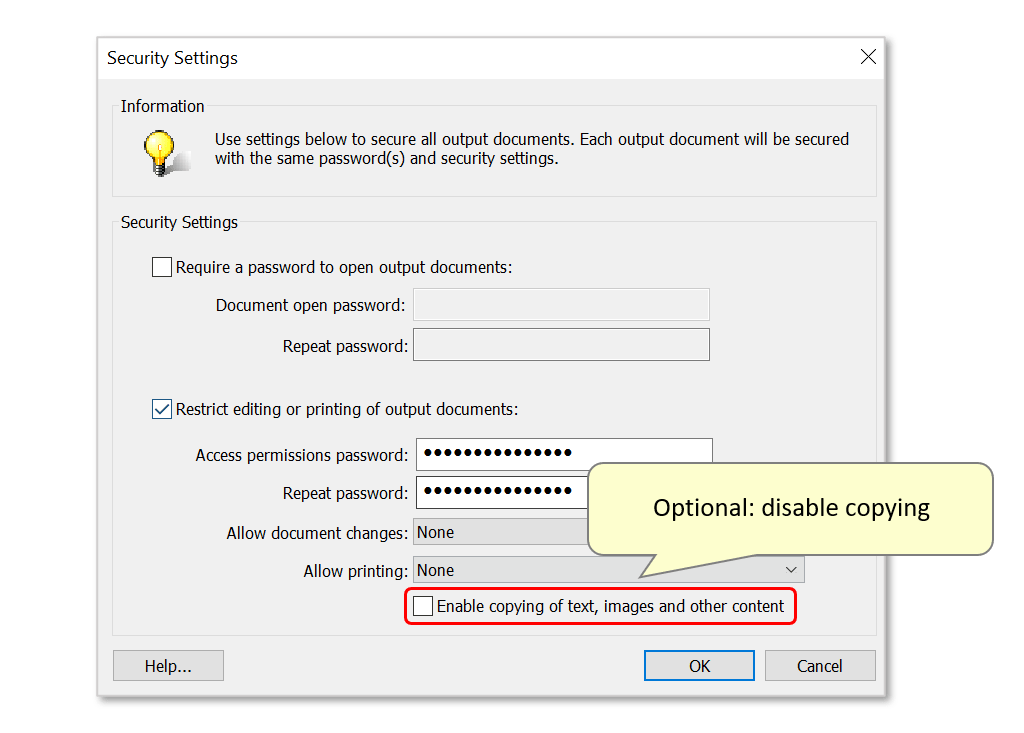
- Finally, you can also disable permissions to copy text/images by unchecking the "Enable copying of text, images and other content" option:
- Step 6 - Confirm Passwords
- Press "OK" to confirm the specified passwords. In this example, we've set a document 'open' password, as well as editing/printing restrictions under a separate password. Using this configuration, the 'copying of text, images and other content' is also restricted until the 'permissions' password has been entered.
- IMPORTANT: Note that the 'permissions' password is also sufficient to open the document. Once opened, all editing/printing restrictions will be immediately removed. If the document is opened with only the document 'open' password, the 'permissions' password will also have to be entered later.
- Step 7 - Split the Document
- Once the splitting operation has been fully configured, press "OK" to proceed.
- Press "OK" again to confirm the procedure.
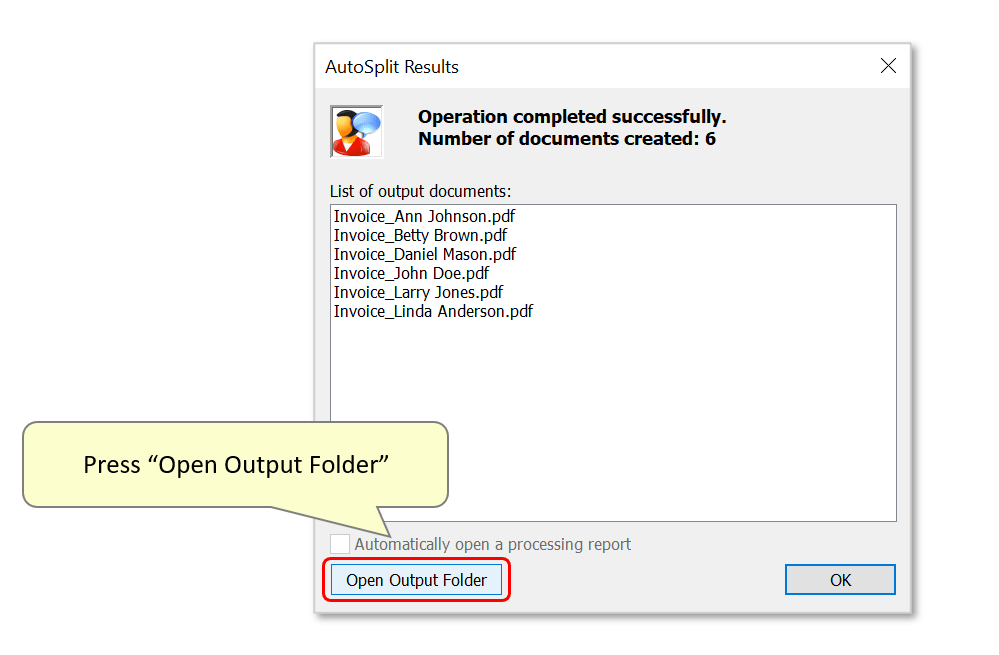
- Step 8 - Check the Results
- A results dialog lists the output files that have been created. Press the "Open Output Folder" button to view them.
- Step 9 - Enter the 'Document Open Password'
- Open an output document in Adobe Acrobat to view it.

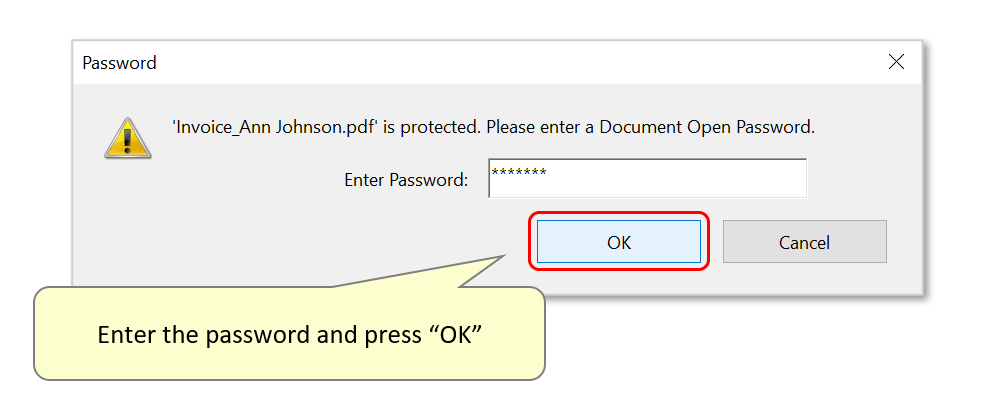
- You will be immediately prompted to enter a password - enter the previously configured 'document open' password, then press "OK".
- Step 10 - Enter the 'Permissions Password'
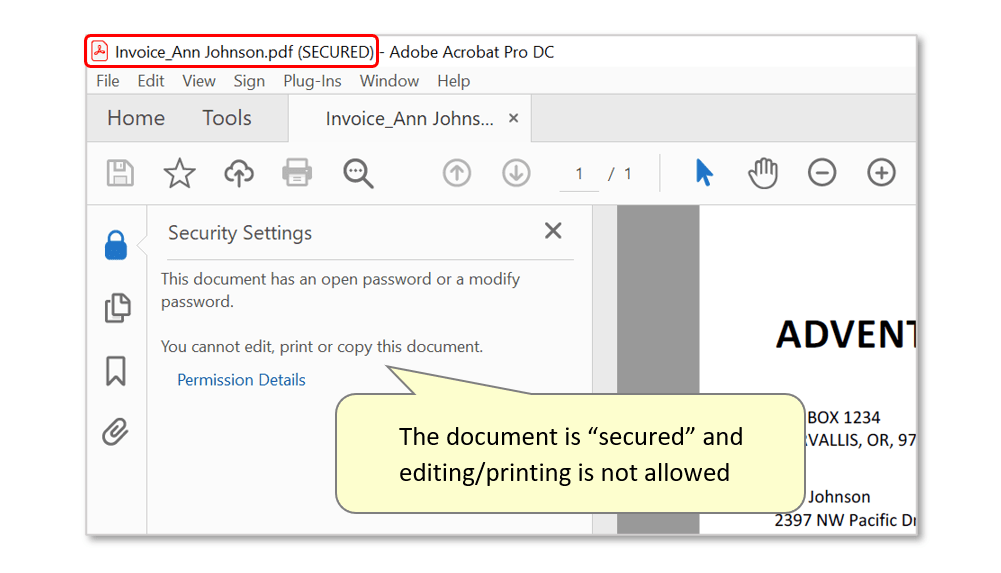
- If editing/printing restrictions have been added, the document will remain "Secured". Printing features will be disabled, and the document's content can't be edited or even copied.
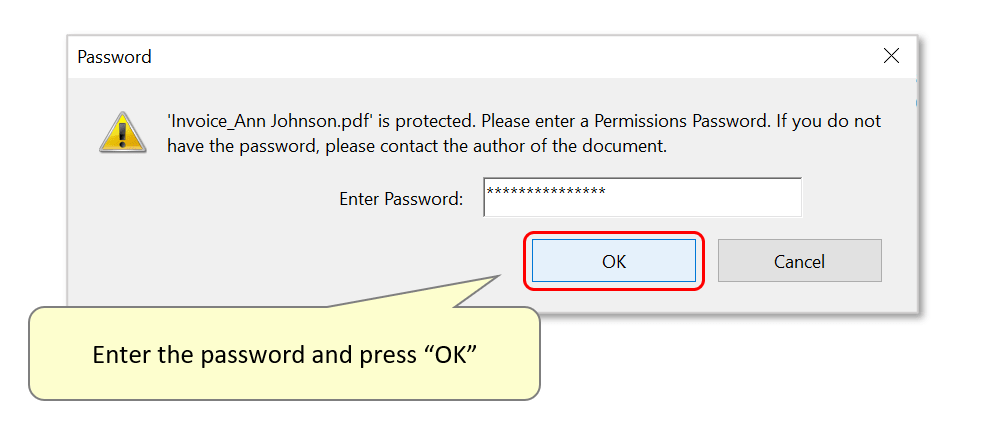
- For example, attempting to edit text will make the software prompt you to enter the 'permissions password' (highlight text > right click > "Edit Text").

- Enter the password and press "OK".
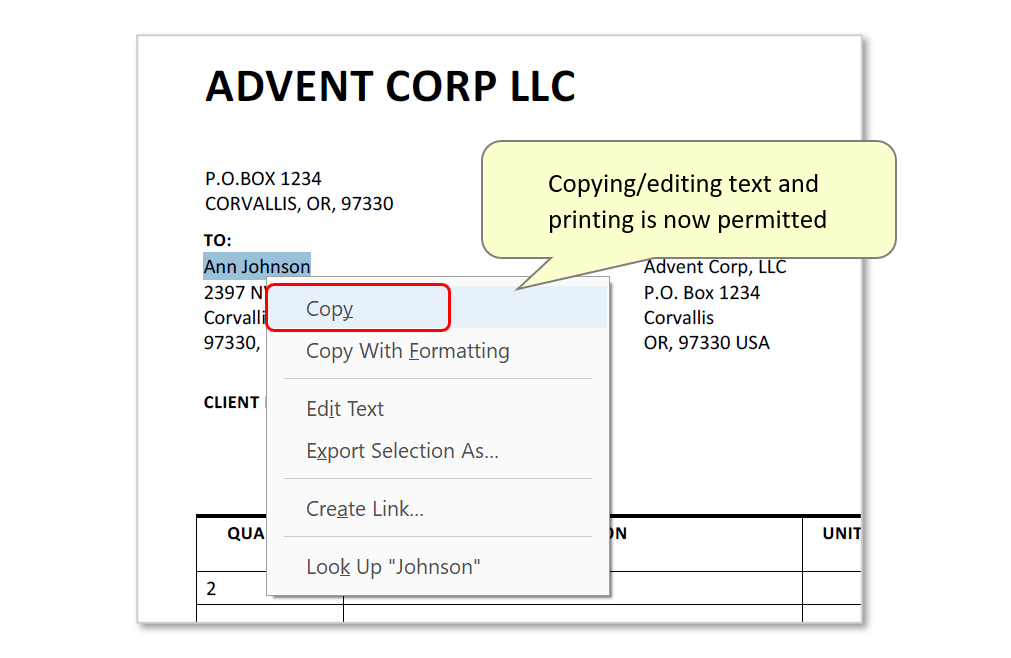
- All printing/editing/copying restrictions previously set under this password will now be removed.
- Step 11 - View Existing Security Settings
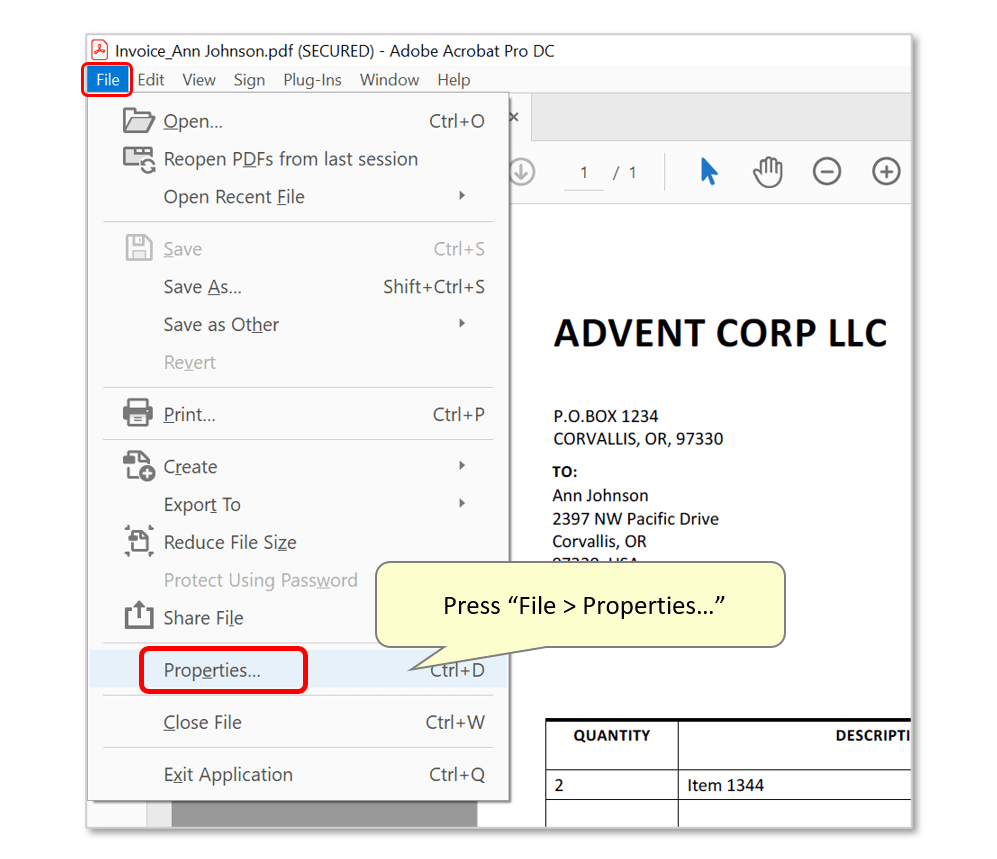
- A document's security settings can be reviewed/changed at any time by selecting "File > Properties..." from the main menu.
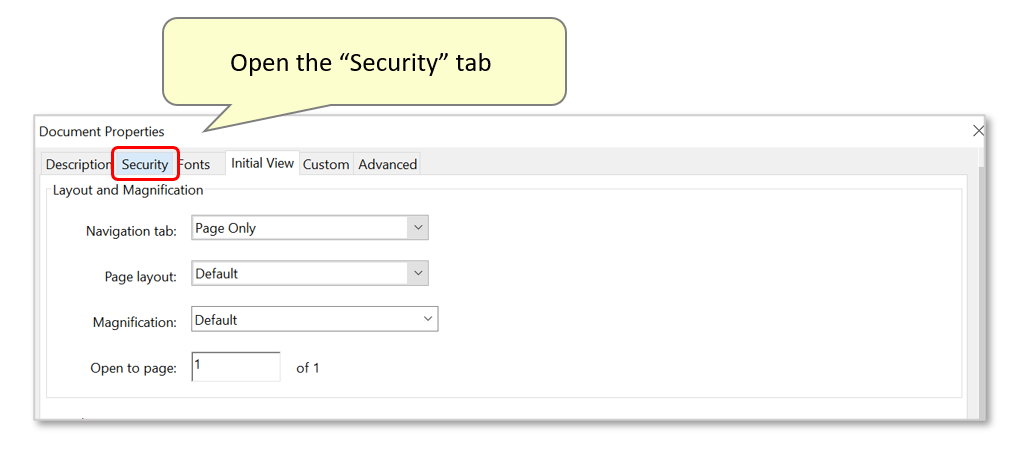
- Open the "Security" tab.
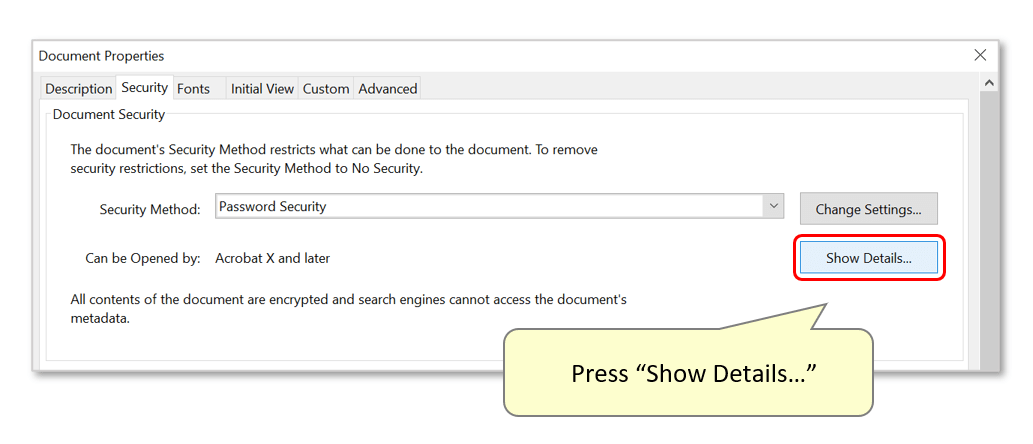
- Press the "Show Details..." button.
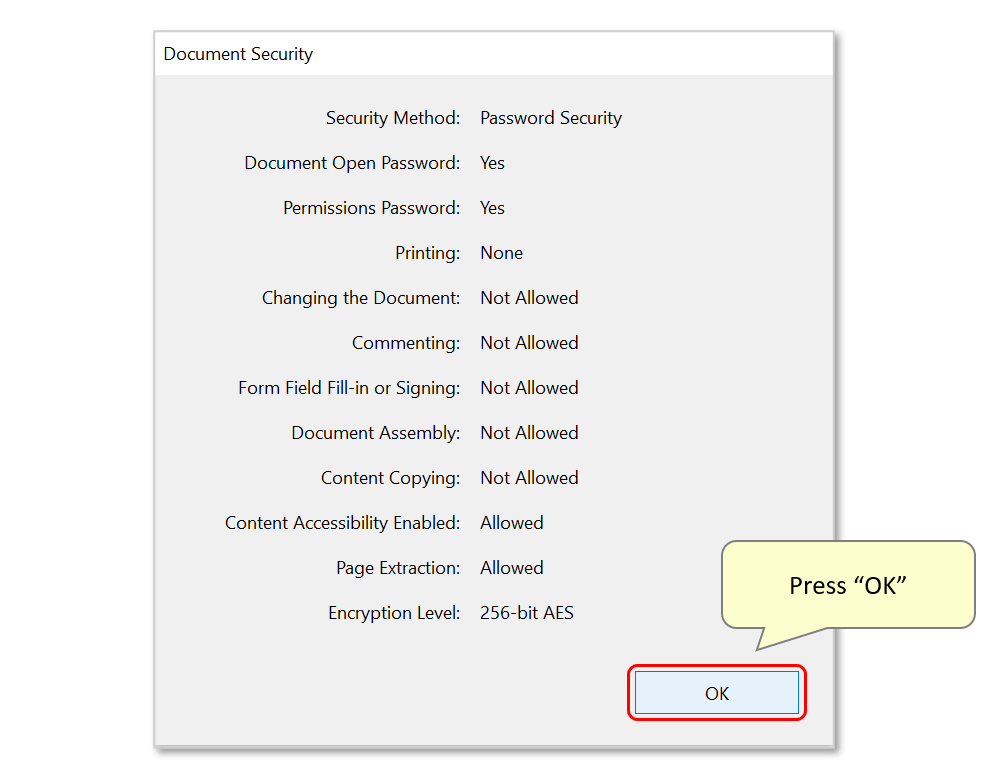
- Any existing password-related restrictions are detailed here. Press "OK" to close the dialog.
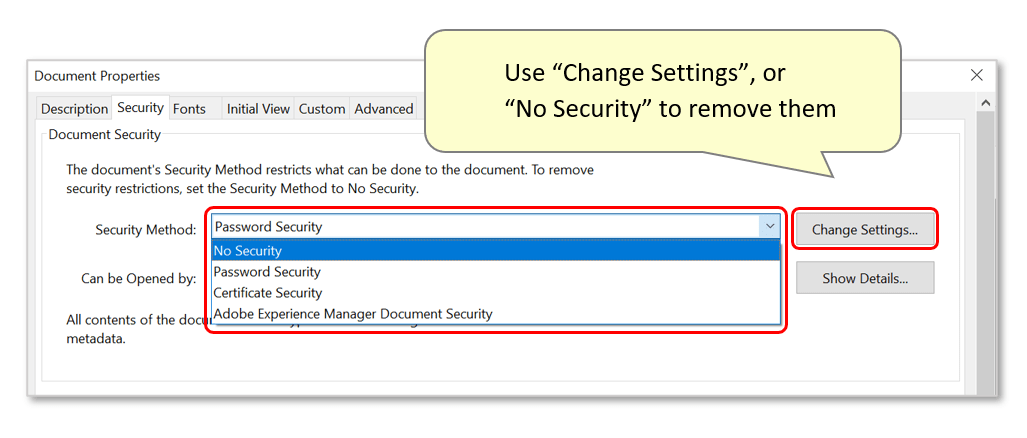
- Step 12 - Change or Remove Security Settings
- The "Change Settings..." button can be used to open a dialog where passwords and their corresponding document restrictions can be modified.
- To remove restrictions, set the 'Security Method' to "No security" via the drop-down list of options.
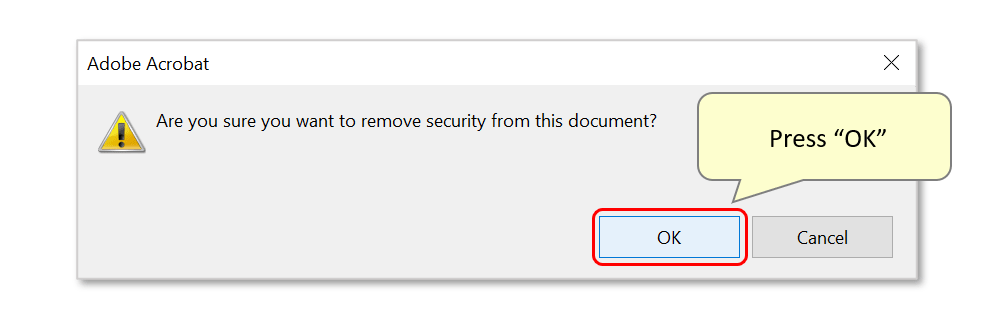
- Press "OK" to confirm removing the security settings.
- Click here for a list of all step-by-step tutorials available.