Bookmarking Text Patterns in Multiple PDF Files via Action Wizard
- Introduction
- AutoBookmark™ can be used to automatically create multiple-level bookmarks in a PDF document by searching it for text that matches a specific pattern. Text patterns are very common in business documents: account numbers, invoice numbers, order numbers, various IDs, form fields, dates, amounts, phone numbers etc. This provides a great opportunity to automate bookmark generation process across document collections. This tutorial demonstrates how to use AutoBookmark with Action Wizard tool to create a bookmark generating “action” which can be executed on multiple documents at once with a single click. The input document(s) will be searched for text that matches specific patterns – matching text will be bookmarked to create the desired bookmark hierarchy. Action Wizard is a batch processing tool that comes with Adobe Acrobat Pro and provides a way to automate processing of multiple documents at once. The AutoBookmark Pro adds most of its operations as commands to Action Wizard.
- Bookmarking Approach
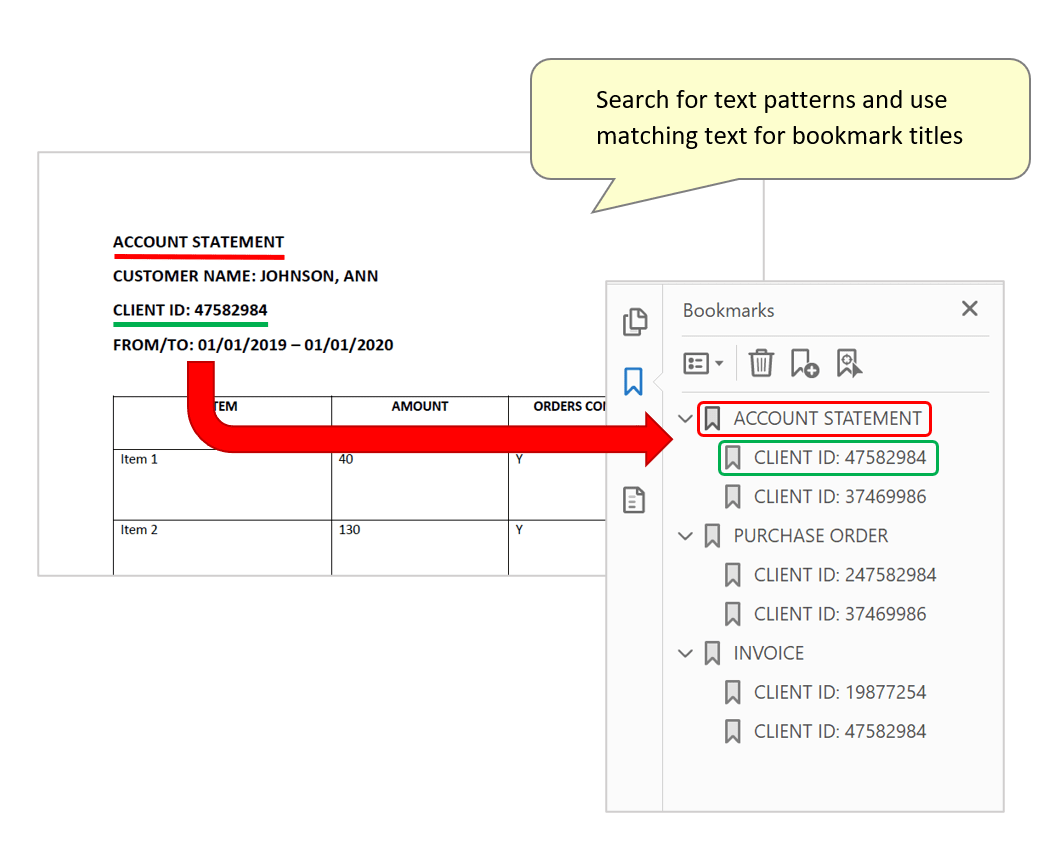
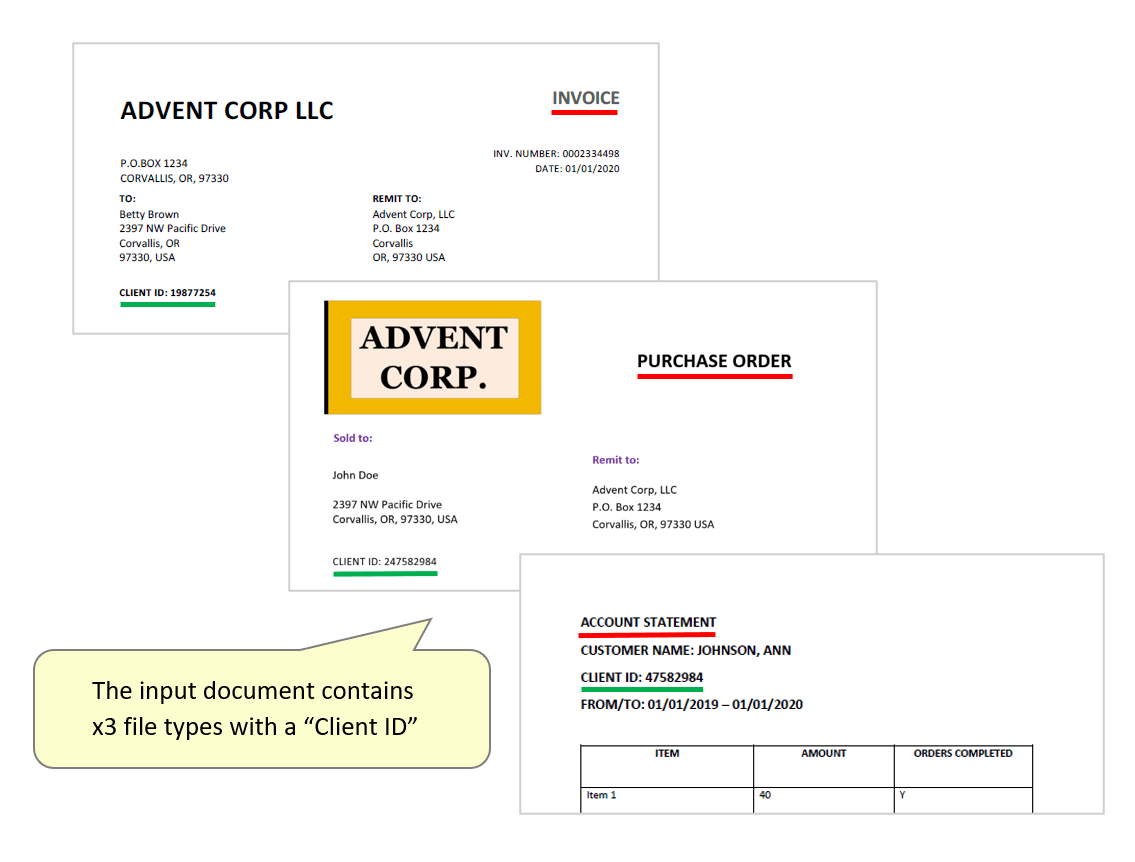
- The input document used here is a PDF that contains multiple combined document types - invoices, purchase orders and account statements. The action created will be used to identify the presence of this text within them, and bookmark each page (1st level). Child bookmarks (2nd level) will then be created that are named after unique “Client ID” numbers that feature on each page. The resulting bookmark structure provides an efficient way to review and navigate the document’s content. (Note that the input document is a collection of single-page files, but documents of any length would still be successfully bookmarked via this method.)
- Prerequisites
- You need a copy of Adobe® Acrobat PRO® along with the AutoBookmark™ PRO plug-in installed on your computer in order to use this tutorial. Both are available as trial versions.
- Step 1 - Open Action Wizard
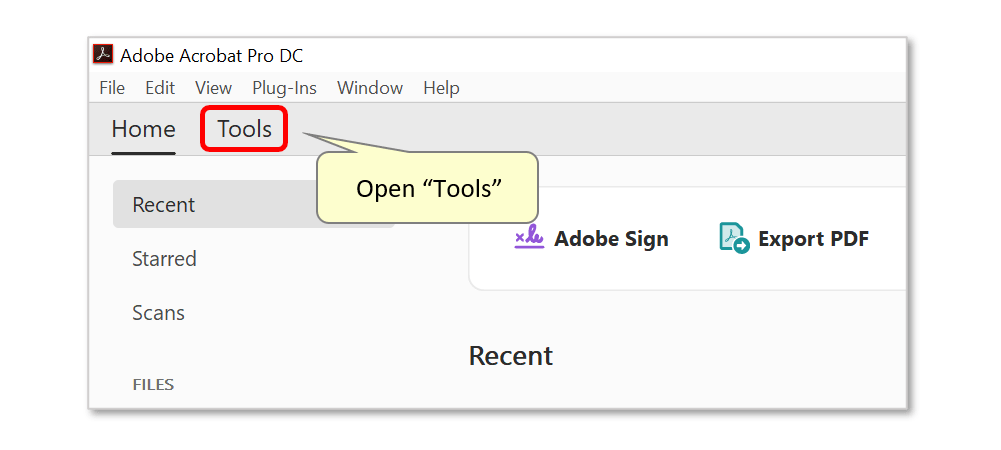
- Start Adobe® Acrobat® Pro and open the "Tools" panel located on the main Acrobat toolbar.
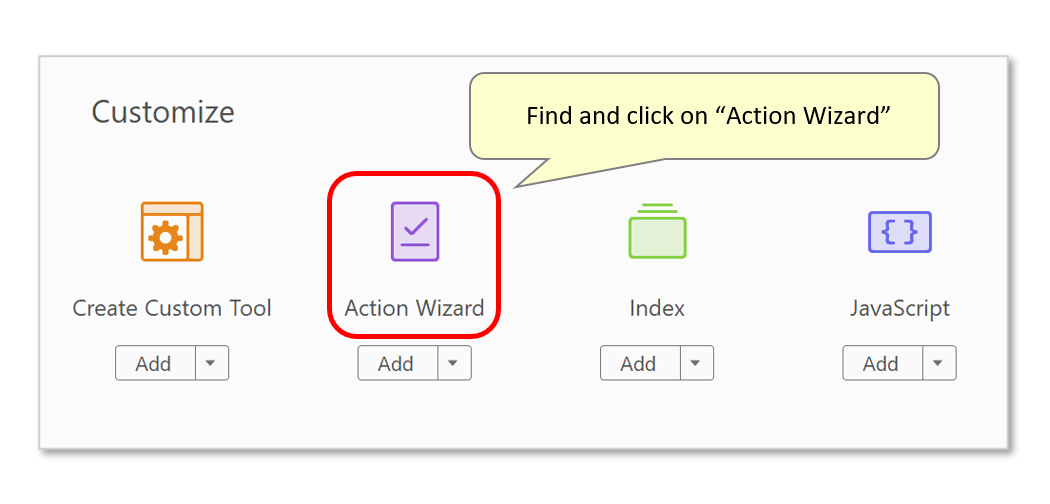
- Scroll down and click on the "Action Wizard" tool icon.
- Step 2 - Create a New 'Action'
- Click on the "New Action" icon on the Action Wizard toolbar to create a new batch processing "action".

- Step 3 - Add a Bookmarking Command to the Action Steps
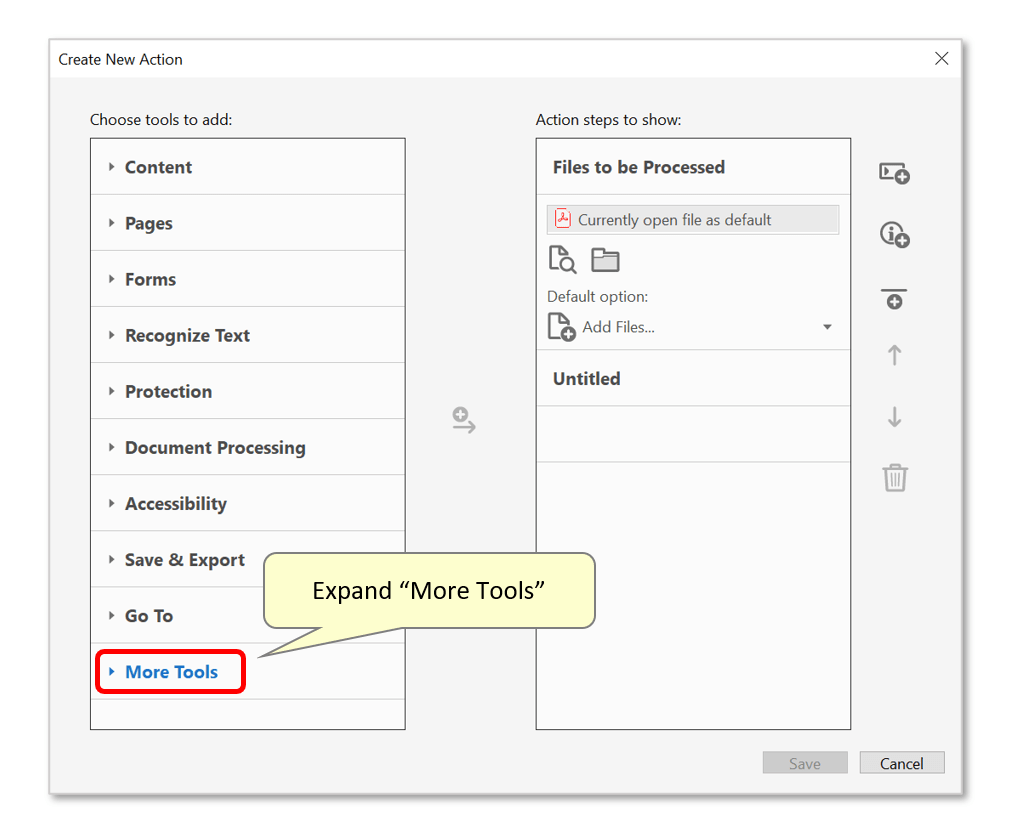
- Click on the "More Tools" category to expand the list of available commands.
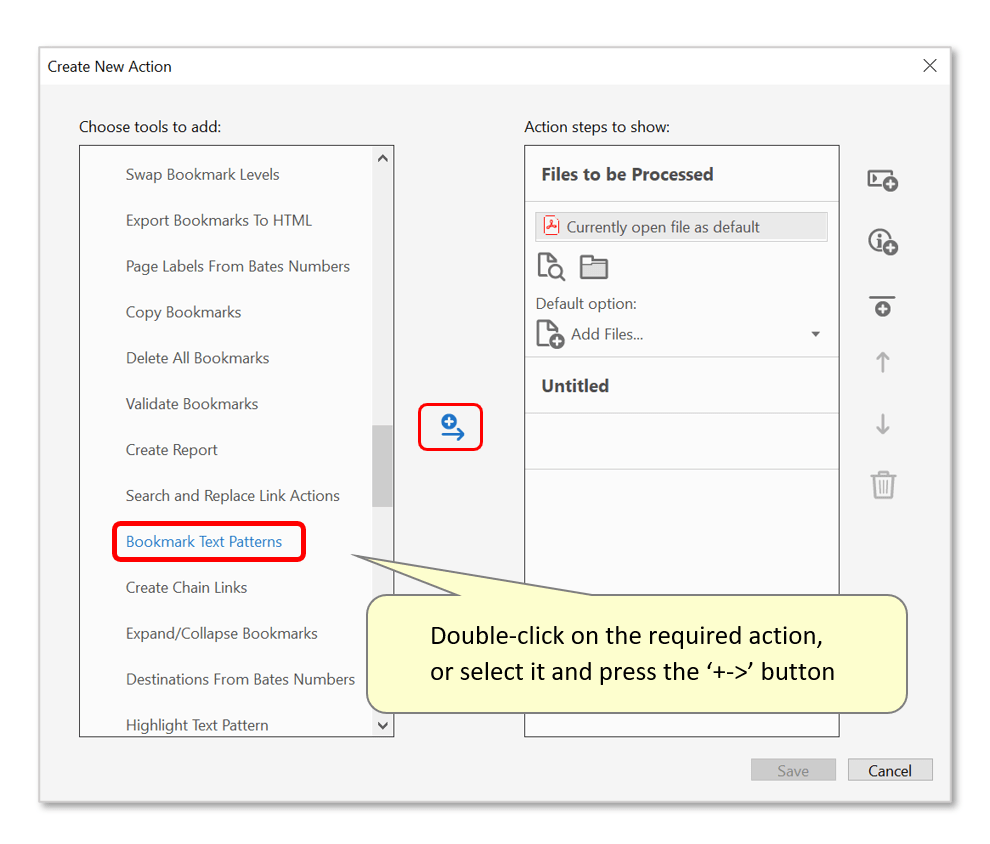
- Find and double-click on the "Bookmark Text Patterns" command - or select it and press the "+->" button to add it to the list of action steps on the right.
- Step 4 - Open the Bookmarking Settings
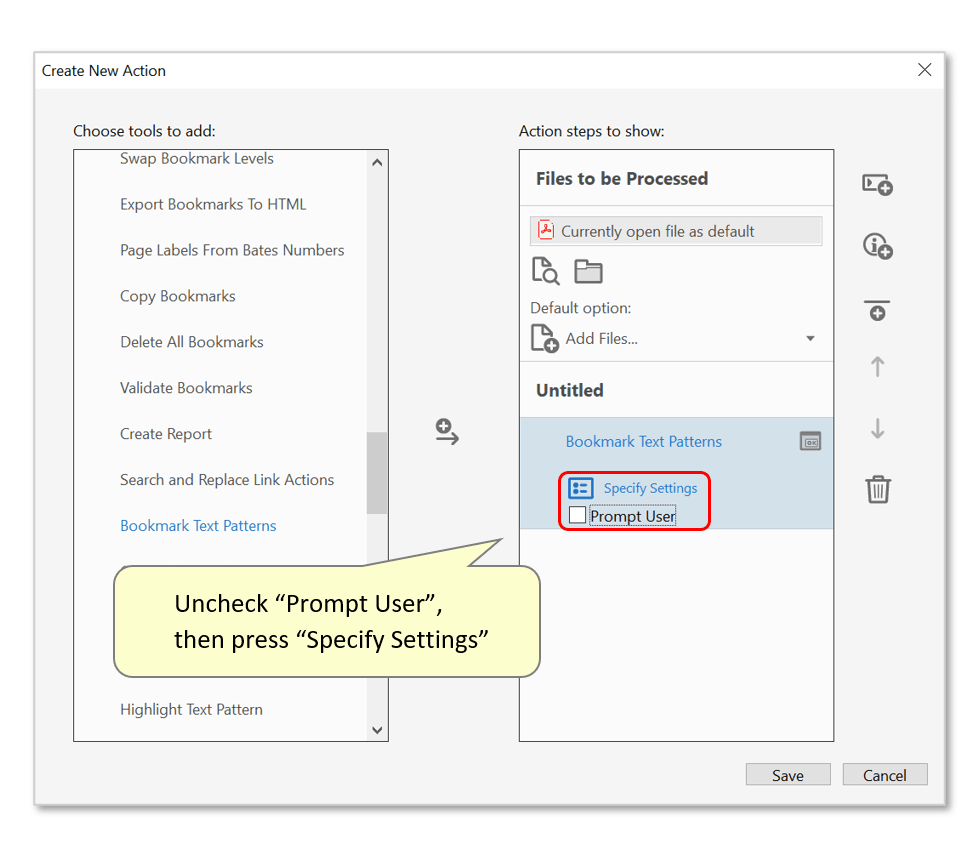
- The "Bookmark Text Patterns" command will appear in the "Action steps to show:" list. Uncheck the "Prompt User" checkbox, otherwise the program would always prompt for the user to modify settings when this action is executed. Then press the "Specify Settings" button to open the settings dialog.
- Step 5 - Add a Bookmarking Text Pattern
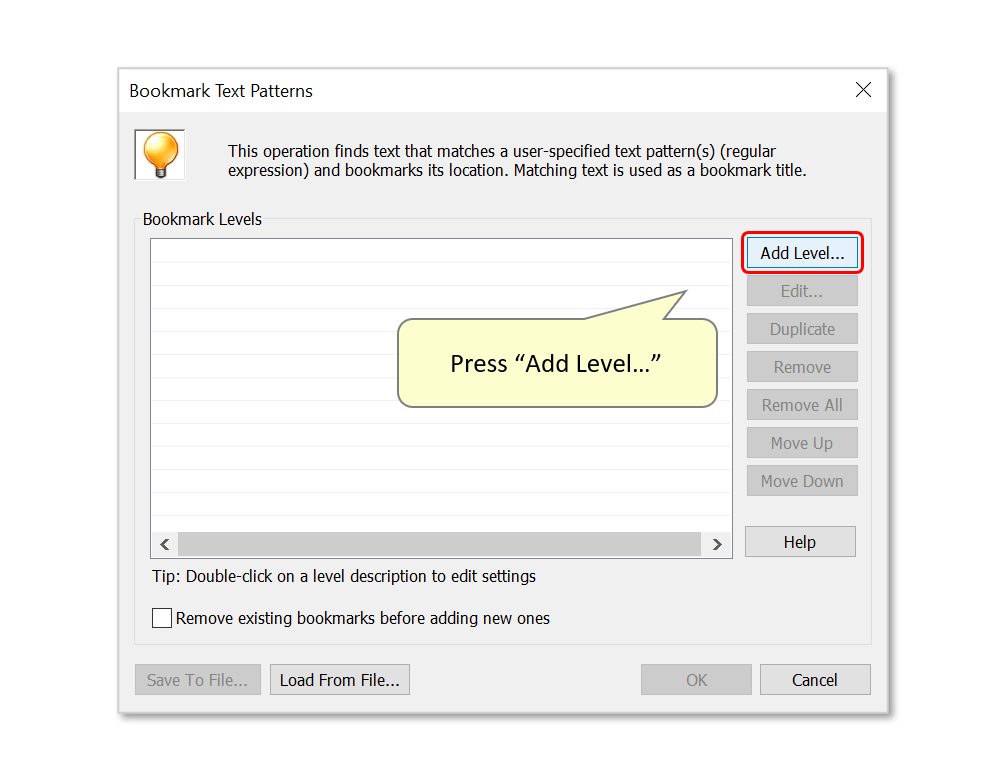
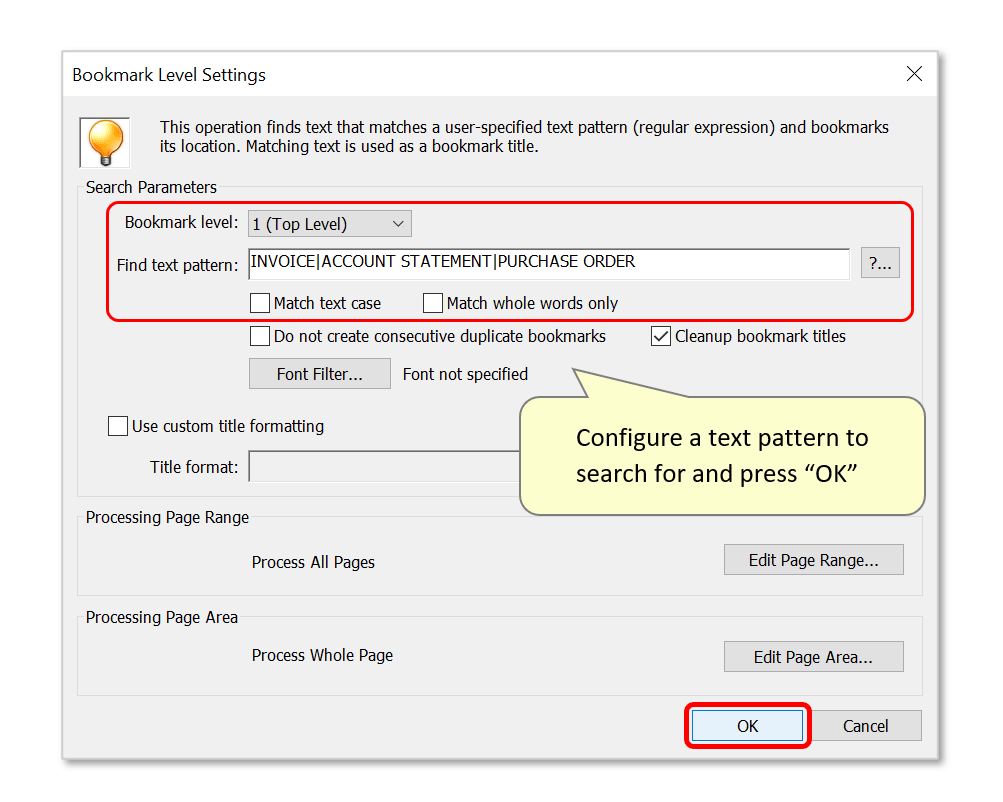
- This opens the standard "Bookmark Text Patterns" dialog from the AutoBookmark plug-in (accessible via the "Plug-ins > Bookmarks > Bookmark Text Patterns..." Acrobat menu). Use it to configure search parameters that will bookmark the relevant text. Press "Add Level..." to add a pattern.
- The bookmark level will be automatically set to level "1 (Top Level)". Type the text pattern to search for using regular expression syntax. Here we will use "INVOICE|PURCHASE ORDER|ACCOUNT STATEMENT" as an expression for the first bookmark level. This text pattern will bookmark any page that contains any of these labels: "INVOICE", "PURCHASE ORDER", or "ACCOUNT STATEMENT".
- Check any necessary processing options (here "Match text case" is left unchecked, so matching lower case text in any input pages would also be bookmarked).
- Click "OK" once done.
- Step 6 - Add Second Bookmark Level Settings
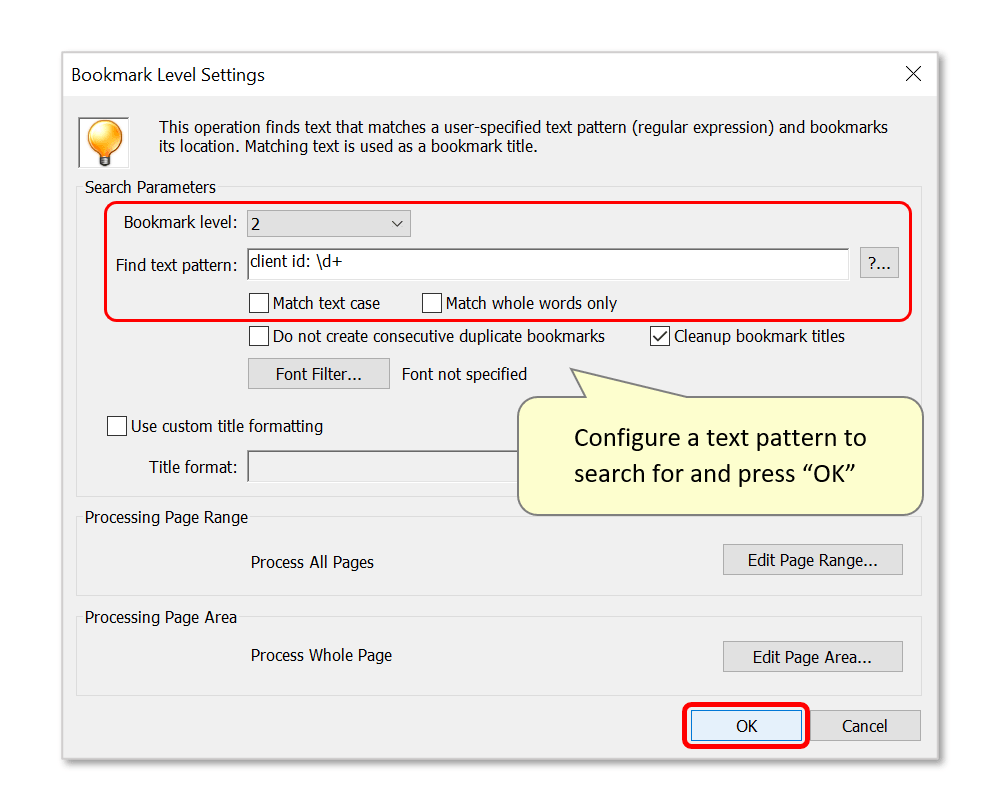
- Press the "Add Level…" button again to enter a text pattern for creating second level bookmarks.

- The bookmark level will be automatically set to level "2". Specify a text pattern to search for - here we will use "client id: \d+" as a regular expression. This searches for the presence of the text "Client ID:" followed by a number consisting of one or more digits. All occurrences of "CLIENT ID: XXXXXXX" (where XXXXXX is a number) on each page of the input document will be bookmarked.
- Click "OK" once done.
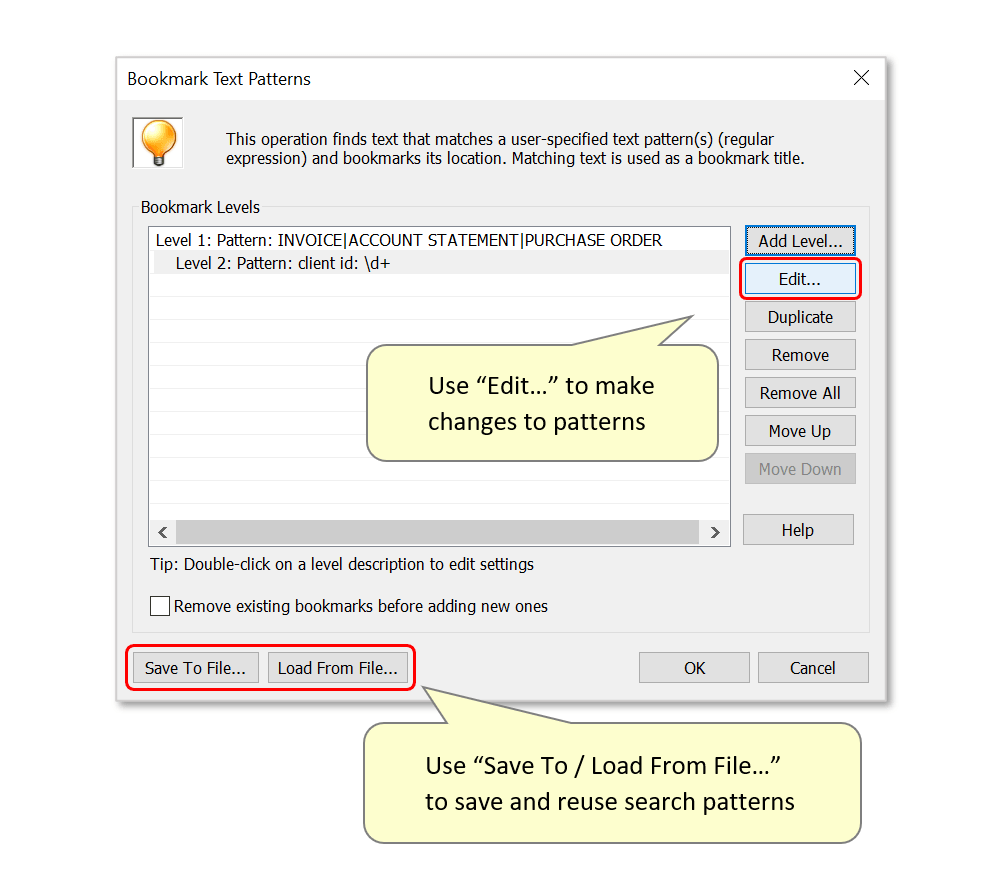
- Step 7 - Confirm the Search Pattern(s)
- Optionally select a bookmark level search pattern in the list on the left and press "Edit..." to make any changes.
- The "Save To File..." button can be used to save the current search pattern(s) as an *.abtp settings file for future reuse. This can be loaded via the "Load From File..." button.
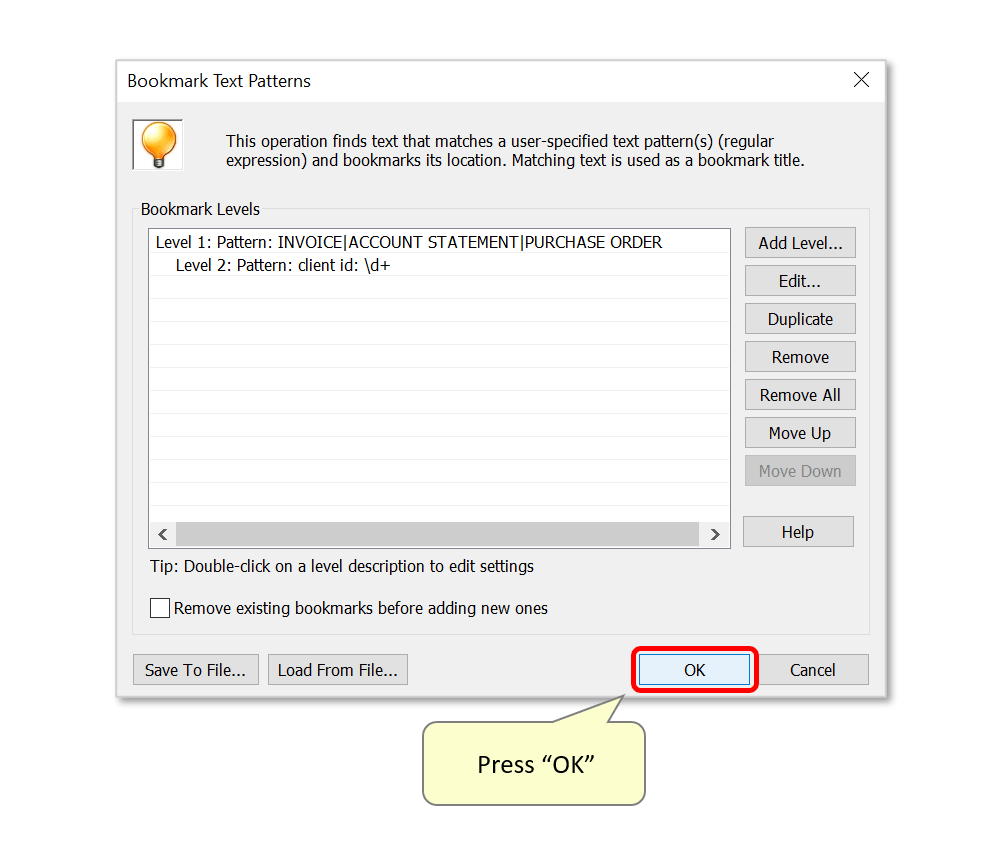
- Press "OK" to use these settings.
- Step 8 - Optional: Add Merge Duplicate Titles Command
- With the current action settings, an "Invoice/Purchase Order/Account Statement" bookmark will be created for each page of the document. A child bookmark named after the Client ID number will be created under each one (see bookmarks on the left below). It's also possible to add a "Merge Duplicate Bookmark Titles" command to the list of action steps for clearer document organisation. Parent bookmarks with matching titles are merged together - child bookmarks will be consolidated under the new unified parent bookmark (right):

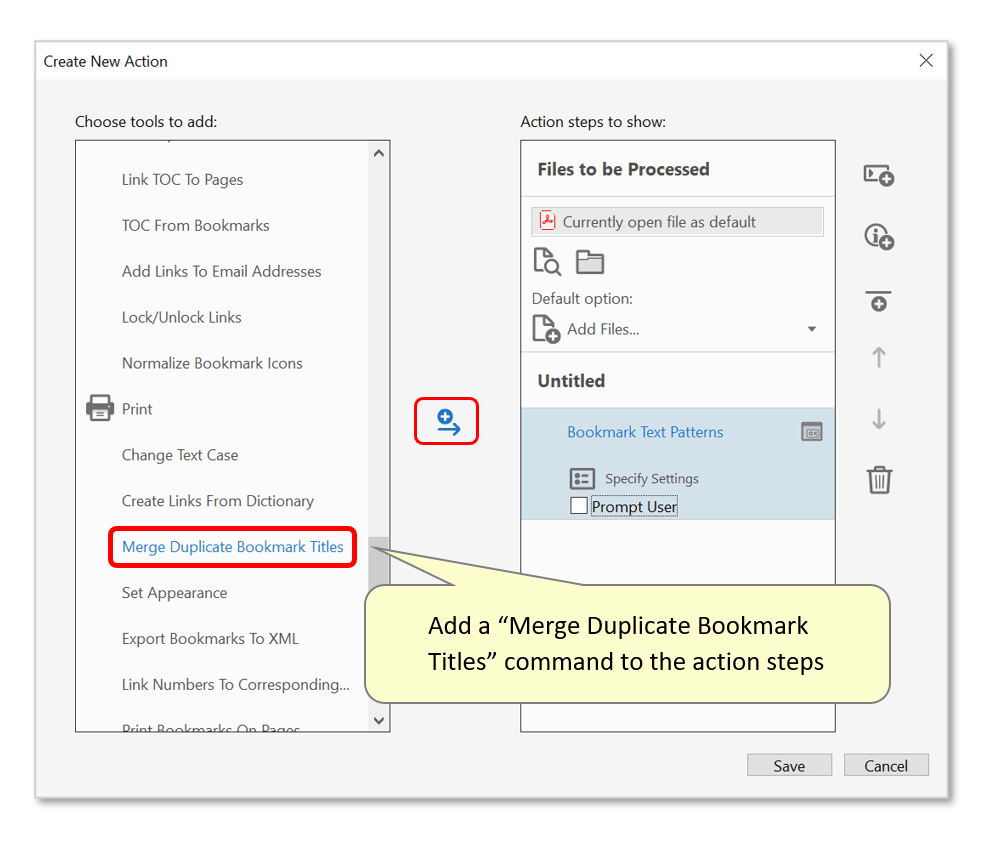
- Find and double-click on the "Merge Duplicate Bookmark Titles" command - or select it and press the "+->" button to add it to the list of action steps on the right.
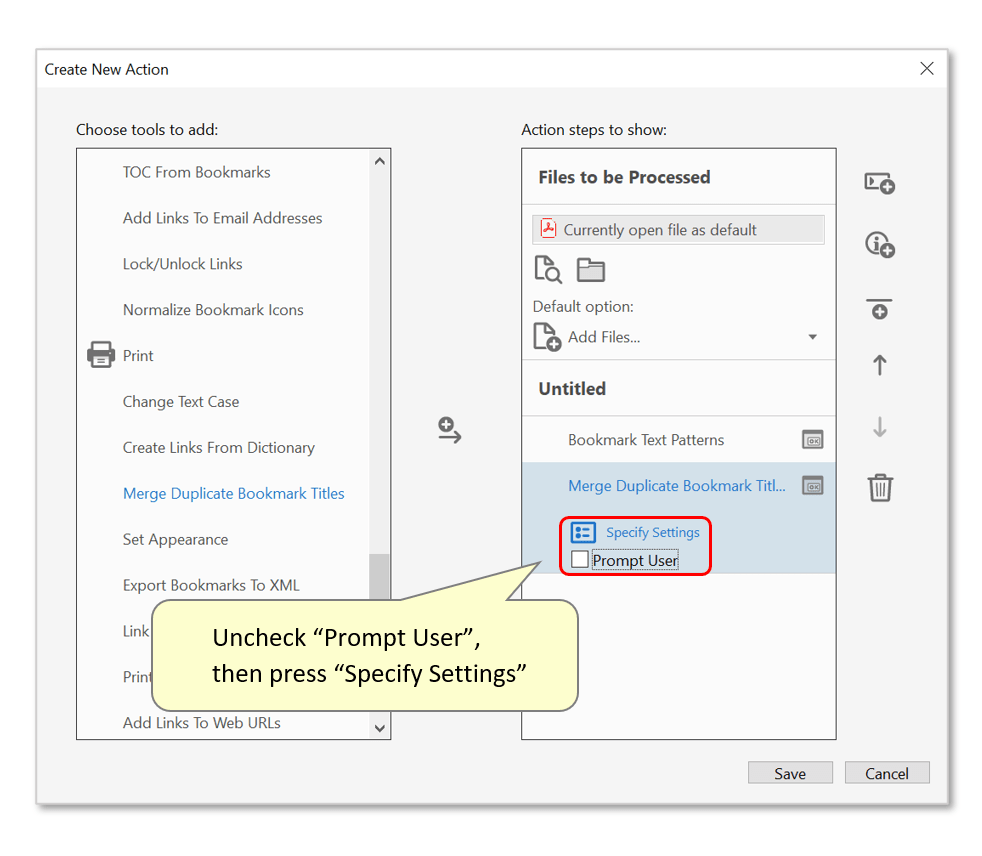
- Uncheck "Prompt User", then press "Specify Settings" under the new action step.
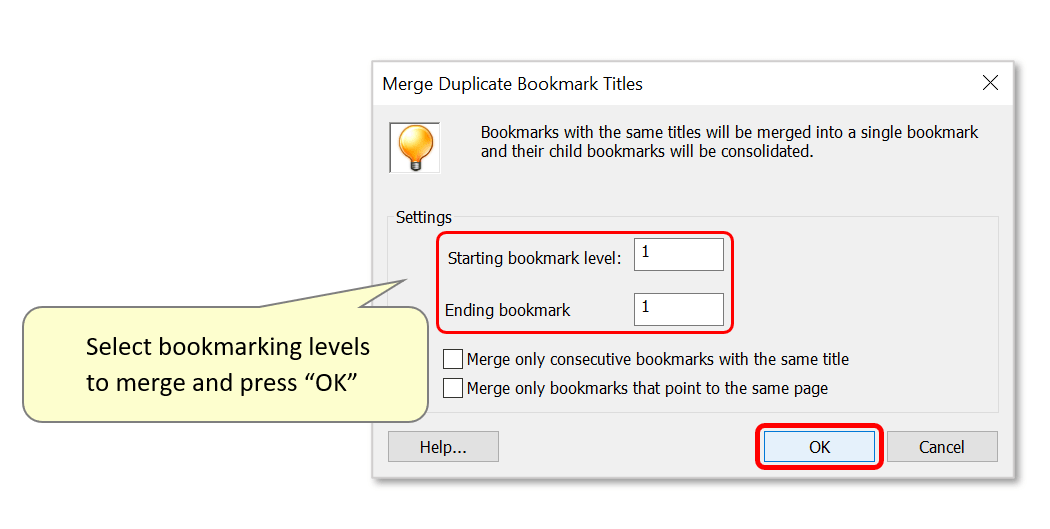
- Use the entry boxes to configure the bookmarking level(s) to be merged, and press "OK". By default, only matching level 1 bookmarks are merged together.
- Step 9 - Add a Save Command
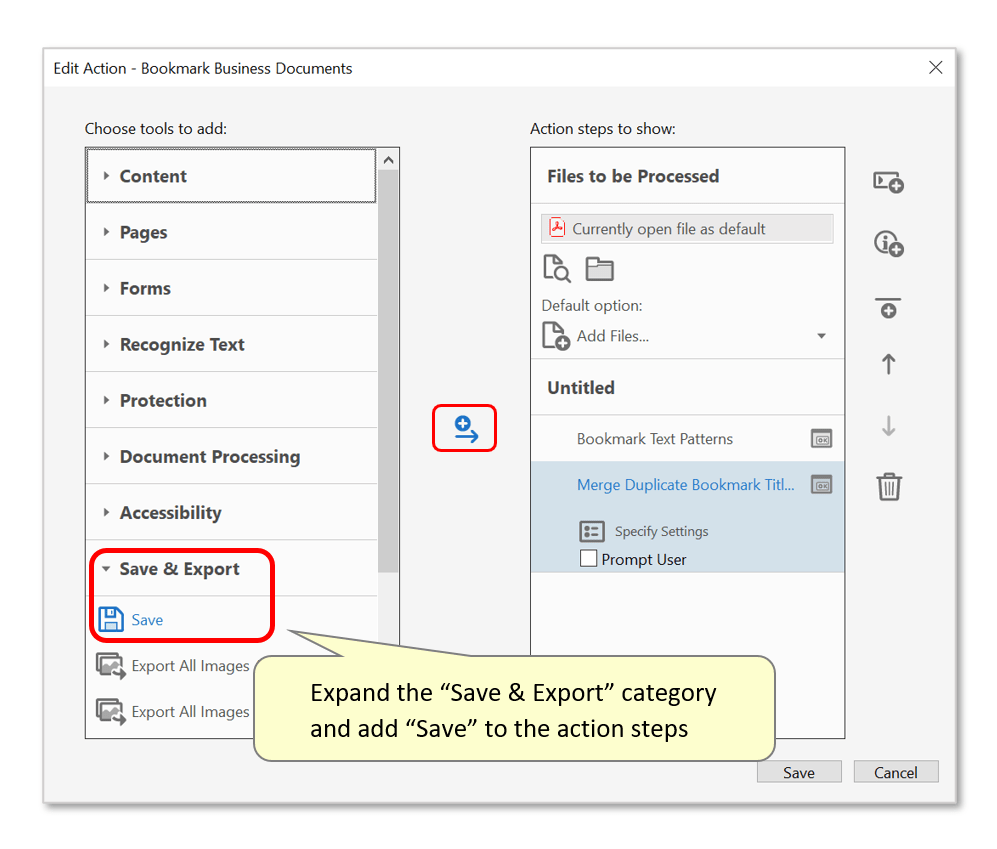
- In this example, we will also add a "Save" command so that output files are saved in a specific location. To do this, expand the "Save & Export" category and double-click on "Save".
- Step 10 - Optional: Modify Output Filenames
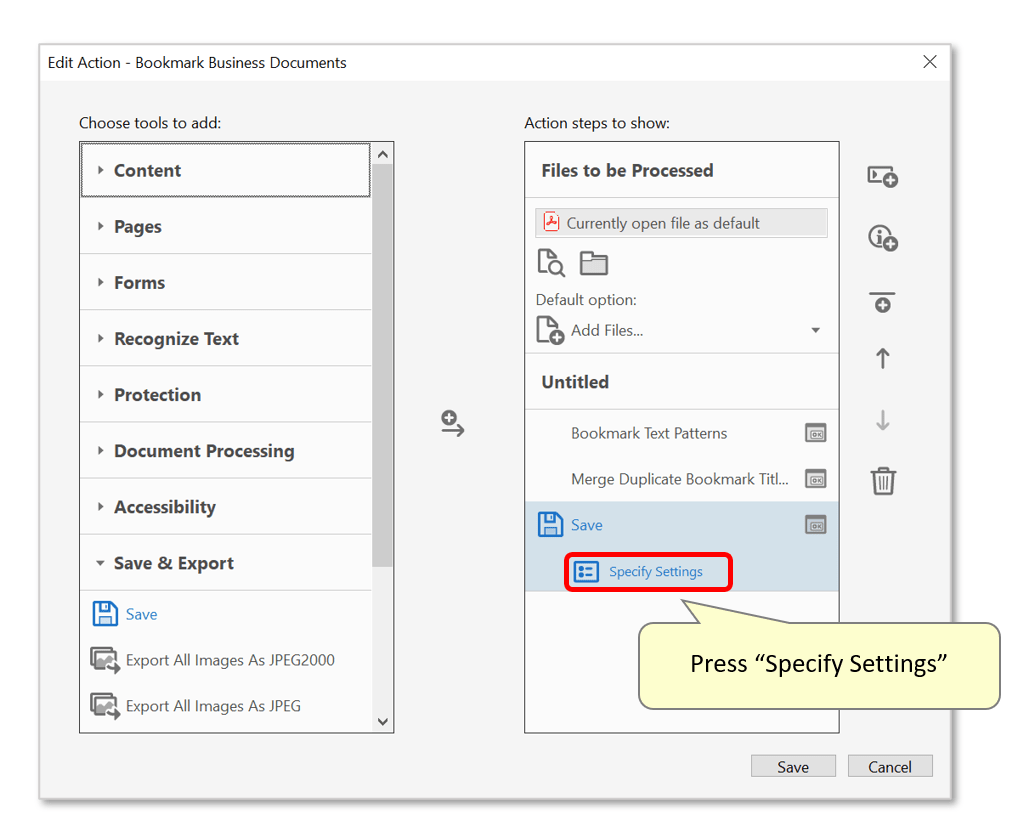
- Press "Specify Settings..." to configure the saving options.
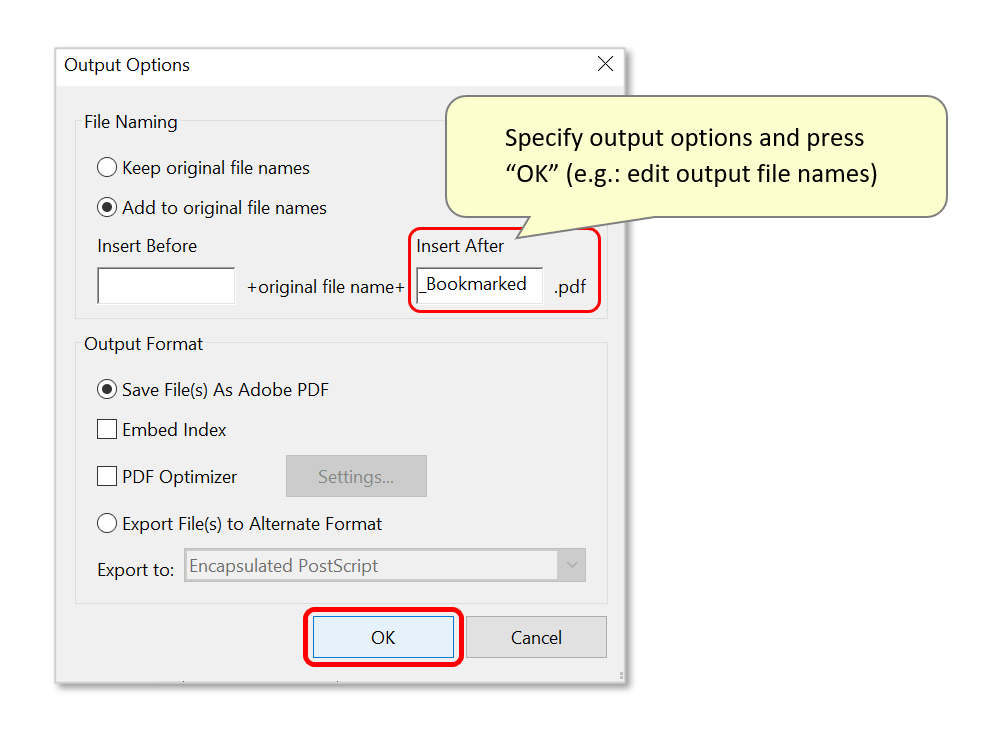
- In the "Output Options" dialog, specify filenaming options and processing parameters ("Embed Index" or "PDF Optimizer"). In this example, we will add additional text to the end of the output filename ("_Bookmarked").
- Press "OK" once any required changes have been made.
- Step 11 - Select an Output Location
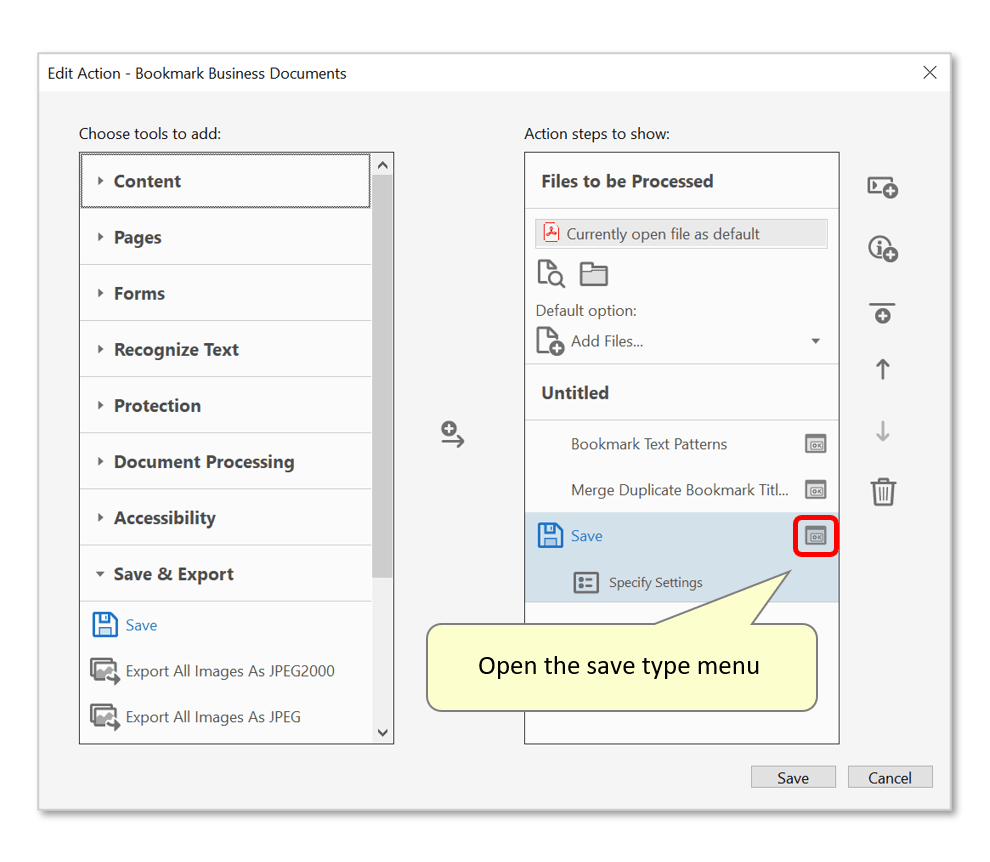
- Optionally specify an alternative location for output bookmarked files to be saved in. To do this, press the "Save" symbol to open the save type menu.
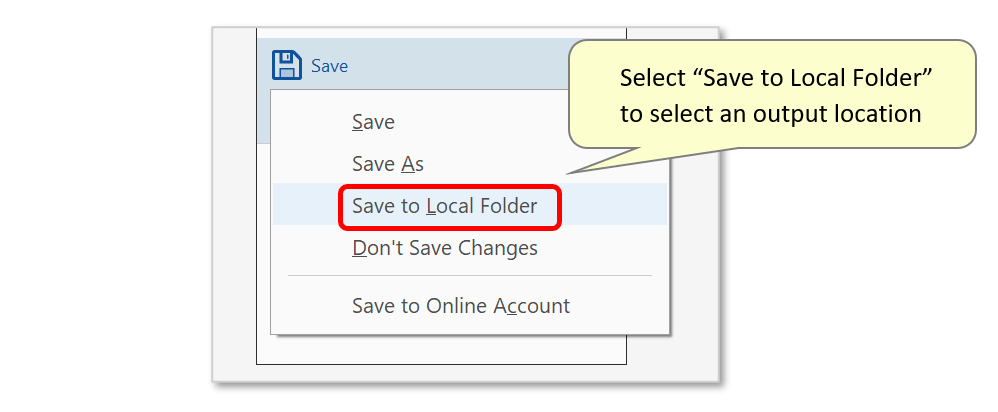
- Click "Save to Local Folder":
- Choose a suitable output folder and press "Select Folder".

- Step 12 - Optional: Configure an Input Folder
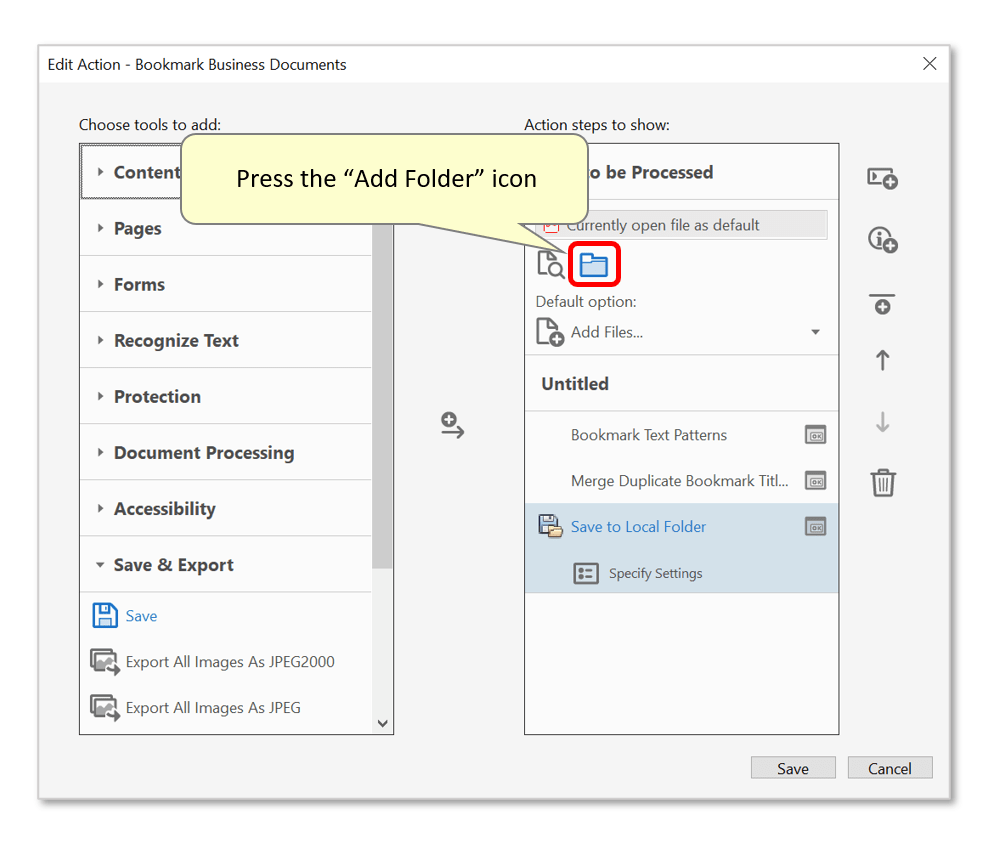
- The action will process the file currently open in Acrobat - or it can be configured to process all files located within a specific folder. Specify the folder at this stage by pressing on the "Add Folder" icon.
- Note: to manually select different input files/folders each time the action is used, ignore this step. Files for processing can simply be selected manually at a later stage.
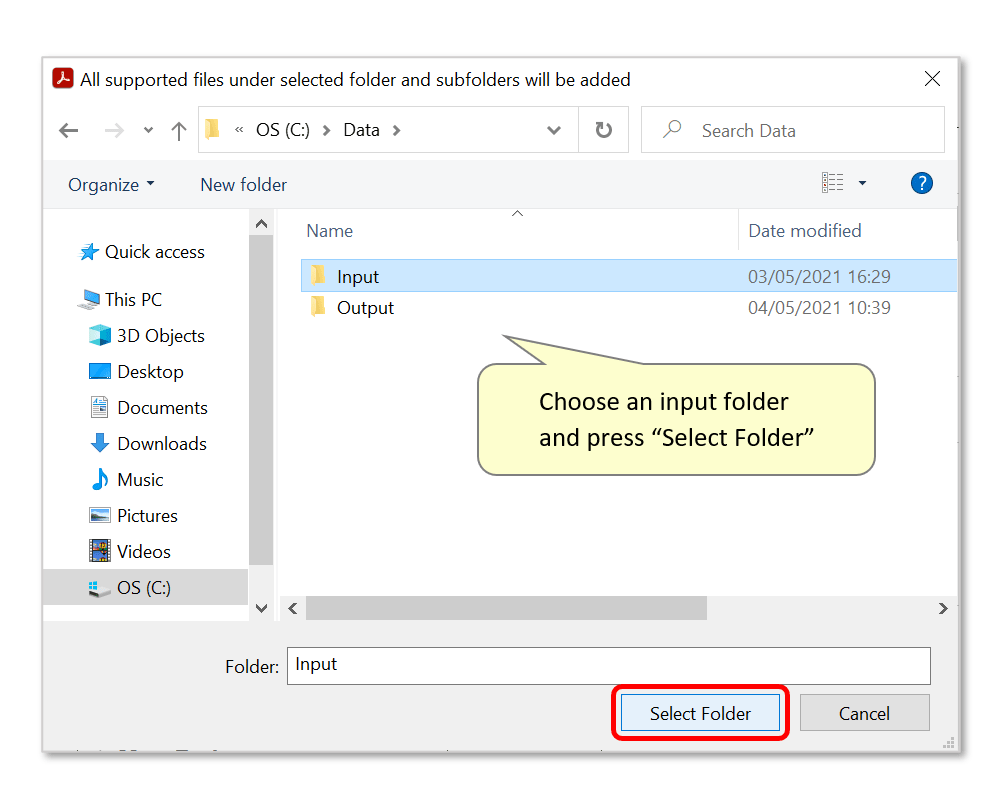
- Locate and select the desired input folder and press "Select Folder".
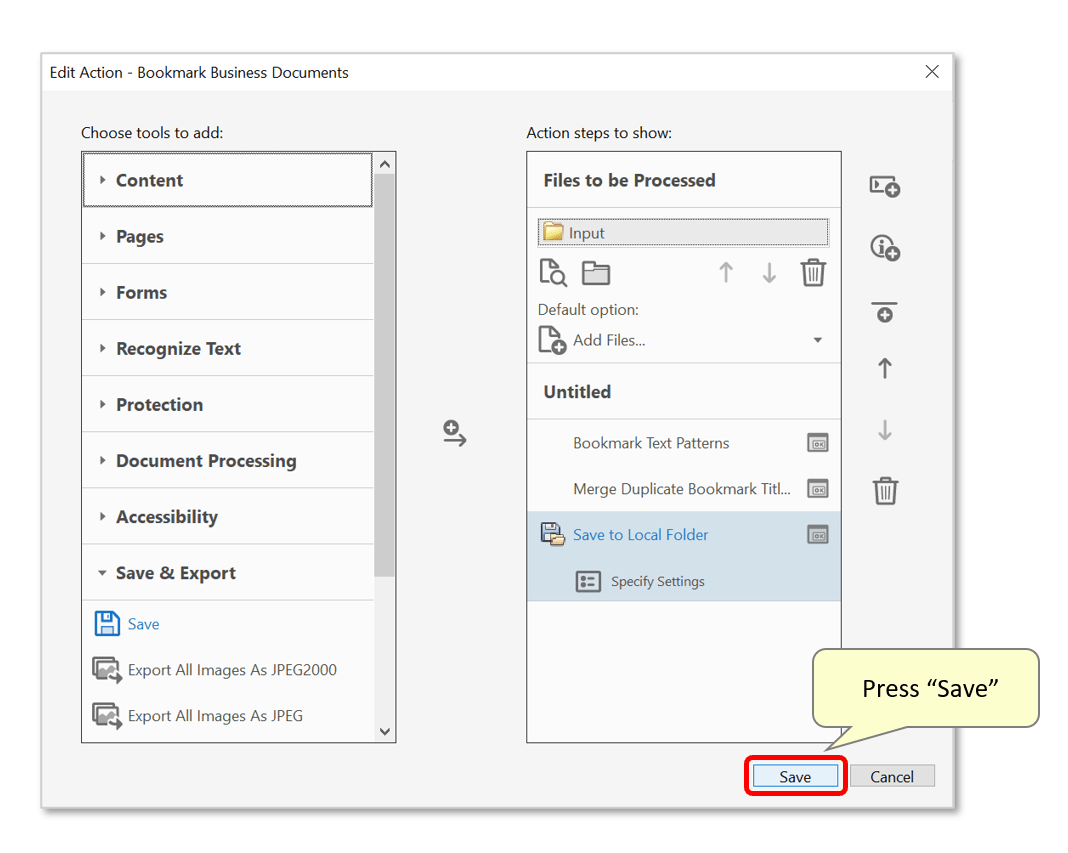
- Step 13 - Save the Action
- Press "Save" to save the action.
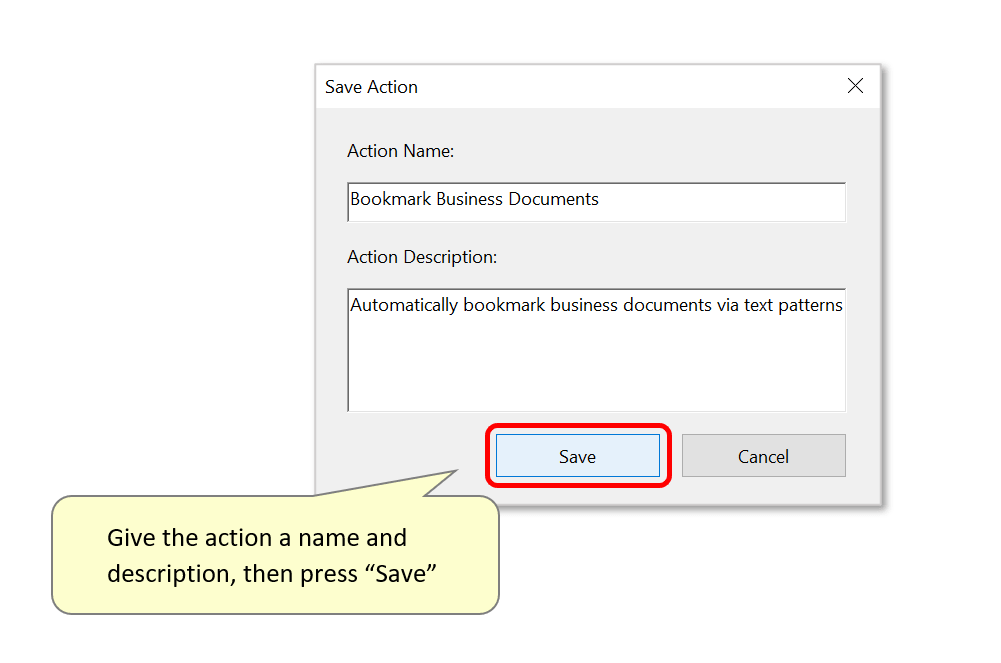
- Now type a suitable "Action Name" and optionally a description into the "Save Action" dialog, then press "Save".
- Step 14 - Execute the Action
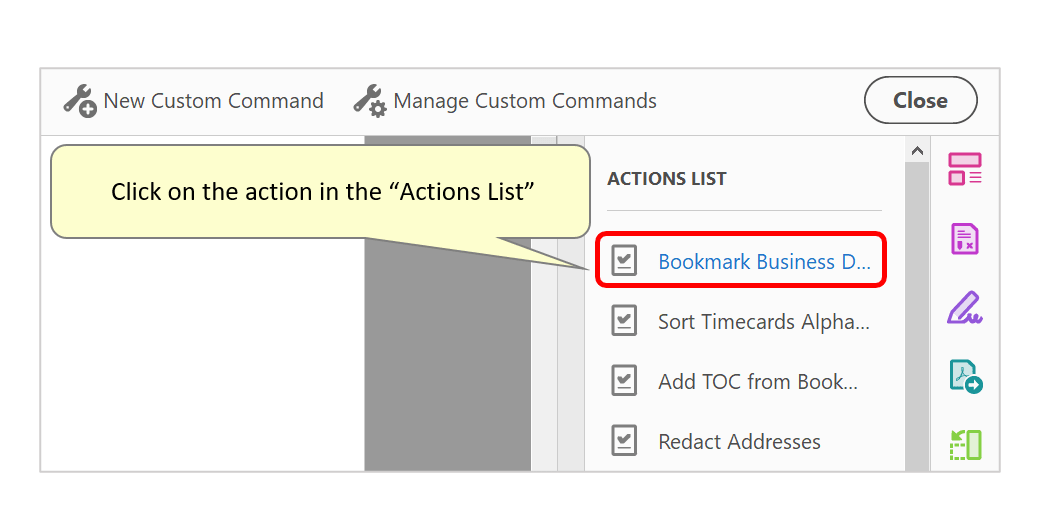
- The new action will have been added to the "Actions List" on the right. Click on it to use it.
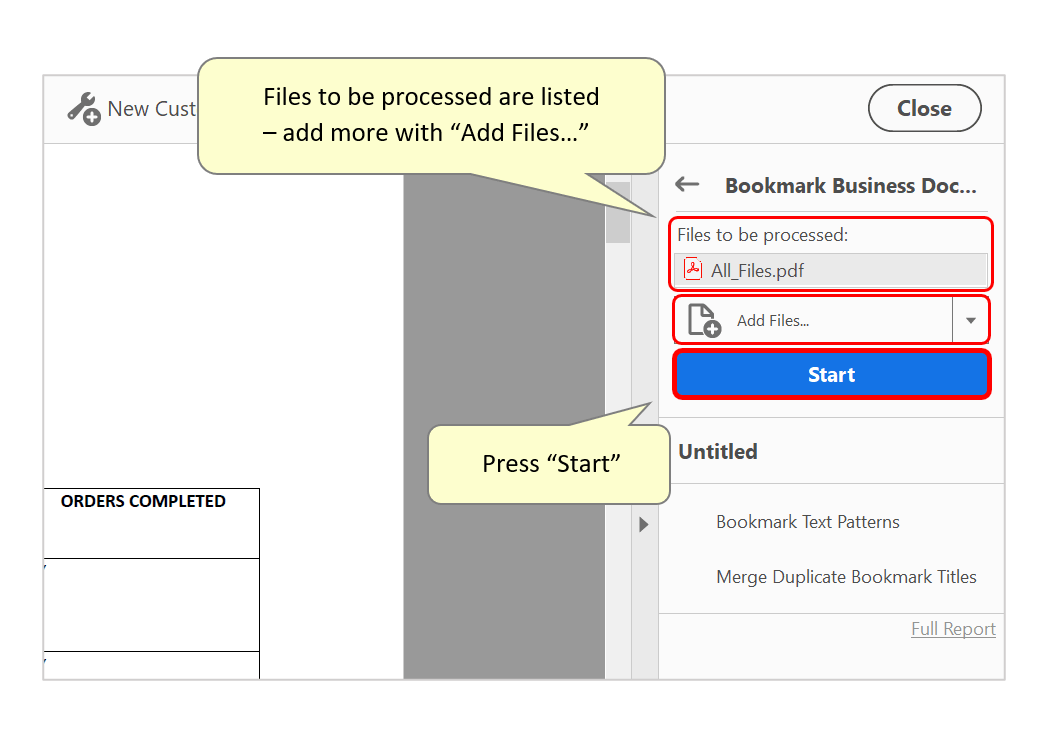
- Any files in the specified input folder will now be listed under "Files to be processed:". Press "Add Files..." to add more - note that files from different folders can be processed at the same time, via the repeated use of the "Add Files..." button.
- Press the "Start" button to begin running the action.
- Step 15 - Inspect the Results
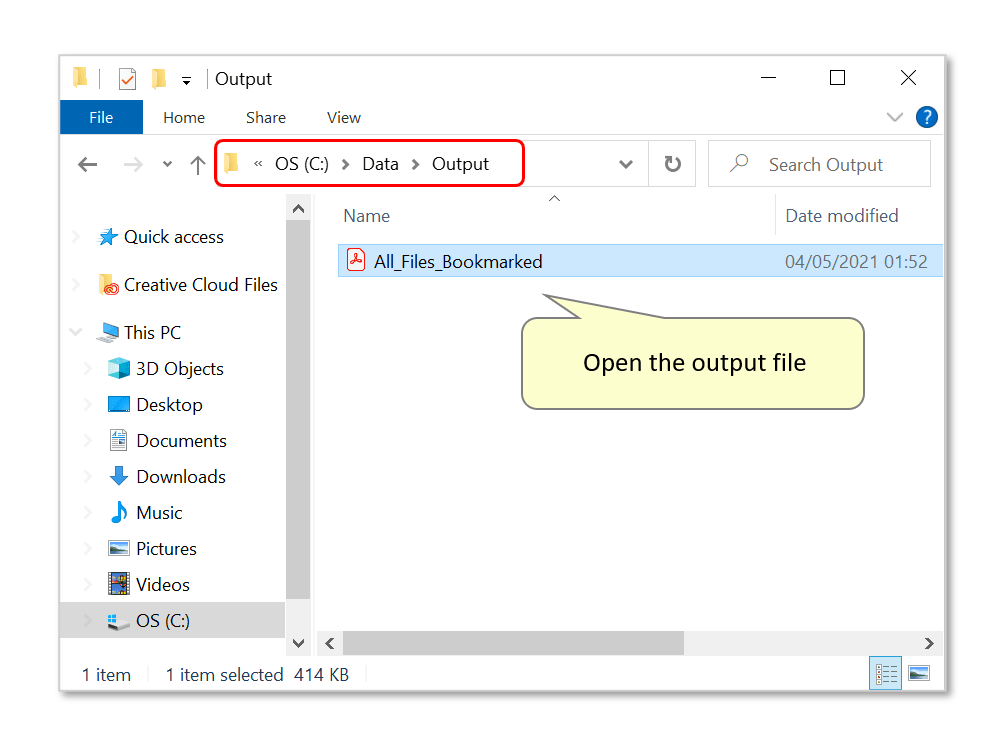
- If an output location was specified in step 11, open the folder to view the new file. In this example, the new filename contains "_Bookmarked". Open it to check the new bookmarks.
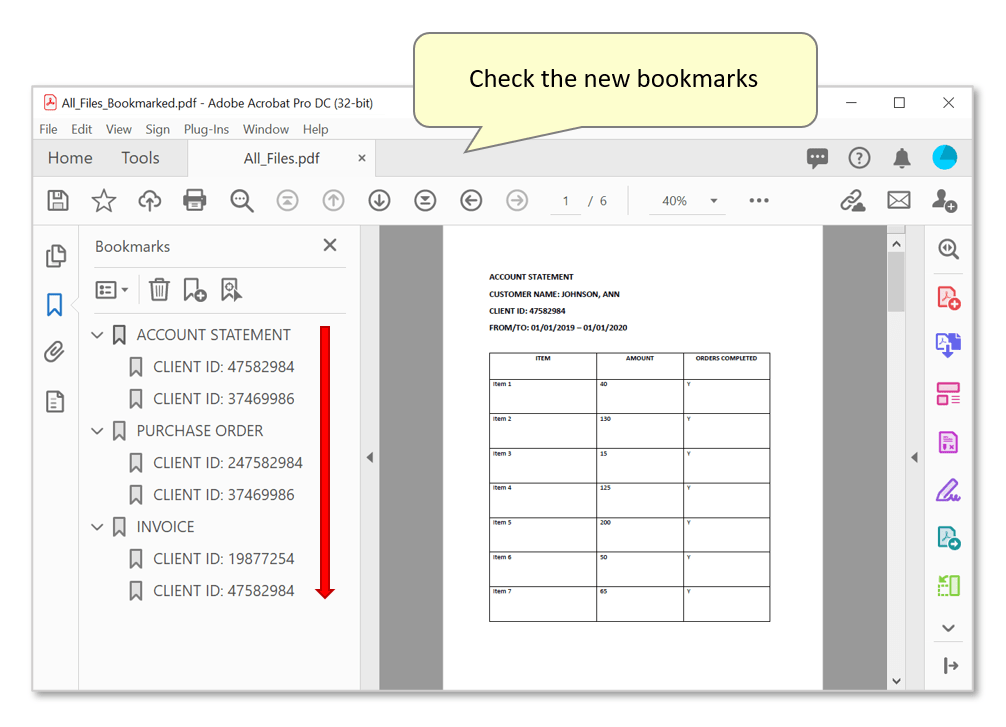
- Expand the bookmarks panel to inspect the newly added bookmarks. Clicking on any child bookmark will point the user to the relevant page that features that "Client ID" number.
- You can find a list of other step-by-step bookmarking tutorials here: http://www.evermap.com/abm_bm_summary.asp#tutorials.