Assign PDF Page Labels Via a Text Search
- Introduction
- Manually changing individual page labels one-at-a-time can be time consuming. The AutoSplit™ plug-in offers a way to automatically search pages of a document for specific text, extract it, and use it to assign new page labels. This operation searches each page of a document for a page label ‘style’, and changes them if matching text is found.
- Page labels are used by Adobe Acrobat in the “Page Thumbnails” navigation panel and in any page selection tools. They offer a way to name PDF pages using any combination of letters and numbers. For example, search for page numbers (e.g. 1, 2, 3), or roman numerals (e.g. II/VII). A custom search expression can also be typed to search for text that matches a specific pattern. If no matching page label is found on a page, then it is assigned a label that matches its page number within the document.
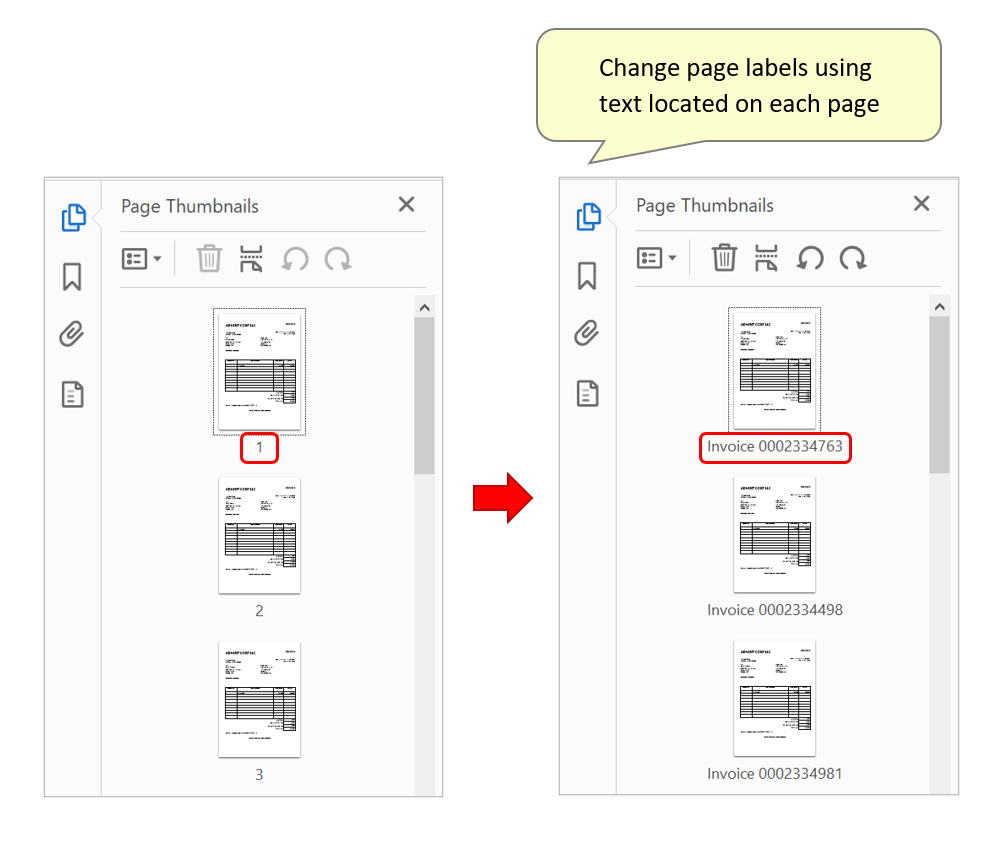
- In the tutorial below, we will look at how to change page labels in a sample input document. The original labels are corresponding page numbers - the goal is to assign new page labels using unique "invoice numbers" that feature on each page:
- Input Document Description
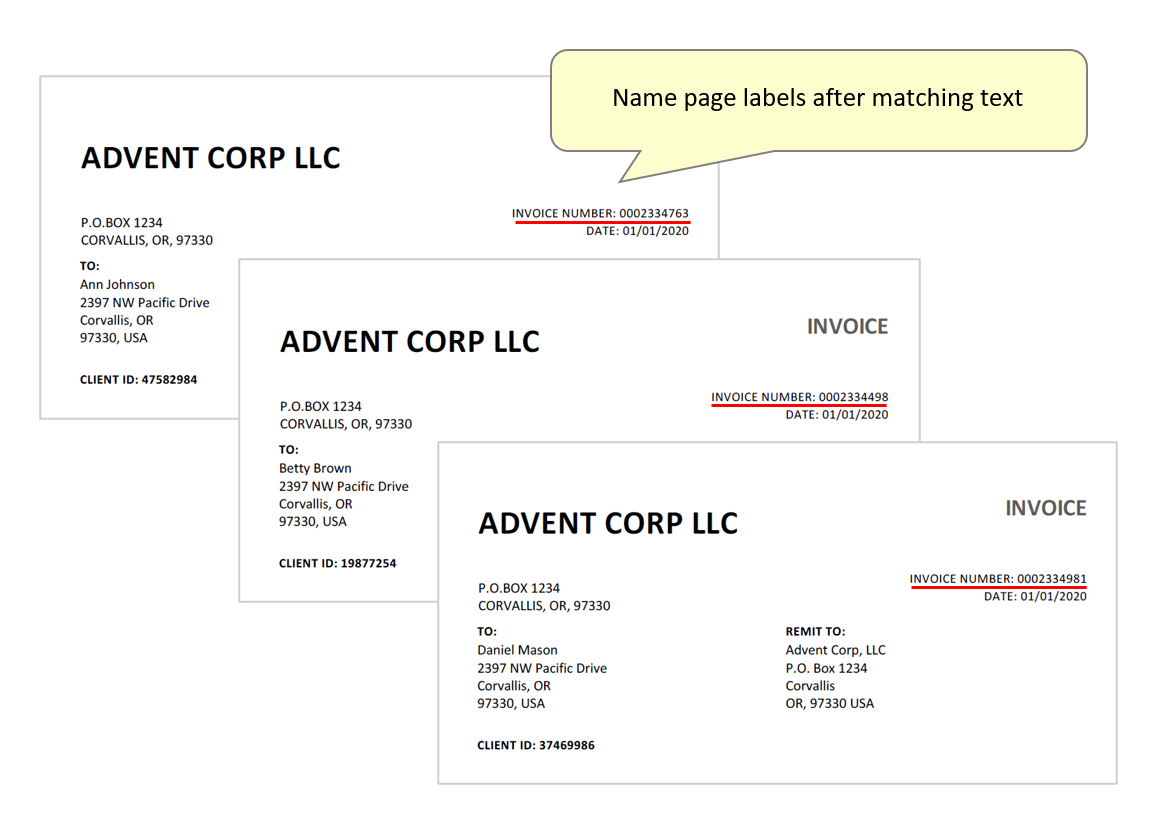
- The sample PDF document used in the steps below is a collection of single-page invoices. Each invoice features "INVOICE NUMBER: XXXXXXXX" in the same location on each page. We will use the "Search for custom text pattern" method to identify the presence of this text, extract it, and use it to rename page labels.
- Prerequisites
- You need a copy of Adobe® Acrobat® along with the AutoSplit™ plug-in installed on your computer in order to use this tutorial. Both are available as trial versions.
- Step 1 - Open the “Create Page Labels By Text Search” Dialog
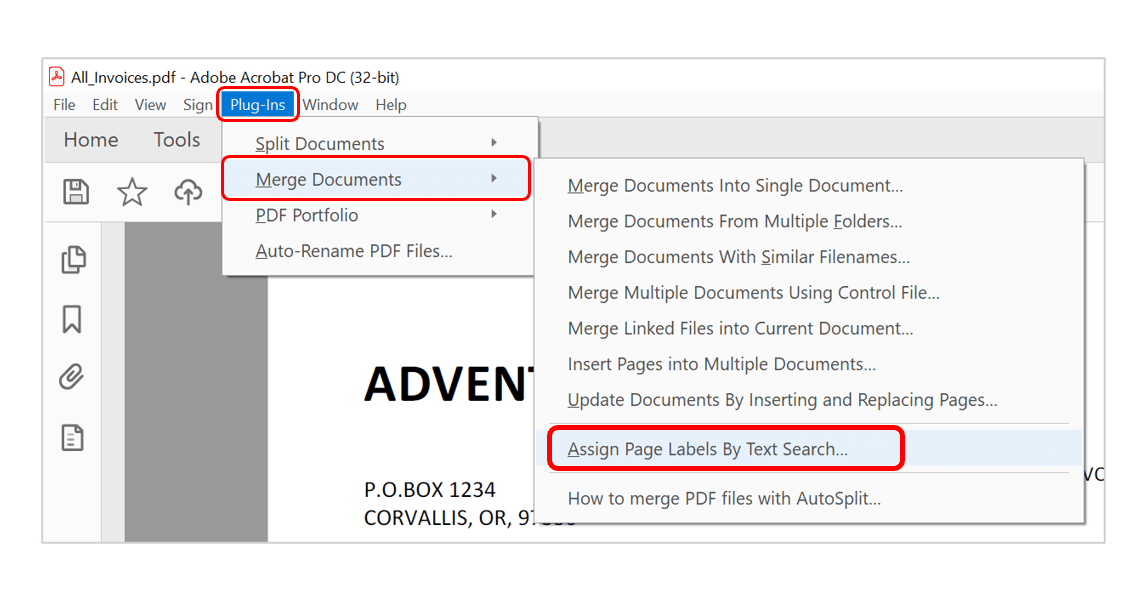
- Open the PDF document that you want to create page labels for in Adobe® Acrobat®, then select “Plug-ins > Merge Documents > Assign Page Labels By Text Search…” from the main Acrobat menu.
- Step 2 - Select a Page Label Style
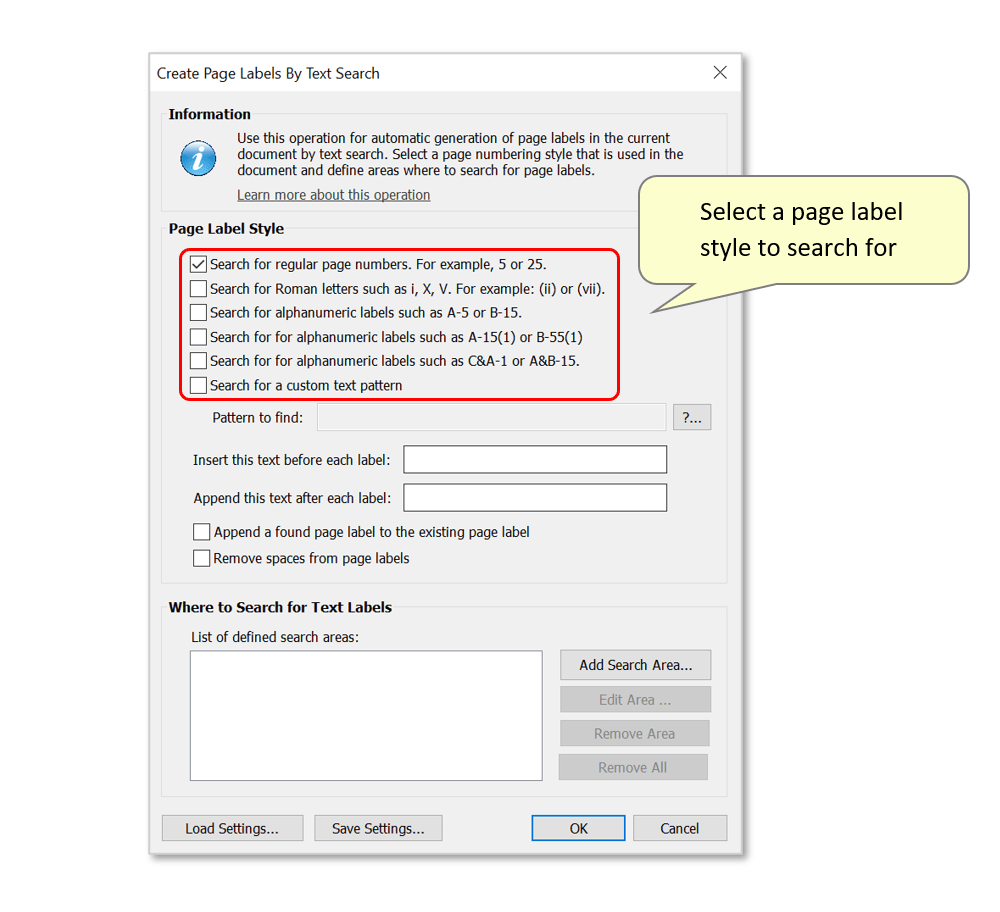
- First, select the desired page label style to search the document for. The user can choose from searching for: page numbers (the default option); roman numerals (I, IV, XIII etc.); or various alphanumeric label formats (e.g. A-5/A-15(1)/C&A-1). There is also the option to enter a custom pattern.
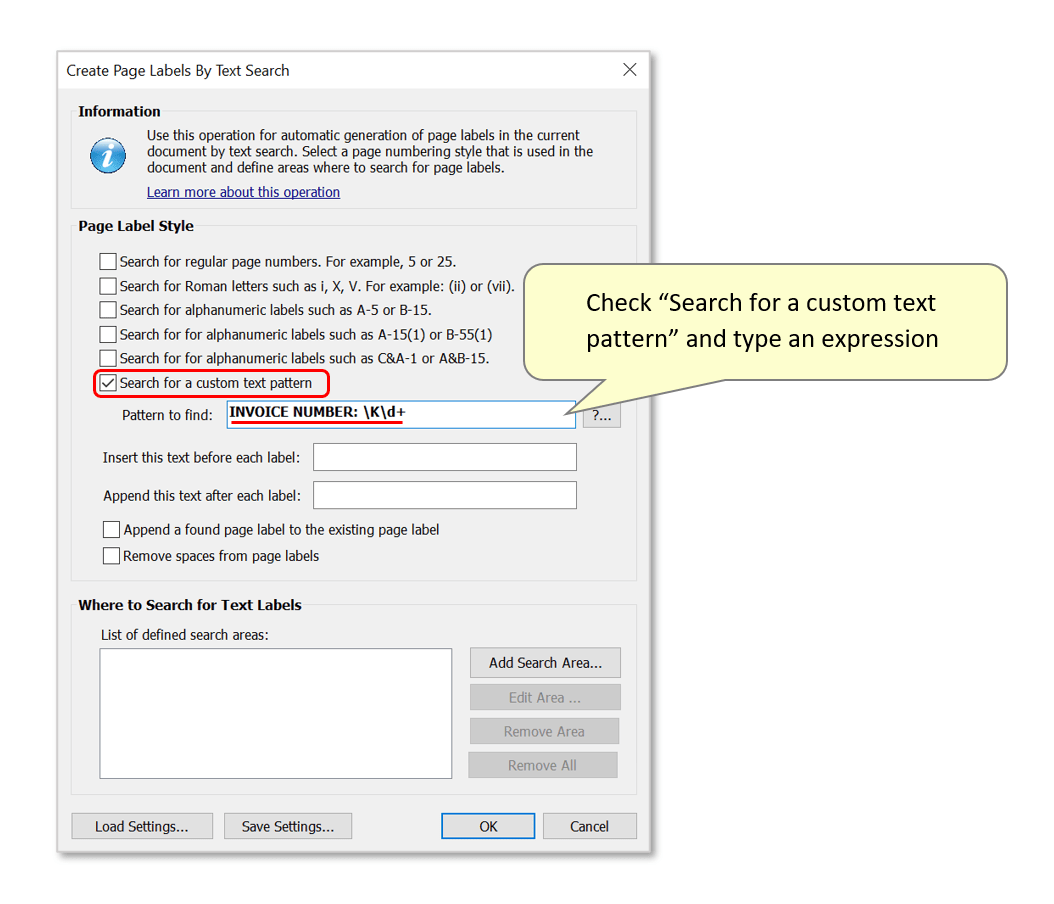
- Step 3 - Enter a Text Pattern
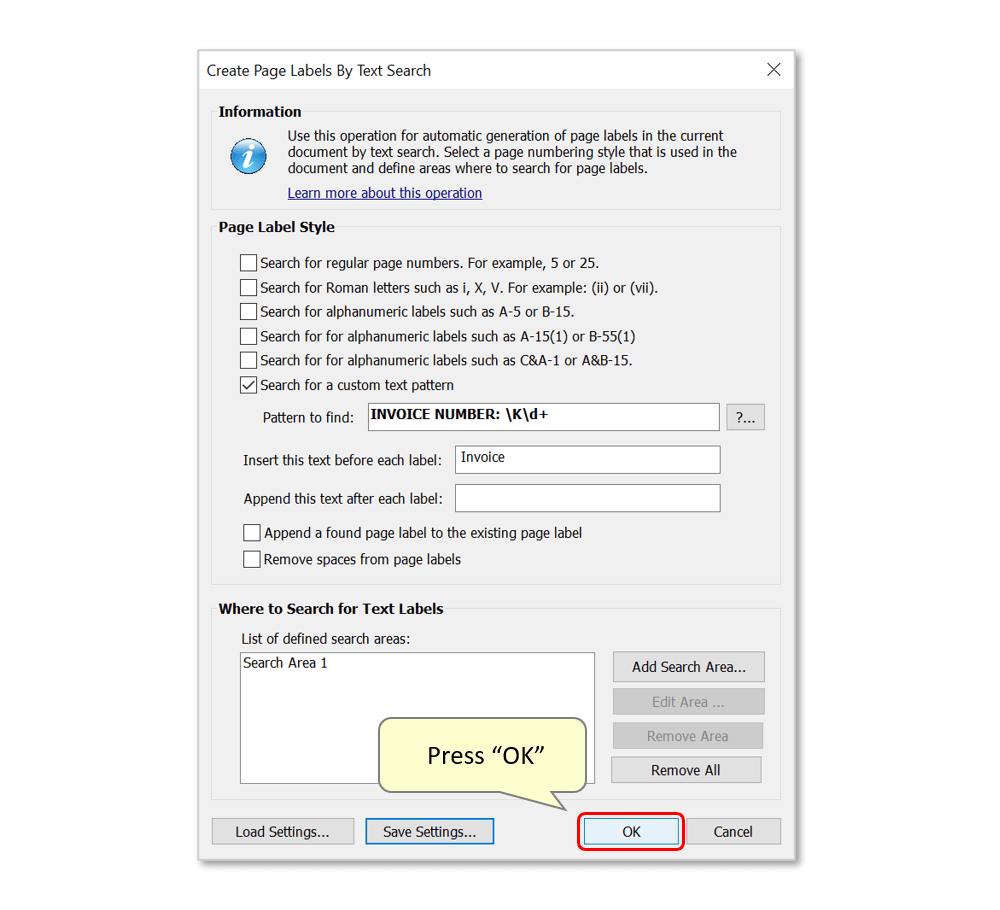
- In this example, we will demonstrate assigning new page labels by searching for a custom text pattern. Check "Search for a custom text pattern" and enter an expression using regular expression syntax next to "Pattern to find:". Here, we've used INVOICE NUMBER: \K\d+. This searches for any occurrence of the text "INVOICE NUMBER:" followed by a number consisting of one or more digits (\d+). The "\K" component is used to block any text prior to the actual invoice number from being extracted. For example, a resulting page label would be "0123456" instead of "INVOICE NUMBER: 0123456".
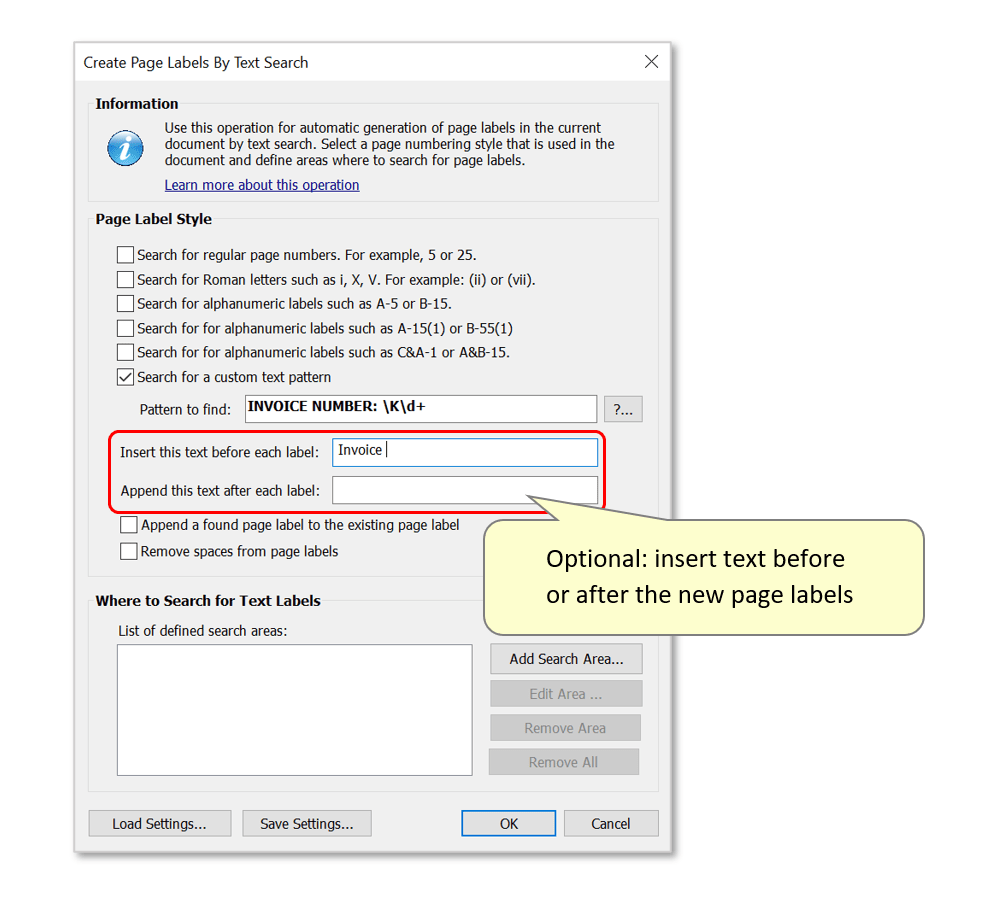
- Step 4 - Optional: Insert Text Before/After Page Labels
- It's also possible to insert custom text before or after the newly assigned page labels. Enter any text to be inserted before or appended after the new page label into the relevant box. Using the search pattern entered in step 3 will generate only numerical page labels. We will also insert "Invoice " before the extracted invoice numbers. Note that adding spaces here will affect the outcome (e.g.: "Invoice 0123456" instead of "Invoice0123456").
- The following processing options can also be used. Optionally check "Append a found page label to the existing page label" to add to existing labels, instead of completely replacing them. "Remove spaces from page labels" can be used to ensure that resulting page labels do not contain spaces.
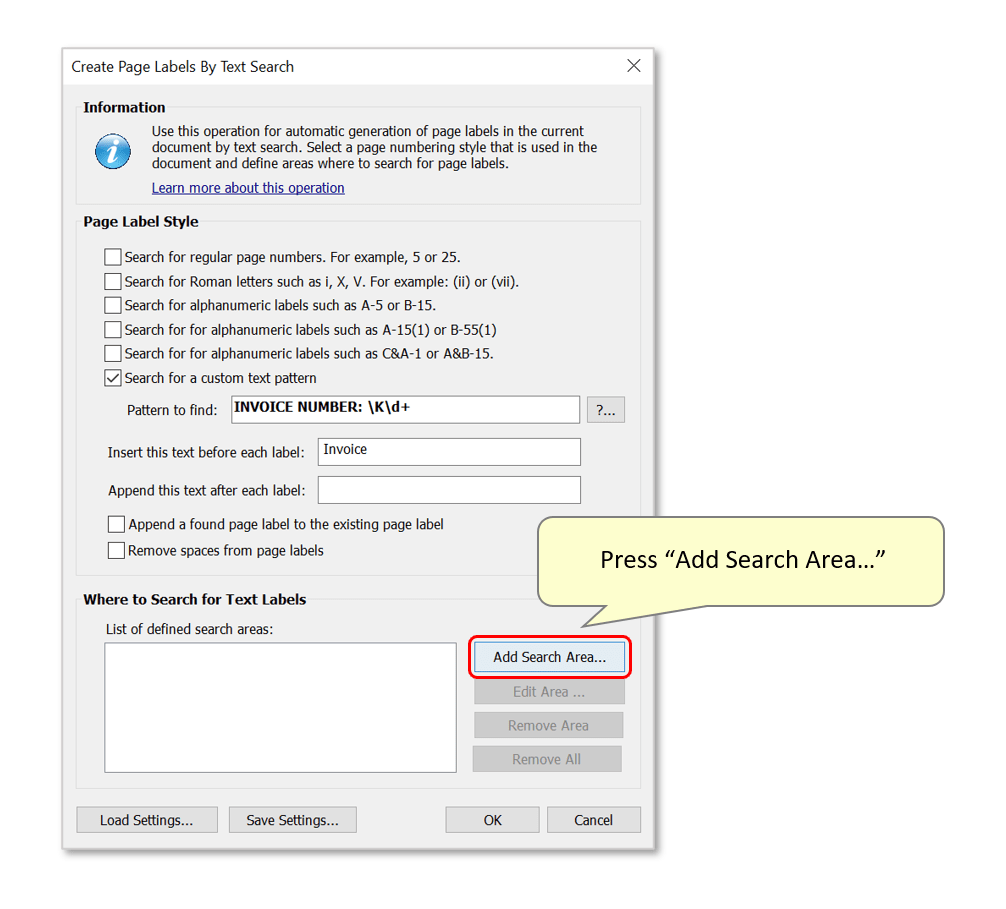
- Step 5 - Add a Search Area
- It's necessary to define at least one page area to search for matching text. The desired page label text will typically be located in the same place on each page of a document. Search areas provide the ability to search for text only in these specific areas of each page and greatly decrease the probability of finding similar text patterns that are not suitable page labels.
- Note: if matching text is not found inside a chosen search area, the page is assigned a page label that matches it’s physical page number. For example, if no label is found on page 5, it is assigned a page label “5”.
- Press "Add Search Area..." to define a page location.
- Use the zoom and draw tools in the upper right corner of the dialog to draw a box around the desired search area. A sample page from the currently opened document will be displayed in the preview box. Here, we have drawn a box around where the "INVOICE NUMBER: XXXXXXXX" is located in each invoice. Page area boundaries can also be manually typed into the boxes to the left of the preview.
- Press "OK" to proceed.

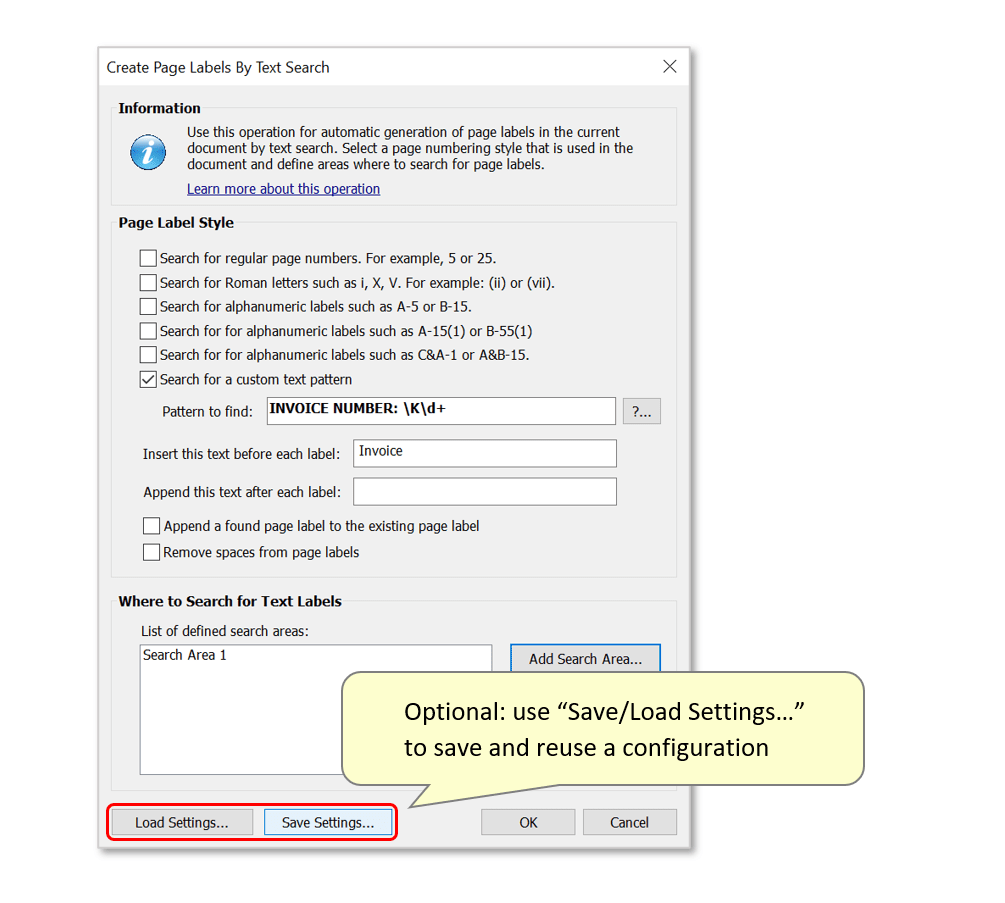
- Step 6 - Optional: Save and Reuse Settings
- Optionally save this settings configuration for future reuse by pressing "Save Settings...". These settings can be loaded later via the "Load Settings..." button, to replace page labels in other documents using the same method.
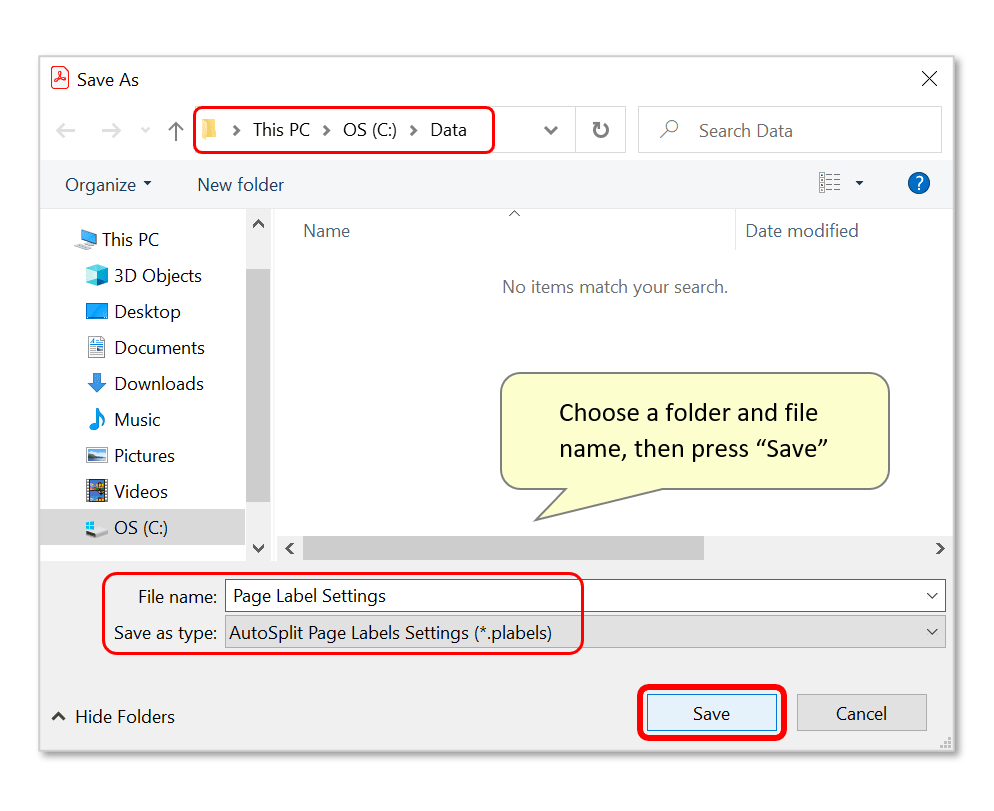
- Choose a suitable folder and optionally rename the settings file before pressing "Save". The default file name will be "Page Label Settings", and the settings file will be saved with a *.plabels file extension.
- Step 7 - Run the Procedure
- Press "OK" to confirm the settings and run the operation.
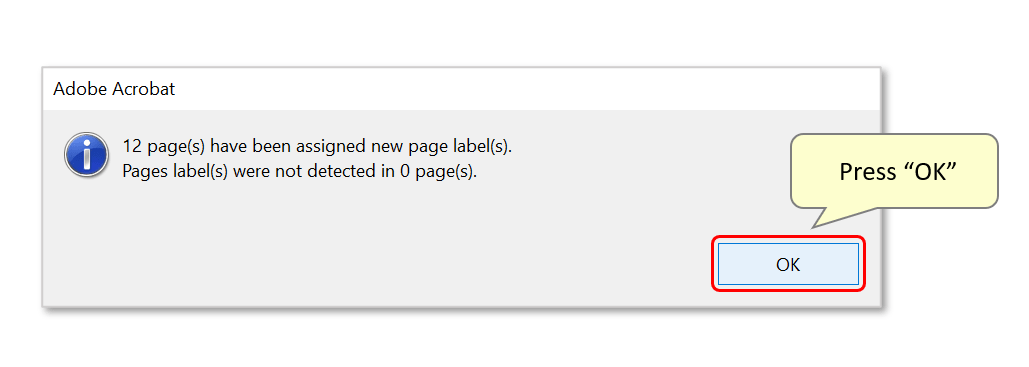
- A dialog box reports the number of pages that have been assigned new labels. Press "OK" to close it.
- Step 8 - Inspect the Results
- Click on the "Page Thumbnails" icon to expand the thumbnails panel in Acrobat.
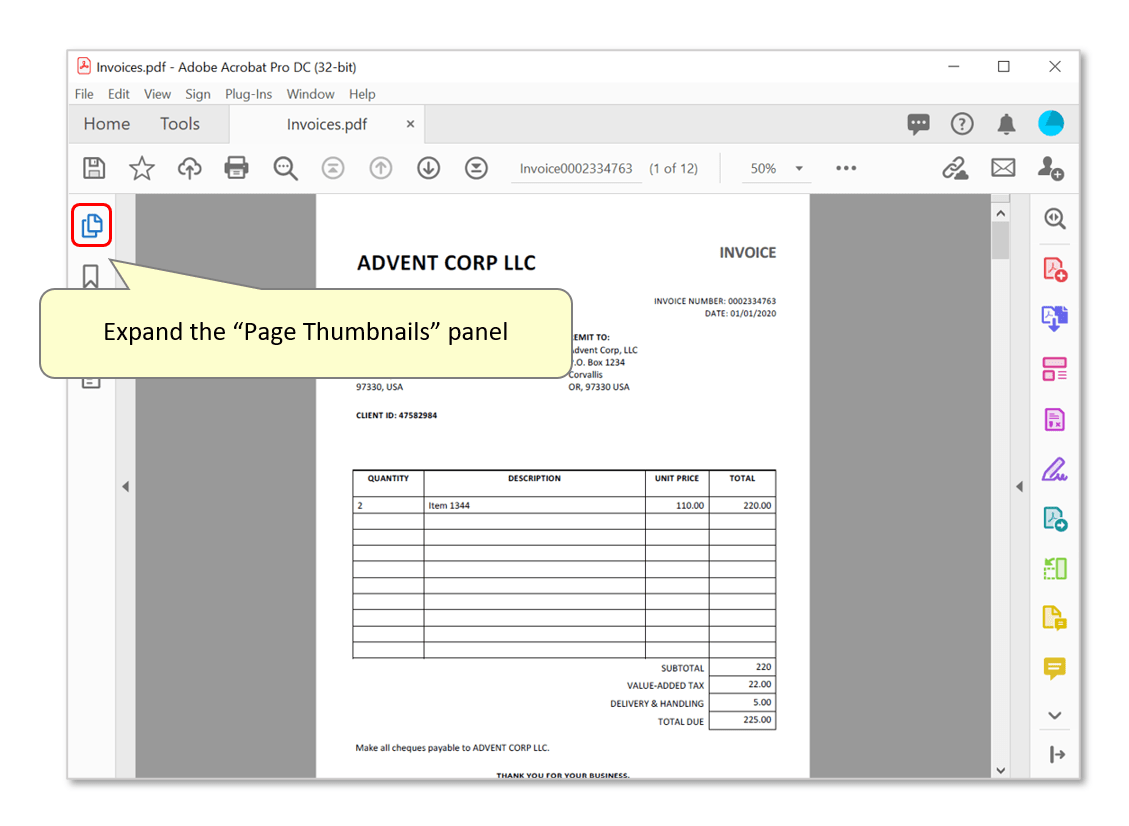
- Check the new page labels. In this example, they now follow an "Invoice N" format.

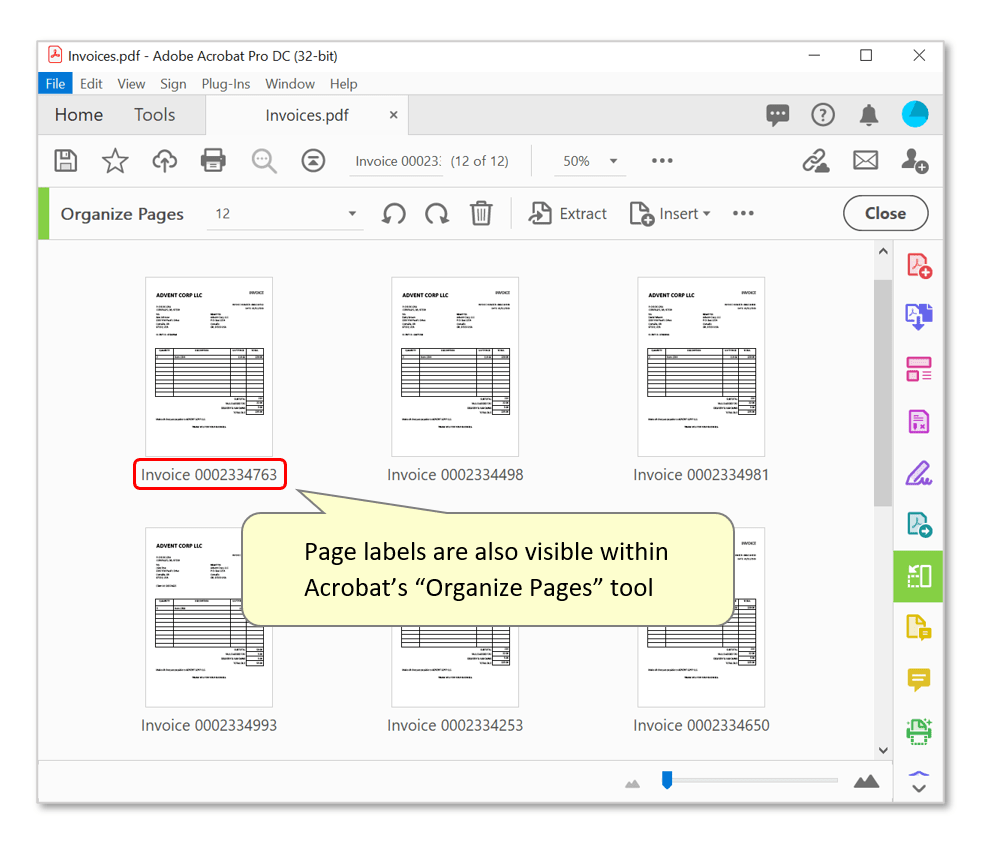
- Page labels are also visible when using various other Acrobat tools, such as "Organize Pages":
- Step 9 - Review the Processing Report
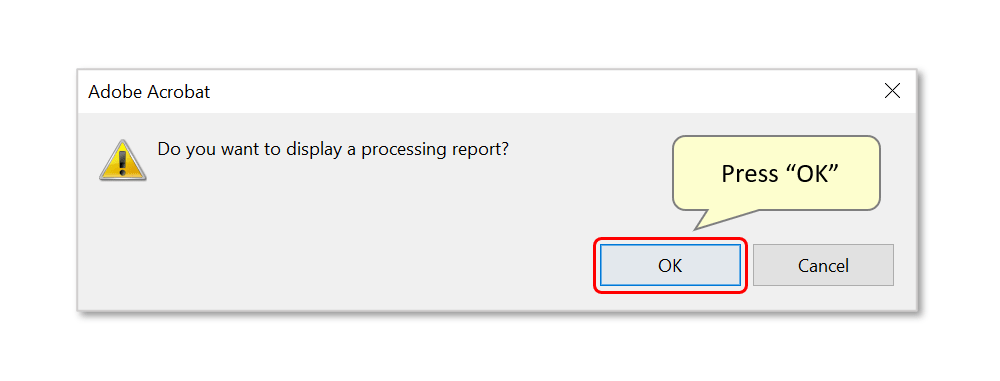
- If any pages fail to be assigned a new page label (e.g.: matching text is not found within the search area on a page), the plug-in prompts the user to view a processing report. Press "OK" to close this dialog and view the report.
- The report will be opened in the default web browser. It details the page label renaming settings used, and the pages where the operation was unsuccessful.

- You can find more AutoSplit tutorials here.