Splitting PDF Documents By Stamp Annotations
AutoSplit Pro plug-in for Adobe® Acrobat®
- Introduction to Stamp Annotations
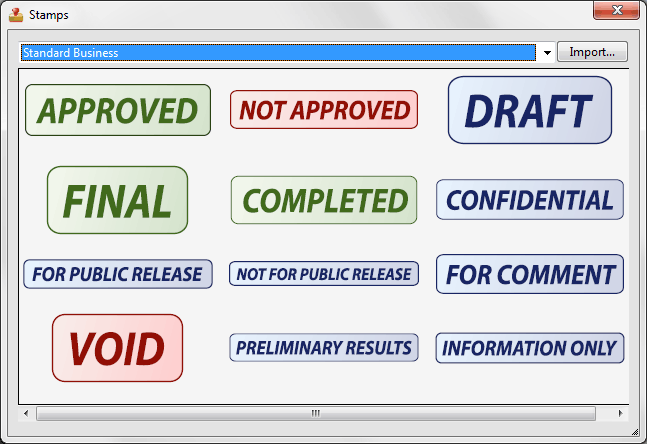
- It is often necessary to process a single PDF document into multiple files by categorizing pages into several different “piles”. Invoices, loan applications, insurance forms are just small examples of the documents that are often need categorization and splitting. In many cases, these documents cannot be processed automatically and require a manual review, analysis and categorization. The best approach is to use PDF stamp annotations to categorize pages in PDF documents. The stamp annotation on a PDF is intended to be viewed just like a traditional ink stamp on a paper document. The advantage of the electronic stamps is ability to use them in electronic processing. The stamps annotations are easy to add to currently viewed page via “Stamps” palette. It takes two mouse clicks to select a desired stamp and place it somewhere on the page. User can create their own custom stamps (in addition to standard Acrobat stamps) from any PDF page or image. The easy of use and flexibility make stamps a good tool for categorizing pages within a PDF document.
- Here is a sample workflow for categorizing documents with stamps and splitting them into separate documents using AutoSplit Pro plug-in:
- Categorizing Pages with Stamps
- 1. Open a PDF document via "File > Open" menu in Adobe Acrobat or create a new PDF file via scanning a paper document(s).
- 2. Open "Stamps" palette via "Tools > Comment & Markup > Stamps > Show Stamps Palette" menu (the actual name of the menu may change depending on the version of Adobe Acrobat).
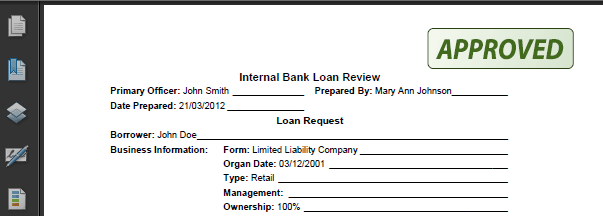
- 3. Start reviewing pages, to place a stamp click on a desired stamp in the palette and then click somewhere on the page where you want to place it. Here is an example of "Approved" stamp placed in the top-right corner of the page:
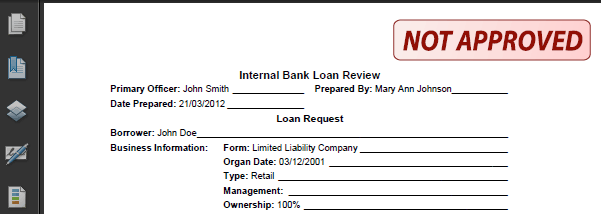
- Here is an example of standard "Not Approved" stamp:
- 4. Save changes to the stamped document by selecting "File > Save" or "File > Save As..." menu.
Splitting Document By Stamps using AutoSplit Pro plug-in
- Step1 : Open a PDF File
- Start Adobe® Acrobat® application and open a PDF file using “File > Open…” menu to open a PDF document that needs to be processed.
- Step 2: Open “Split Document Settings” Menu
- Select “Plug-ins > Split Document…” from the main Acrobat® menu to open “Split Document Settings” dialog.
[⚡ How to locate Plugins menu in Adobe® Acrobat® ⚡] - Step 3: Select Split By Stamps Option
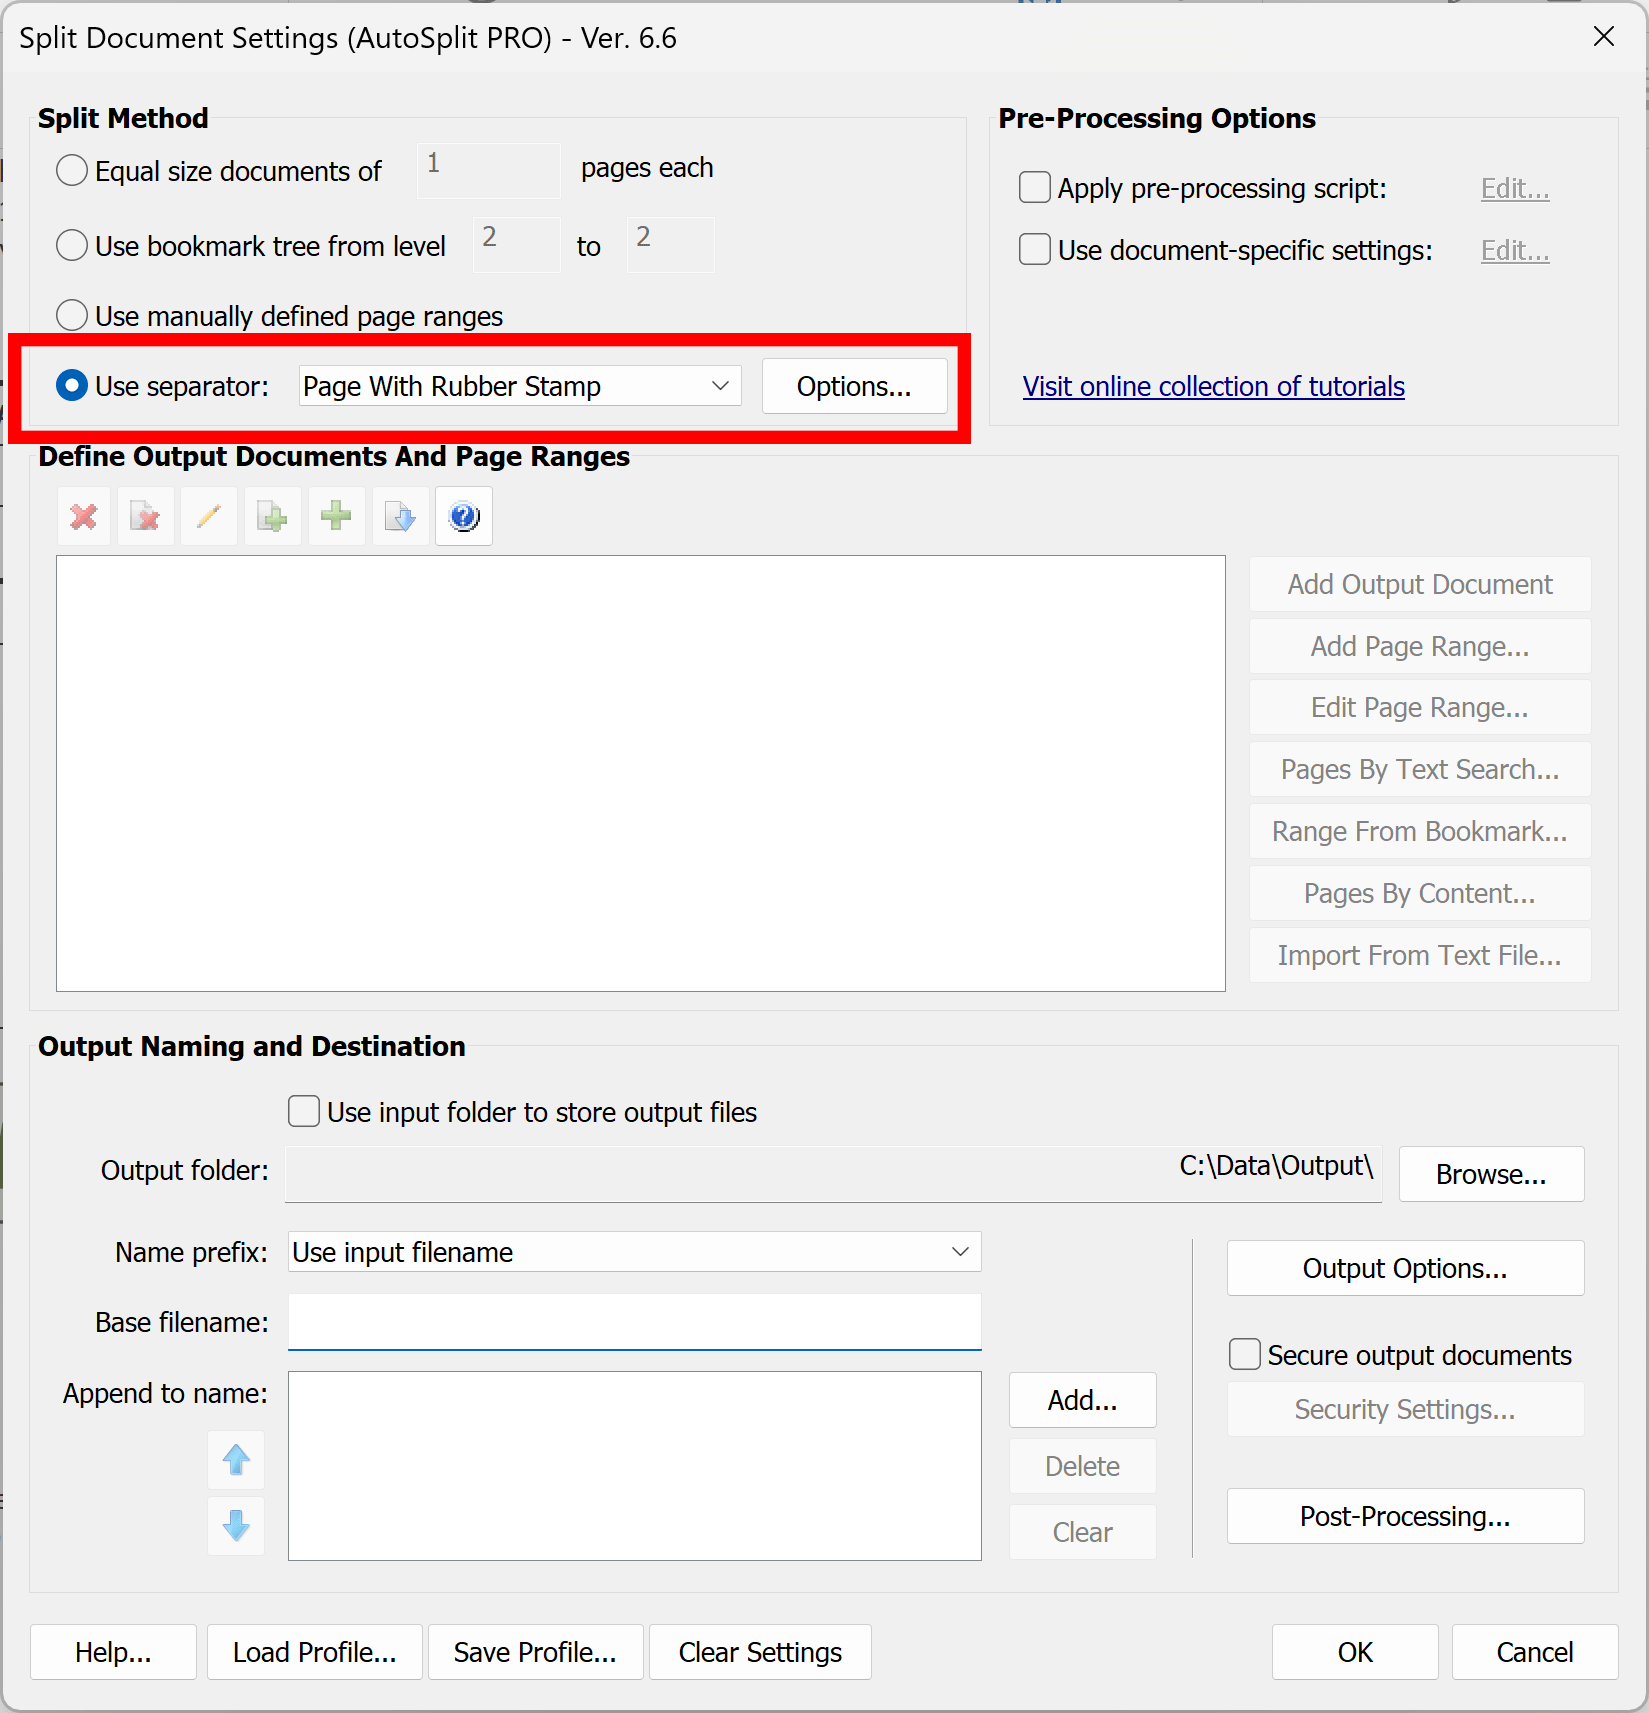
- Press "Options..." button to open options dialog:
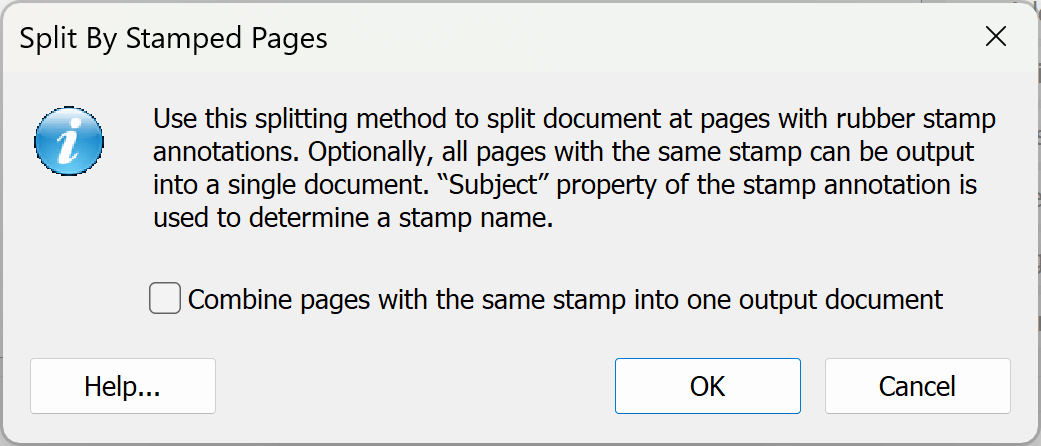
- Check "Combine pages with the same stamp into one output document" if you want to combine all documents categorized with the same stamp into a single output PDF document. If this option is off, then each sub-document will be saved as a separate file. Press OK button to close options dialog.
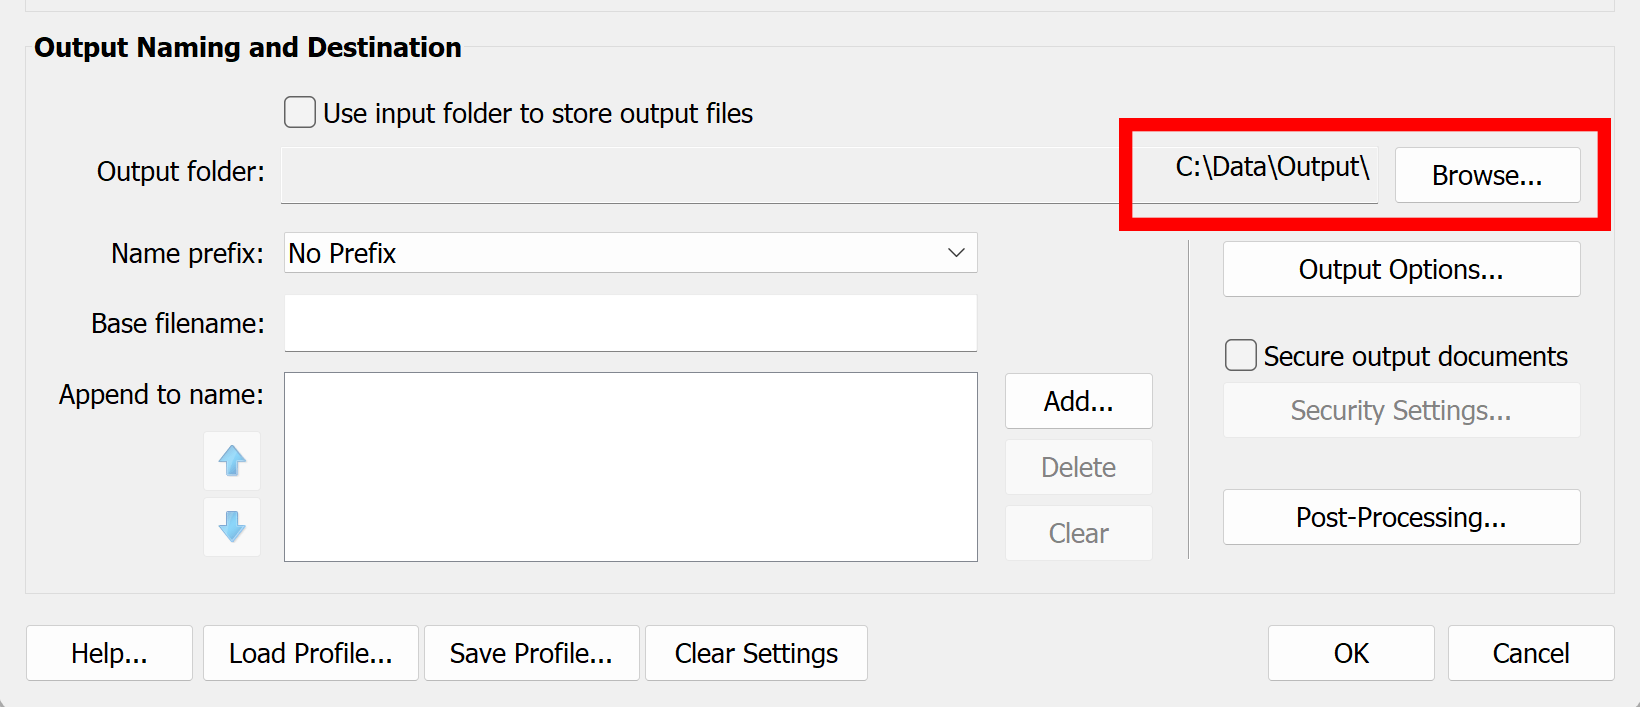
- Specify an Output Folder
- Specify an output folder by pressing "Browse..." button. Select a folder where to place output files. Click "OK” button to proceed.
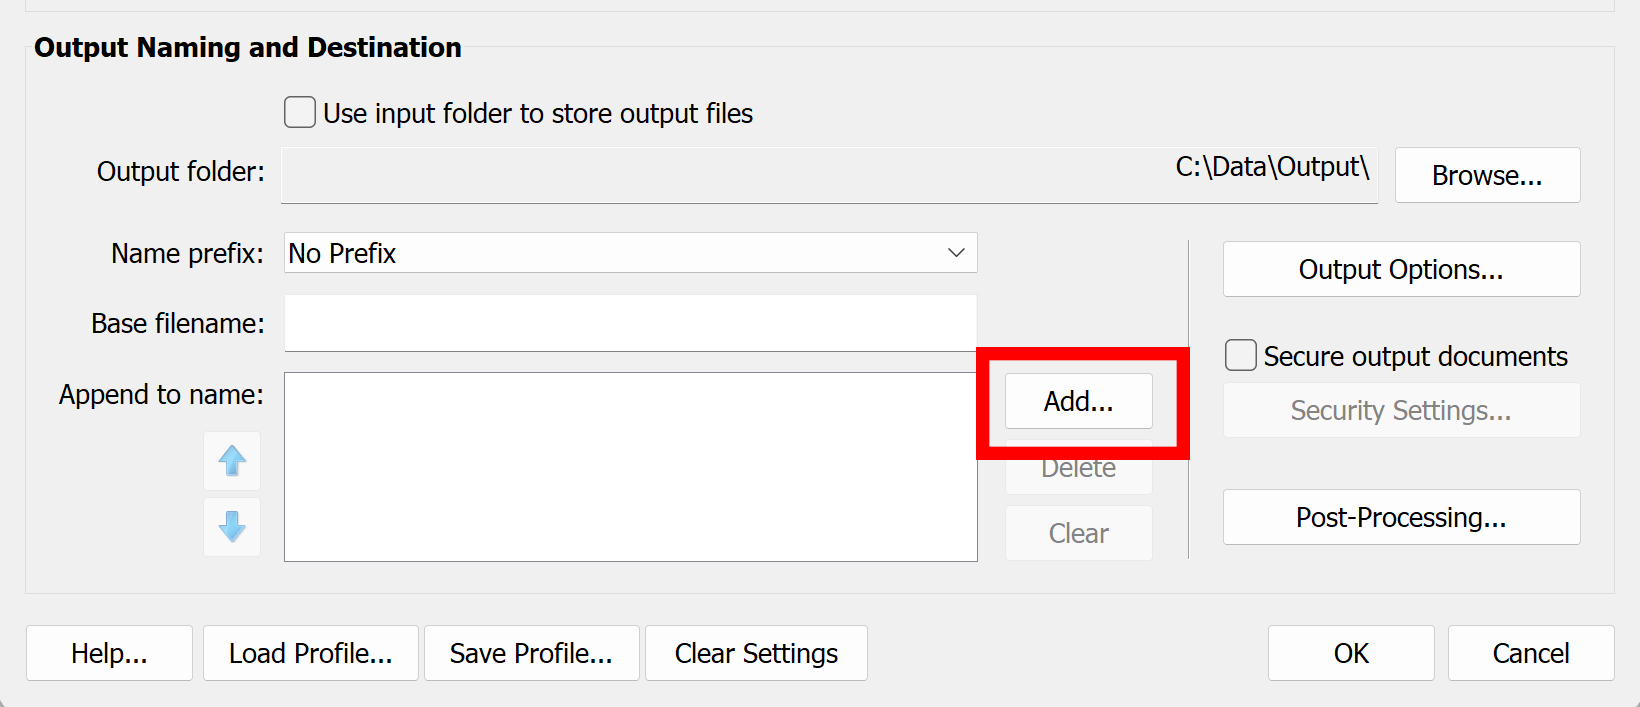
- Configure Output File Naming
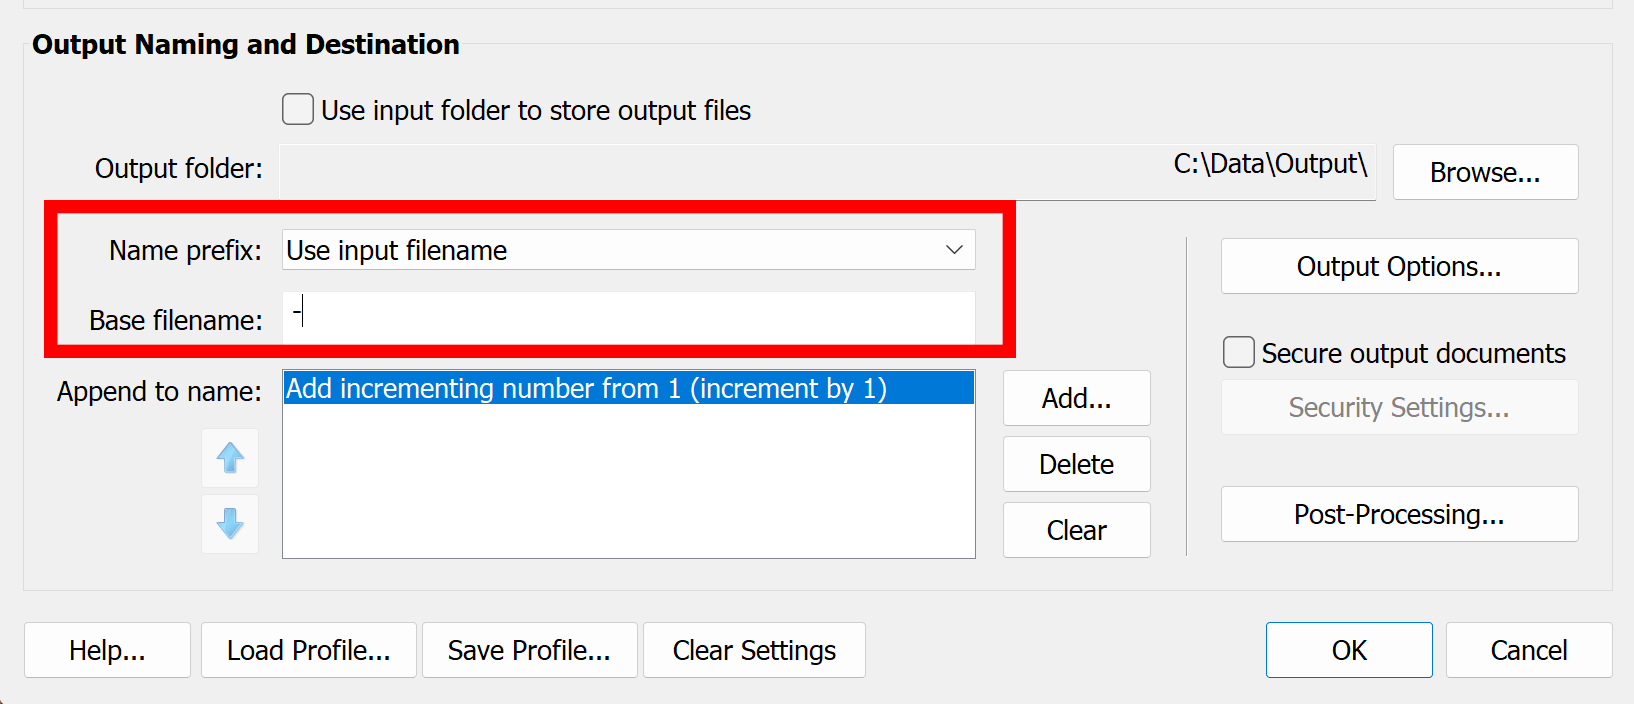
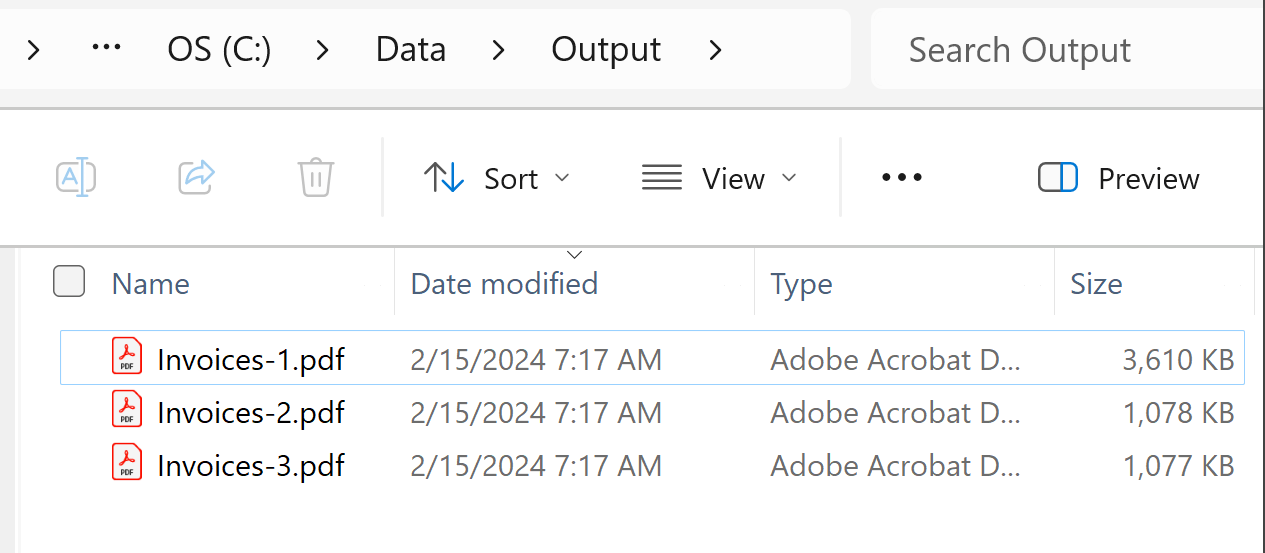
- Press "Add" button to specify a filenaming scheme. We are going to use an input filename followed by a dash and auto-incrementing number. For example, if we are splitting Invoices.pdf file, then output files are going to be named Invoices-1.pdf, Invoices-2.pdf, Invoices-3.pdf and so on.
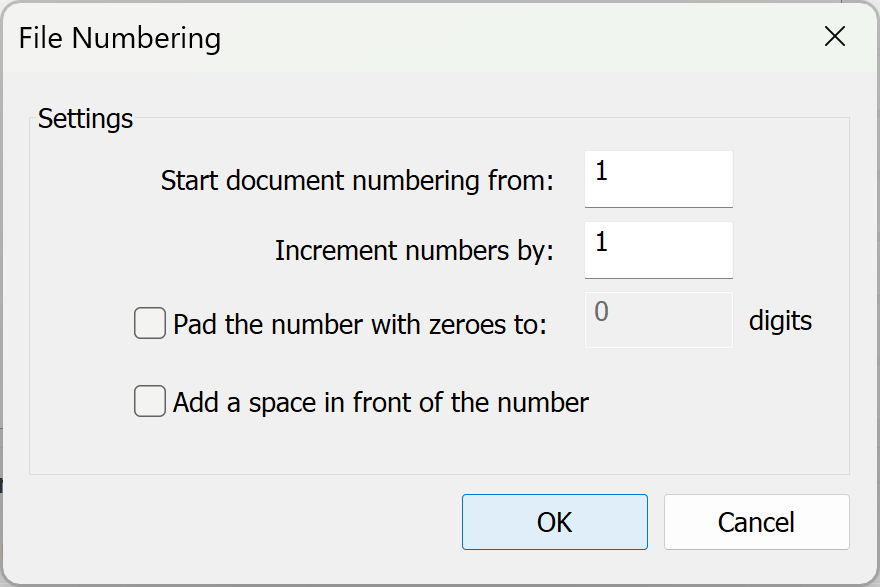
- Select "Auto-incrementing" number option:
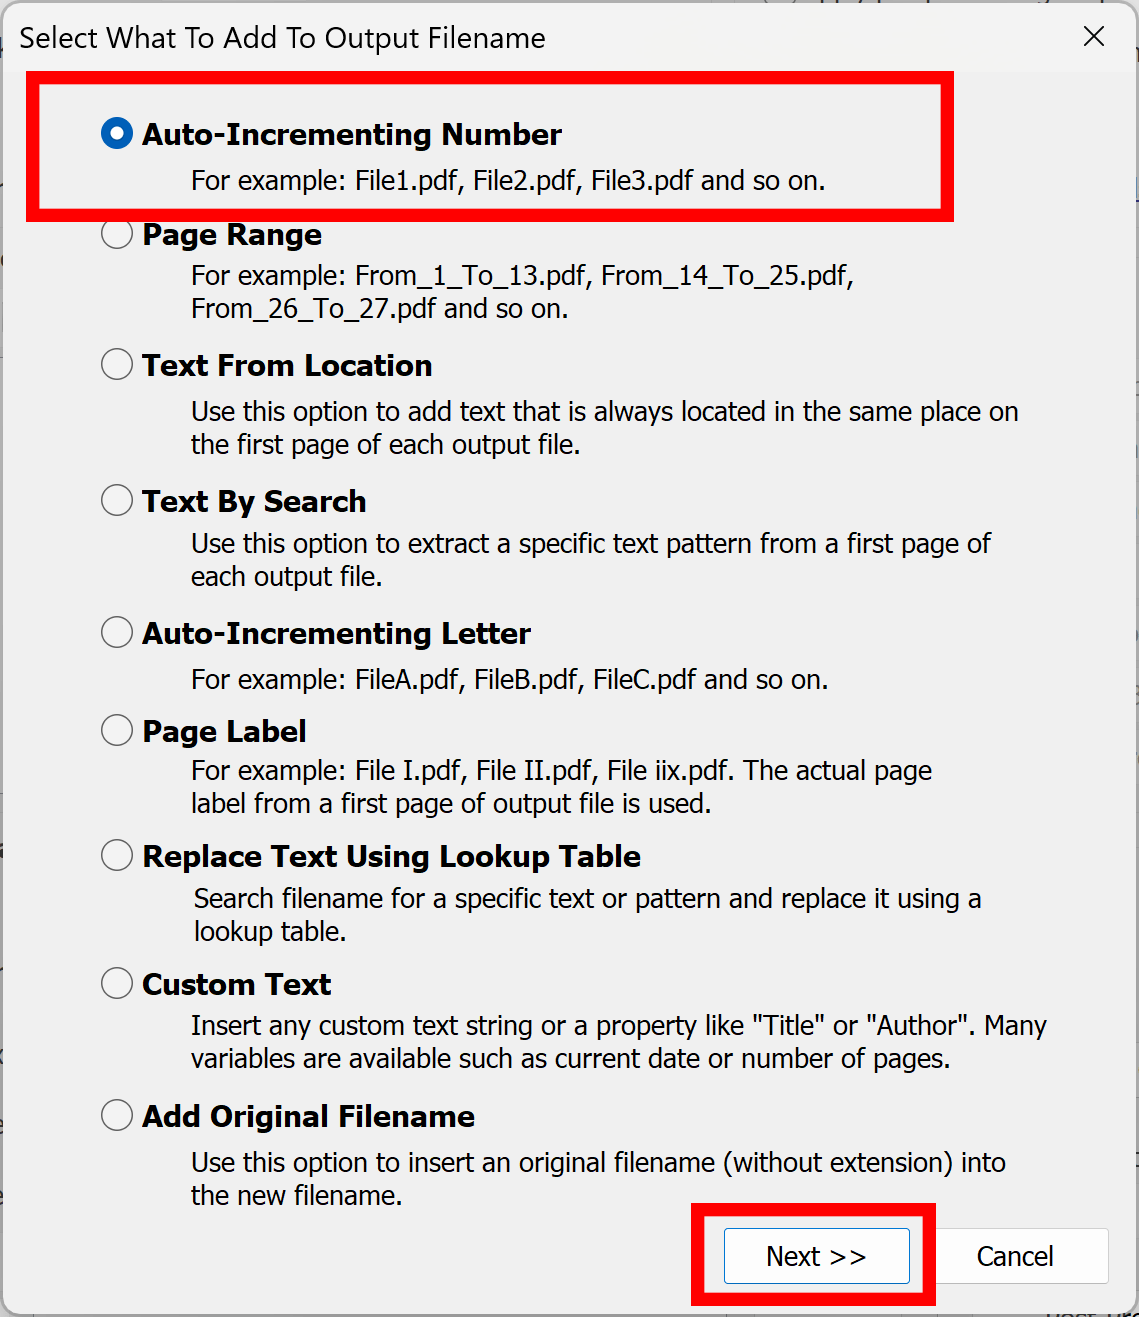
- Press "Next>>" button and configure auto-incrementing settings:
- Set "Name Prefix" to "Use input filename" and type a dash into "Base filename" box:
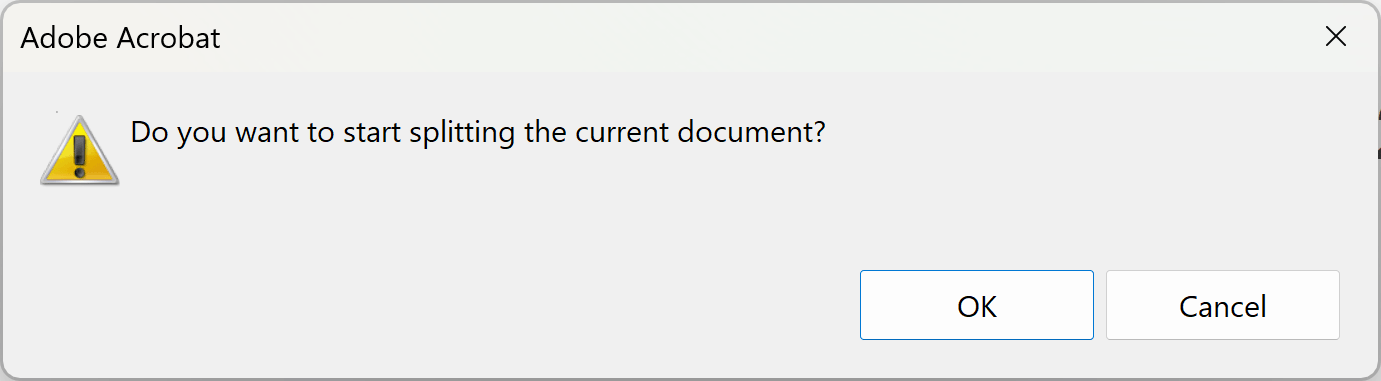
- Press "OK" button on the main dialog to start splitting process.
- Start Processing
- Click "OK" in the dialog box to start the process.
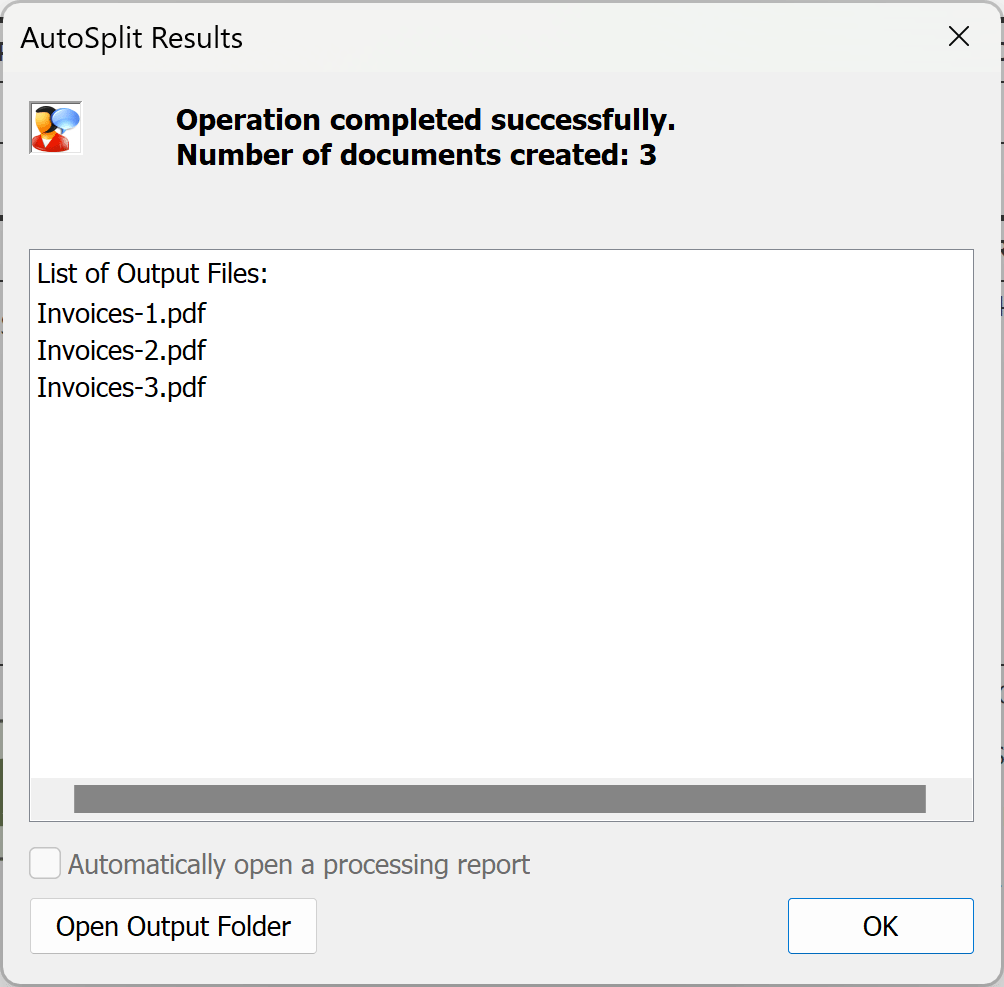
- Examine the Results
- The “AutoSplit Results” dialog appears on screen once a processing is completed. The “Results” dialog lists output files that were created during the processing. Click “Open Output Folder” to inspect the results.
- Inspect Files
- The AutoBookmark™ plug-in has automatically splitted the PDF document based on 2-nd level bookmarks, named every file using the corresponding bookmark title, created folders on a disk to mirror hierarchical structure of bookmark tree and placed output files into the corresponding of folders.
- Click here for a list of all step-by-step tutorials available.