Sending Emails via Microsoft Outlook
AutoDocMail plug-in for Adobe® Acrobat®
- Overview
- AutoDocMail provides multiple emailing methods for sending PDF documents generated from the mail merge process. The most convenient method is to send emails via Microsoft Outlook application. If you already have Outlook installed on the computer, then you can easily use it to send emails from AutoDocMail. The advantages of this method are:
-
- Use already configured email accounts, no need for separate account setup.
- Copies of all outgoing emails will be stored in Outlook’s “Sent” folder and easily accessible/searchable if necessary.
- Emails are handled by Microsoft Outlook with all options applied (signatures, security, encryption).
- Emailing is done in the background while you can continue using Adobe Acrobat without waiting for emailing to finish.
- Stop/resume emailing by switching Outlook online/offline.
Step-by-Step Tutorial
- How to Configure Email Settings
- 1. Select "Plug-ins > Auto-Email Documents..." from the main Acrobat menu.
- [⚡ How to locate Plugins menu in Adobe® Acrobat® ⚡]
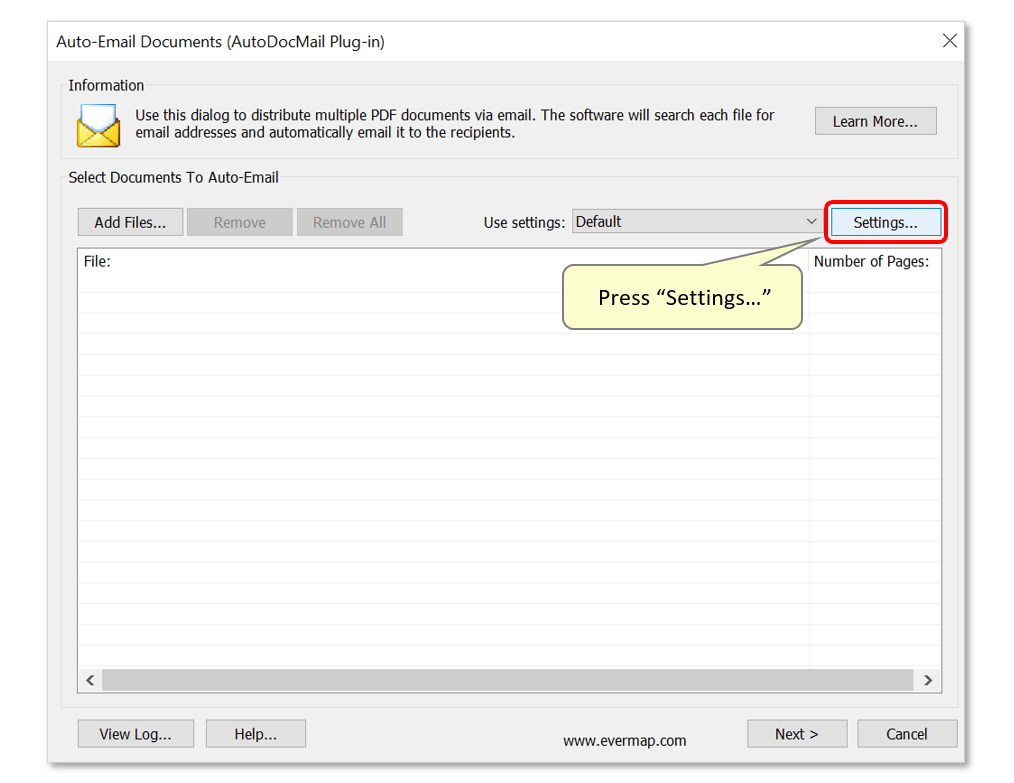
- 2. Press "Settings..." button to open configuration wizard.
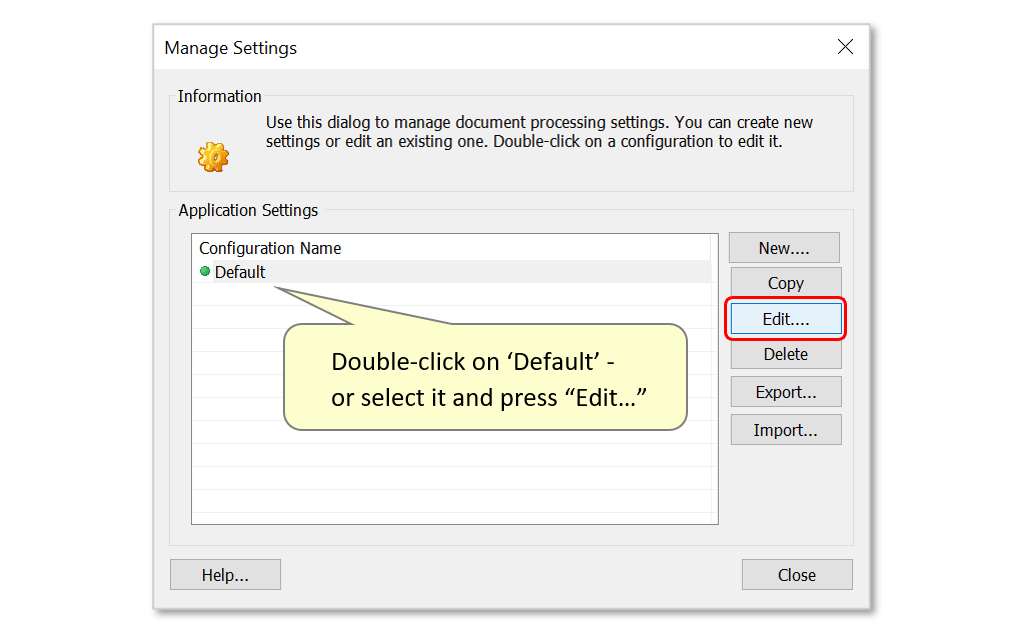
- 3. Select configuration from the list and press "Edit..." button to open configuration wizard.
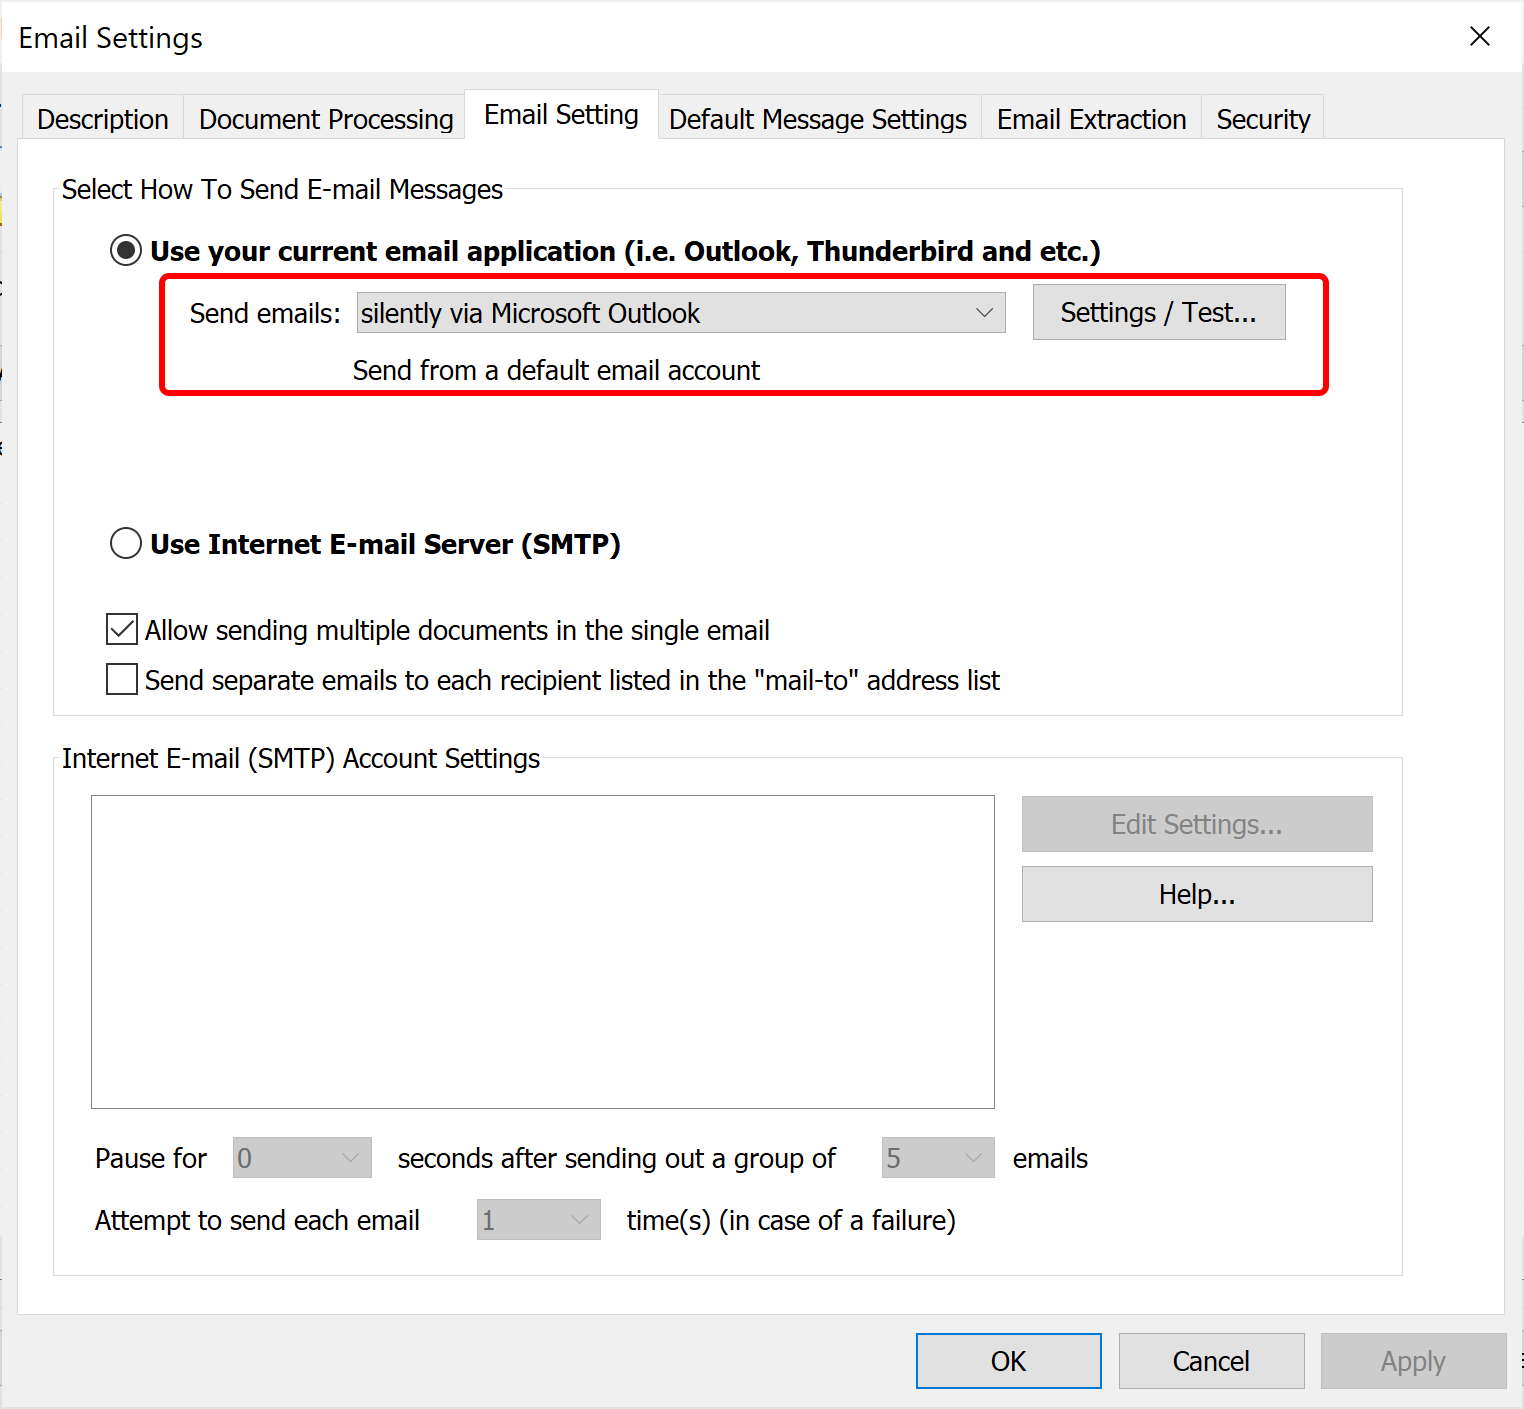
- 4. Select "Use your current email application" option and then choose "Send email -> silenly via Microsoft Outlook" option. Next, press "Settings / Test..." button.
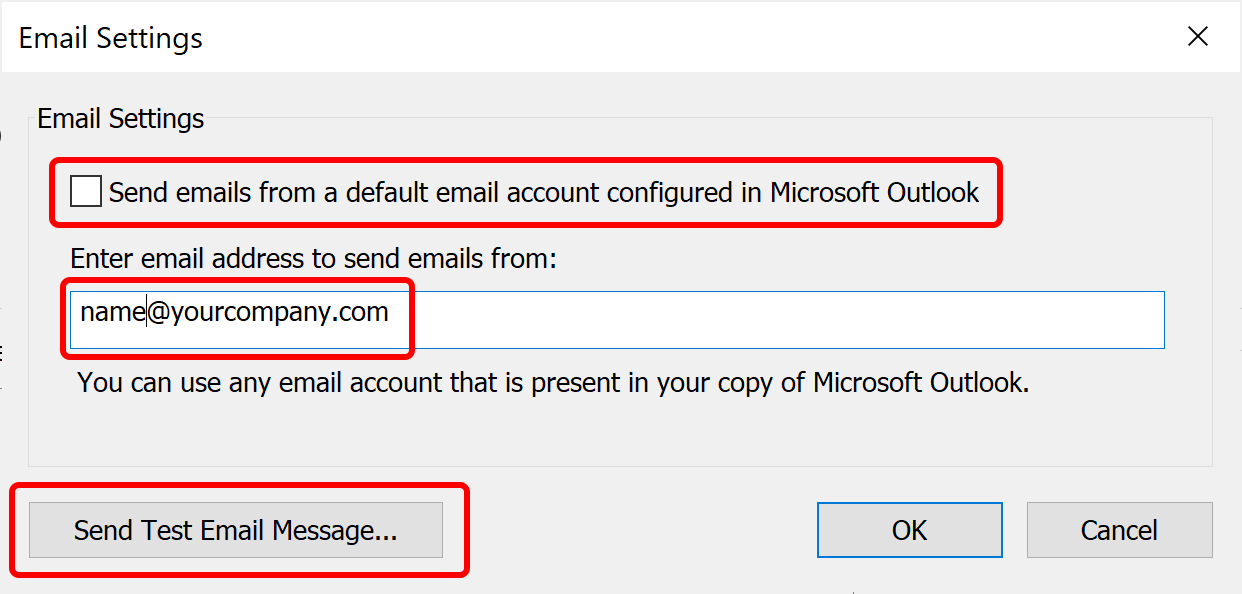
- 5.Either use a default email account (leave "Send emails from default email account" option checked) and uncheck this option if you want to spcify a different account. Enter email address you want to send emails from. This email address must correspond to an existing account in your copy of Microsoft Outlook. You can send emails from any account that is listed in Outlook's Account Settings. Verify settings by pressing "Send Test Email..." button to send a test email message from the selected account.
- 6. Press OK button to confirm a test email:
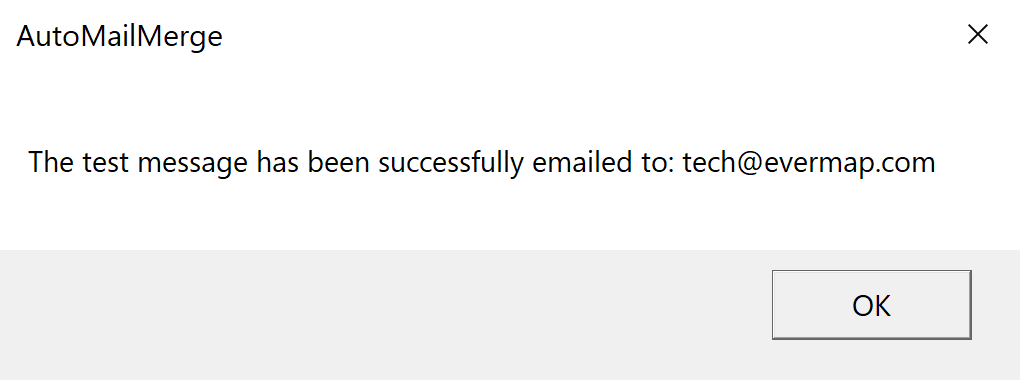
- 7. You should see the following confirmation message:
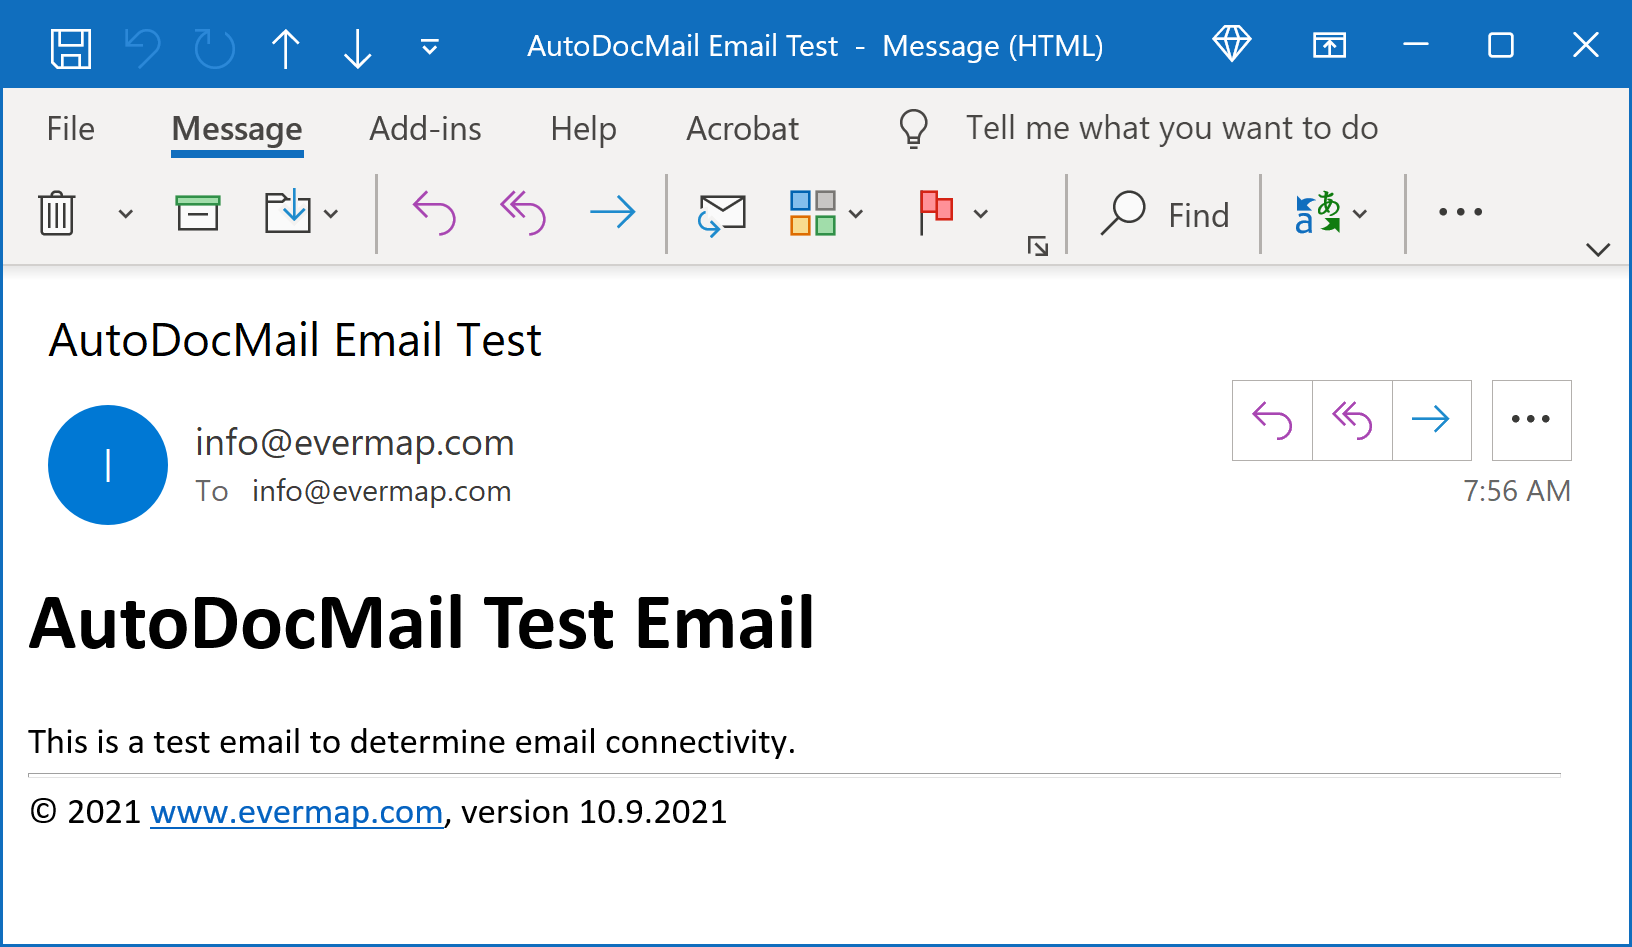
- 8. Switch to Microsoft Outlook and check if you have received a test message:
- Now you have successfully configured emailing via Microsoft Outlook from AutoMailMerge.
- Click here for a list of all step-by-step tutorials available.