Using ODBC Databases in the Mail Merge
AutoMailMerge plug-in for Adobe® Acrobat®
- Introduction
- This tutorial shows how to connect to ODBC Database in the AutoMailMerge™ plug-in for the Adobe® Acrobat®. Use this tutorial to connect to ODBC database for performing a mail merge processing on PDF forms.
- Prerequisites
- You need a copy of the Adobe® Acrobat® along with the AutoMailMerge™ plug-in installed on your computer in order to use this tutorial. You can download the trial versions of both the Adobe® Acrobat® and the AutoMailMerge™.
Step-by-Step Tutorial
- Step 1 - Start the AutoMailMerge™ Plug-in
- Open a PDF form you want to use in the mail merge process.
- Select Plugins > Mail Merge… to open the Mail Merge dialog.
- If you are using a new Adobe Acrobat interface, then you can locate Mail Merge menu here:
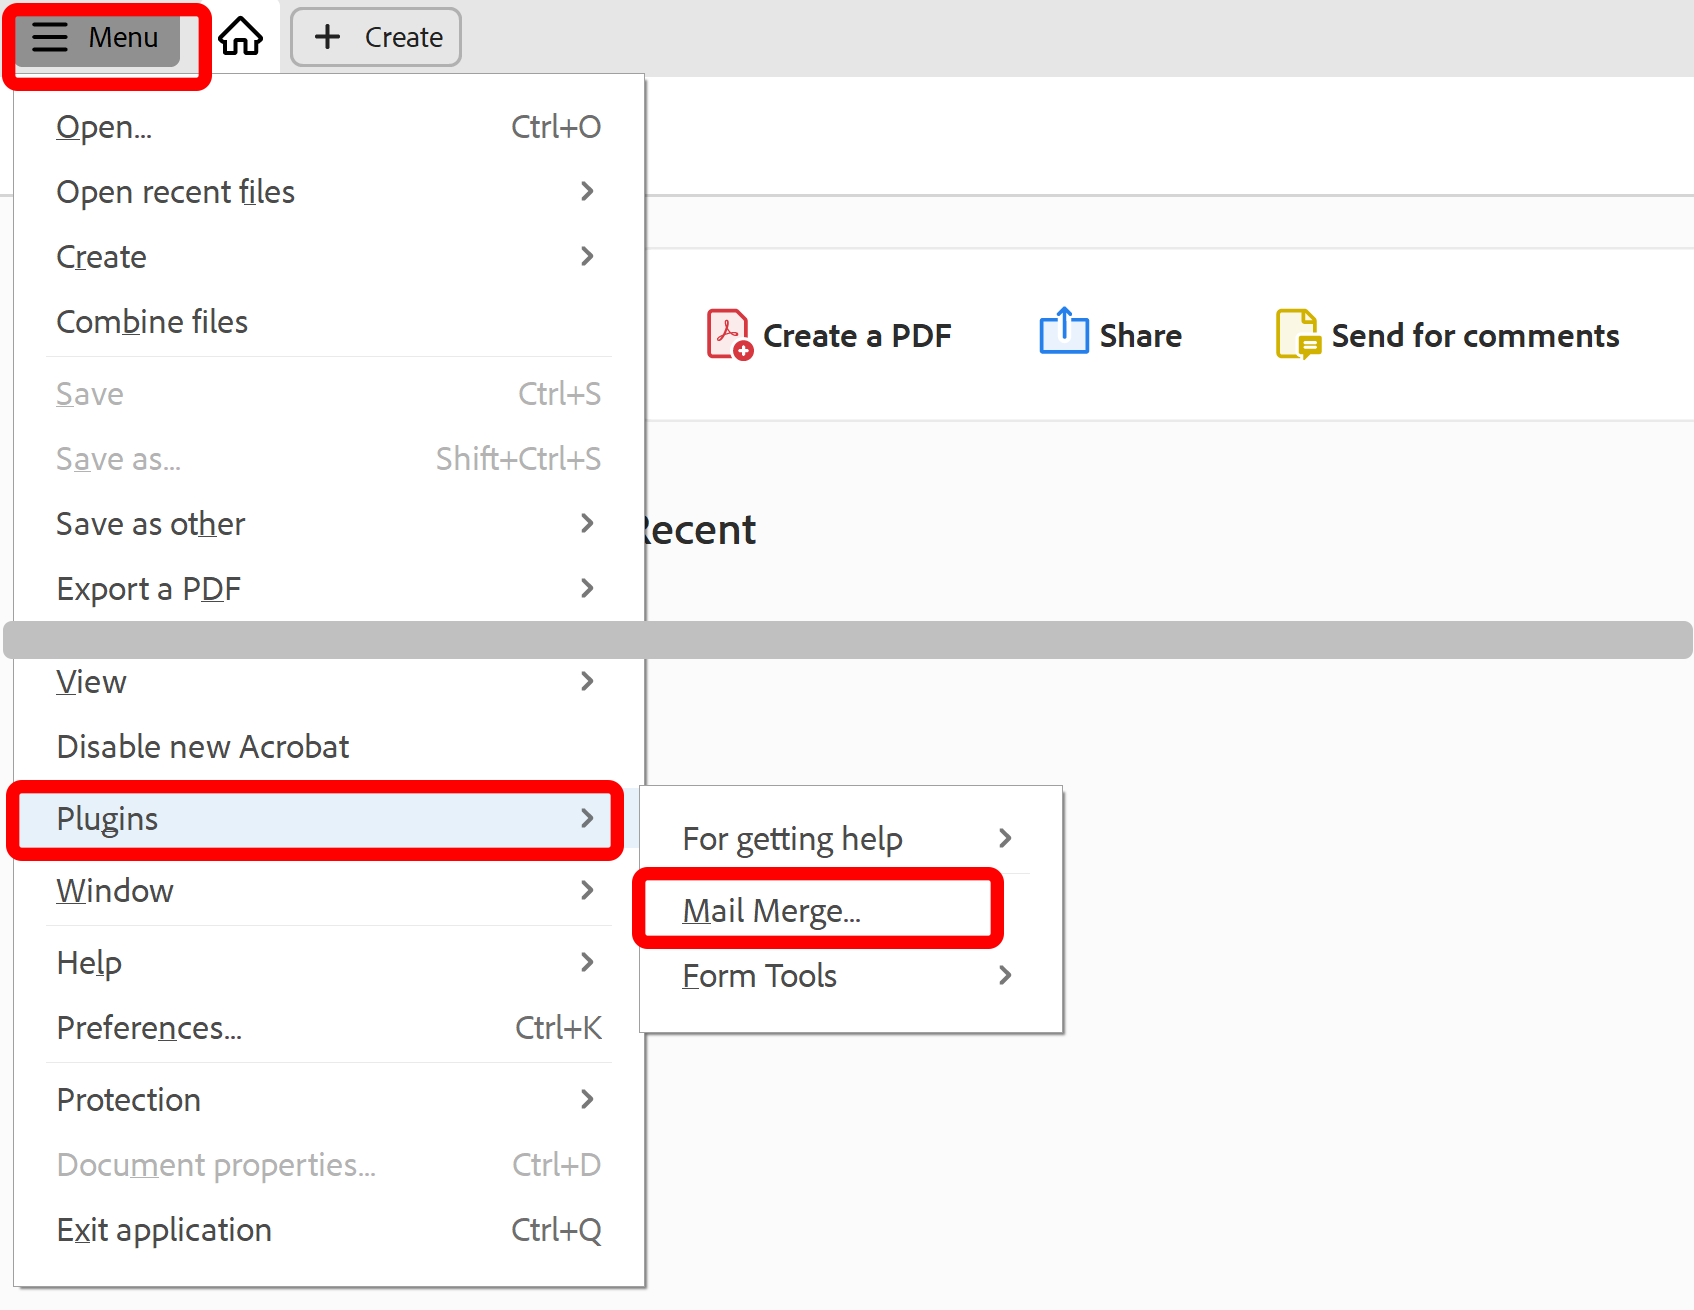
- Please see the following page for a short video tutorial on how to locate Plugins menu in the new Adobe® Acrobat® interface.
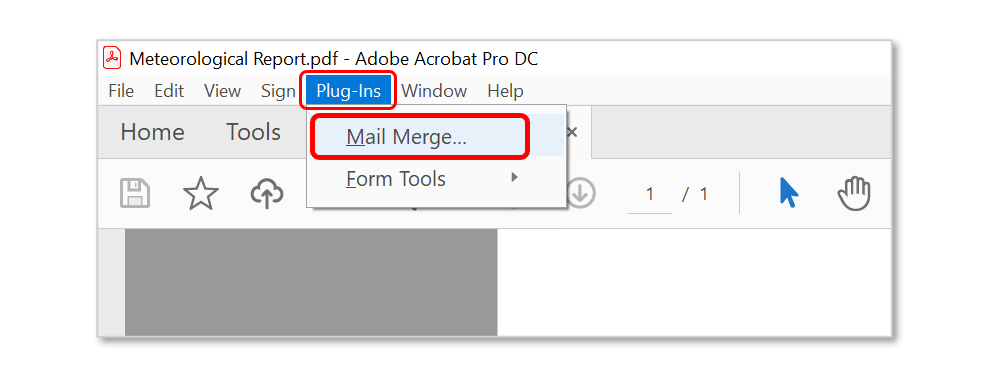
- If you are using a "classic" Adobe Acrobat interface (pre-2022), then you can locate Mail Merge menu here:
- Click "Edit Settings...".
.PNG)
- Press the "Browse..." button in the "Data Source" screen.
.PNG)
- Step 2 - Select ODBC Data Source
- Select "ODBC Data Source" in the "Select Data Source Type" dialog and click "OK".
.PNG)
- Step 3 - Create File DSN
- Click "New..." in the "File Data Source" tab to add a new file DSN.
.PNG)
- Select a driver for which you want to set up a data source. The tutorial uses the "Microsoft Access Driver" as an example. Click "Next >".
.PNG)
- Now you will be presented screens and dialogs that correspond to the specific ODBC database you have selected.
- Press the "Browse..." button to create a file DSN.
.PNG)
- Select a folder and enter any desired file name. Remember where you are saving this file, you will need to select it later in the AutoMailMerge�. Click "Save" once done. We are using "MS Access Test DSN" in the tutorial.
.PNG)
- The file path would appear in the field. Click "Next >" to proceed.
.PNG)
- Check information in the box about the file data source which you have just configured. Click "Finish".
.PNG)
- Step 4 - ODBC Database Connecting
- The ODBC driver will now prompt you for additional information. Remember, this screen is specific for the ODBC driver used.
- Click "Select..." in the "ODBC Microsoft Access Setup" dialog.
.PNG)
- Select a folder and a database from the list in the "Select Database" dialog. In the tutorial it is the Microsoft Access database file. Click "OK" once done.
.PNG)
- Click "OK" in the "ODBC Microsoft Access Setup" dialog to complete ODBC setup.
.PNG)
- You may get a message that "The File Data Source was not saved", just ignore it. Now you should see this newly created File DSN in the list. Click "Cancel" to finish ODBC managing and close this dialog.
.PNG)
- Step 5 - Select a Data Source
- Select "ODBC Data Source File (*.dsn)" in the "Select Data Source Type" dialog.
.PNG)
- Open a folder and select a file DSN that was created earlier. Click "Open".
.PNG)
- Now you will be connected to the database and the "Select Table" dialog should appear on the screen. Select a table from the list. You can enter a custom SQL SELECT statement in this window. Click "OK" to finish.
.PNG)
- Now the list of the PDF form fields should appear on the screen. The data source is ready for the field-mapping step. See "How to Perform a PDF Mail Merge" tutorial for step-by-step instructions on setting up the mail merge process.
.PNG)
- Click here for a list of all step-by-step tutorials available.