Running a Mail Merge Using a Single Data Record
AutoMailMerge plug-in for Adobe® Acrobat®
- Introduction
- This tutorial demonstrates how to execute a mail merge that uses only a single data record to produce one output document. After configuring the mail merge settings, it's possible to specify which records should be processed when the operation is executed. It may sometimes be necessary to carry out the mail merge using only specific records within the data source. For example, if payroll documents need to be produced for only certain employees instead of everyone in a database. In the steps below, we will look at how to create a single output document, using a data source that contains multiple records.
- Input Document Description
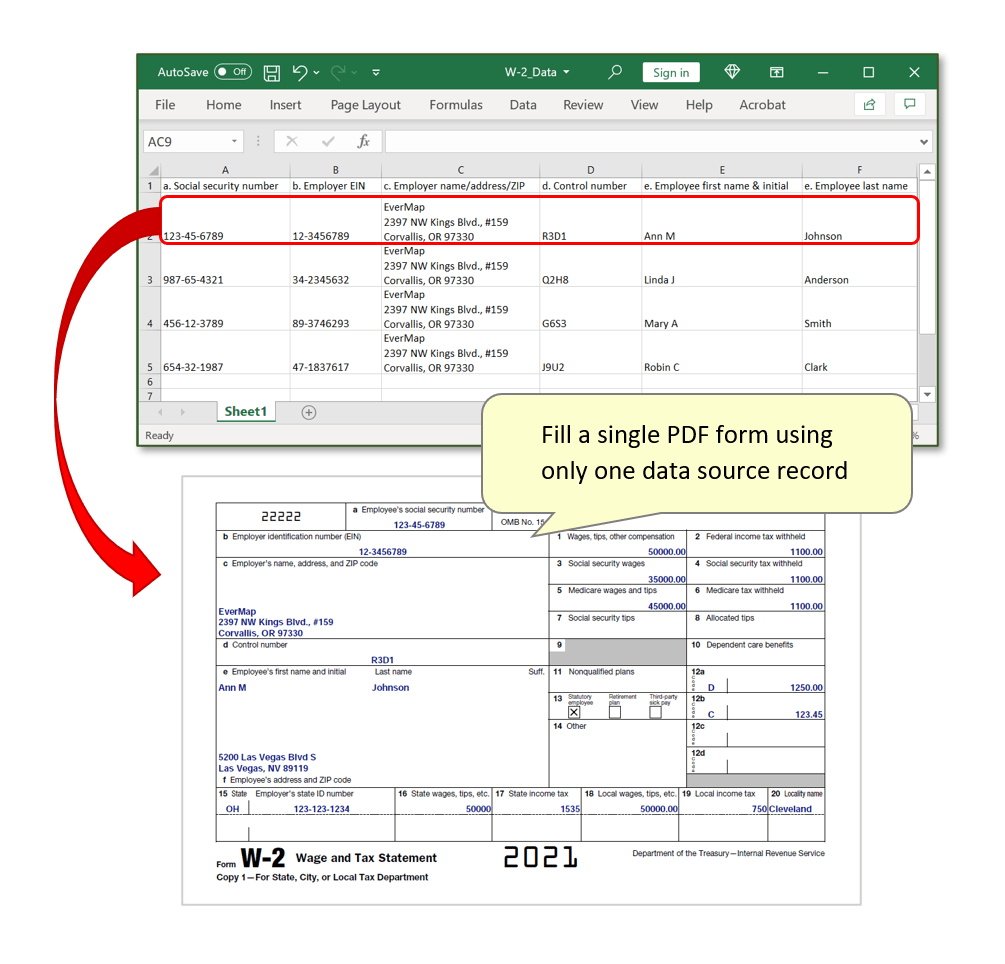
- The input PDF form used here is the official IRS form W-2. The goal is to carry out a mail merge using a data source spreadsheet that features multiple entries, each with unique data entered under a series of field headers. Each record in the data source would be used to fill in a separate output W-2 file, but we will manually select only one record to use for the mail merge.
- Prerequisites
- You need a copy of Adobe® Acrobat® (Standard or Professional) along with the AutoMailMerge™ plug-in installed on your computer in order to use this tutorial. Both are available as trial versions.
- Step 1 - Open the "Mail Merge" Dialog
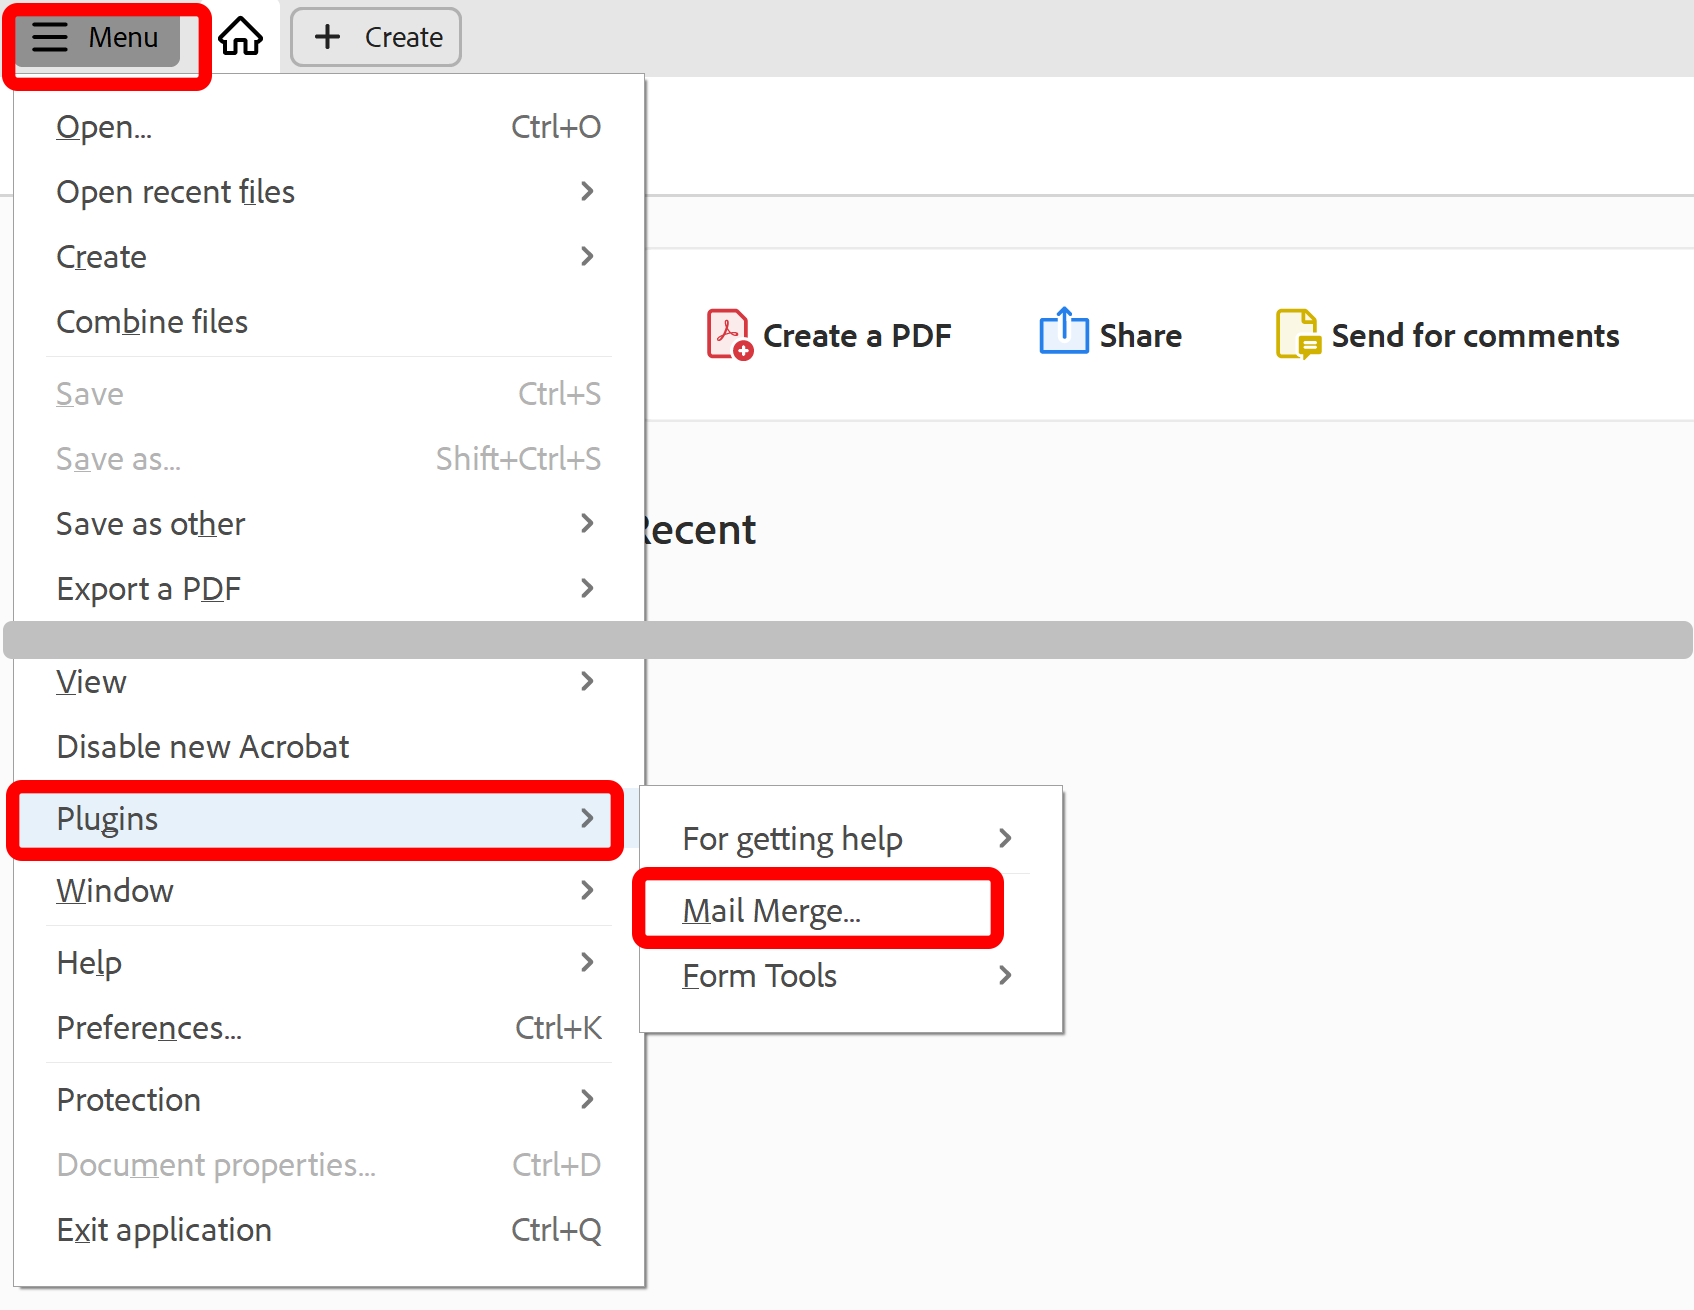
- Open the PDF form that you want to fill via a mail merge in Acrobat, then select "Plug-Ins > Mail Merge…" to open the "Mail Merge" dialog.
- Select Plugins > Mail Merge… to open the Mail Merge dialog.
- If you are using a new Adobe Acrobat interface, then you can locate Mail Merge menu here:
- Please see the following page for a short video tutorial on how to locate Plugins menu in the new Adobe® Acrobat® interface.
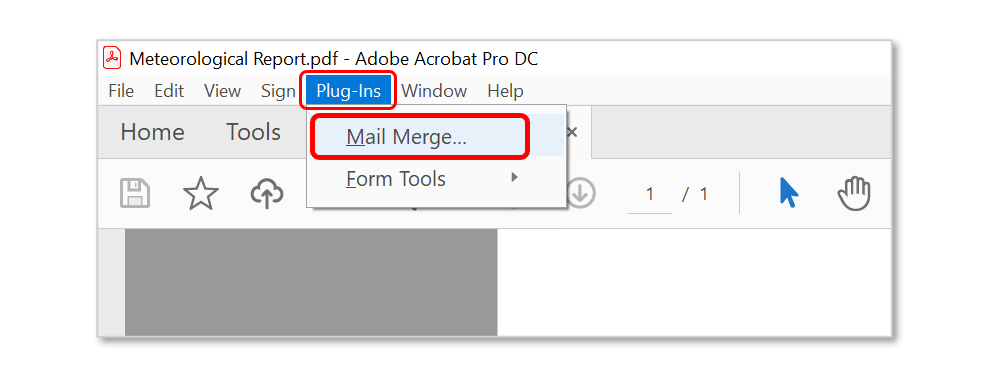
- If you are using a "classic" Adobe Acrobat interface (pre-2022), then you can locate Mail Merge menu here:
- Step 2 - Configure a Mail Merge
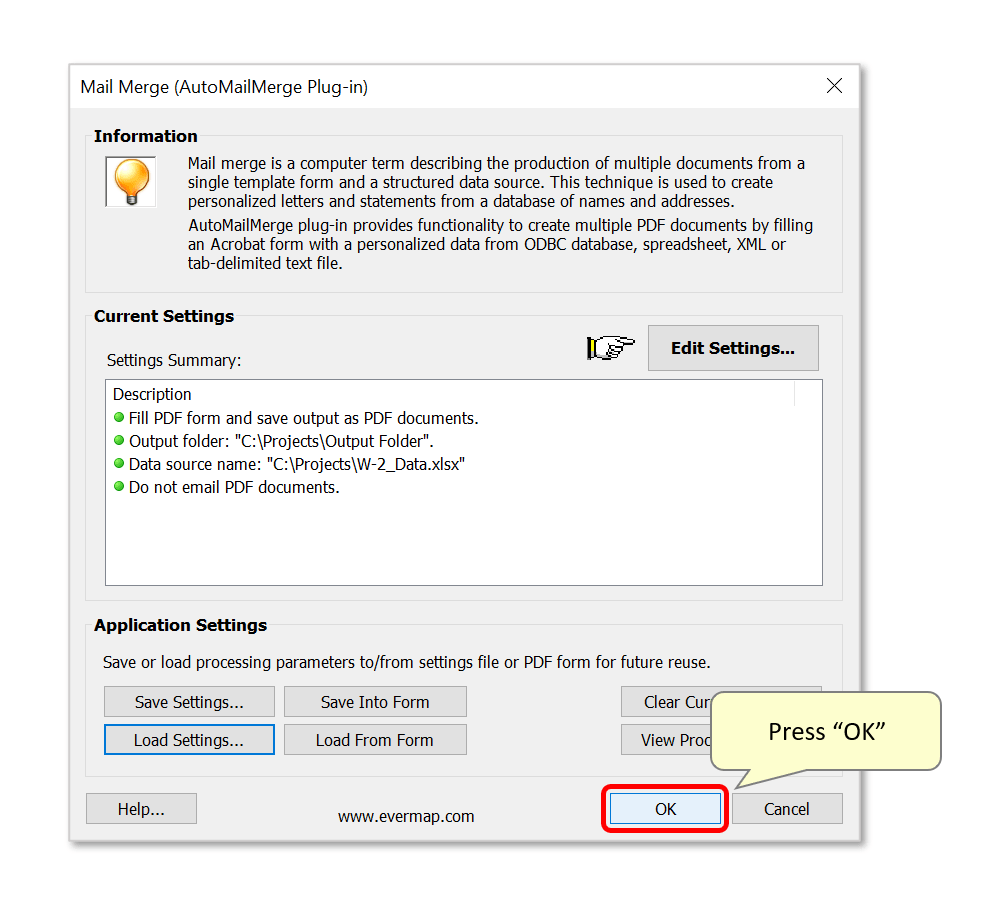
- Edit the settings required to complete the desired mail merge. Click here to view a sample tutorial explaining how these mail merge settings can be configured. In this example, the input PDF form is the official IRS form W-2. Any output files will be saved to a "C:\Projects\Output Folder" location. The data source "W-2_Data.xlsx" is a spreadsheet containing multiple records that will be used to create a filled-in W-2 for each individual.
- Press "OK" to start the mail merge process.
- Step 3 - Edit Data Records
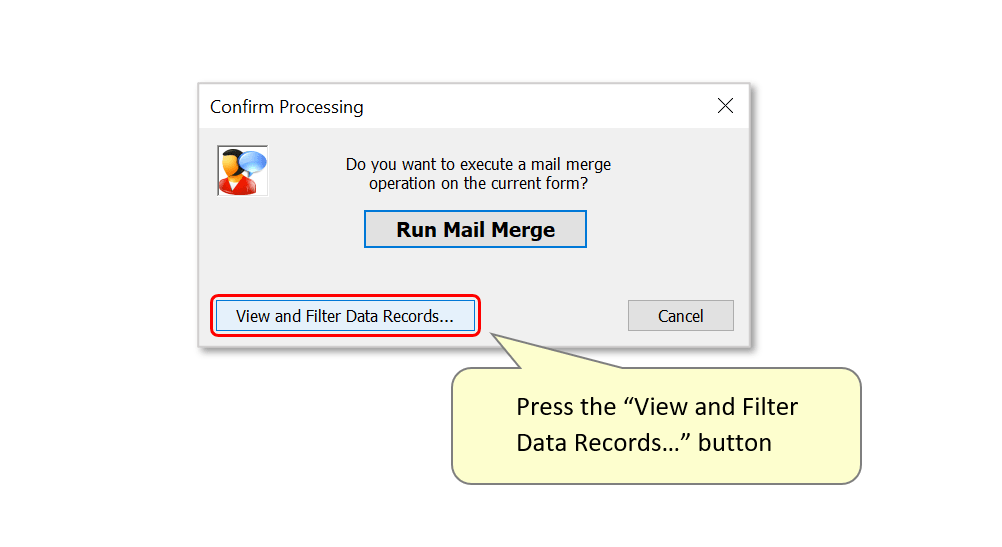
- Press "View and Filter Data Records..." to select the records from the data source that will be used for the mail merge.
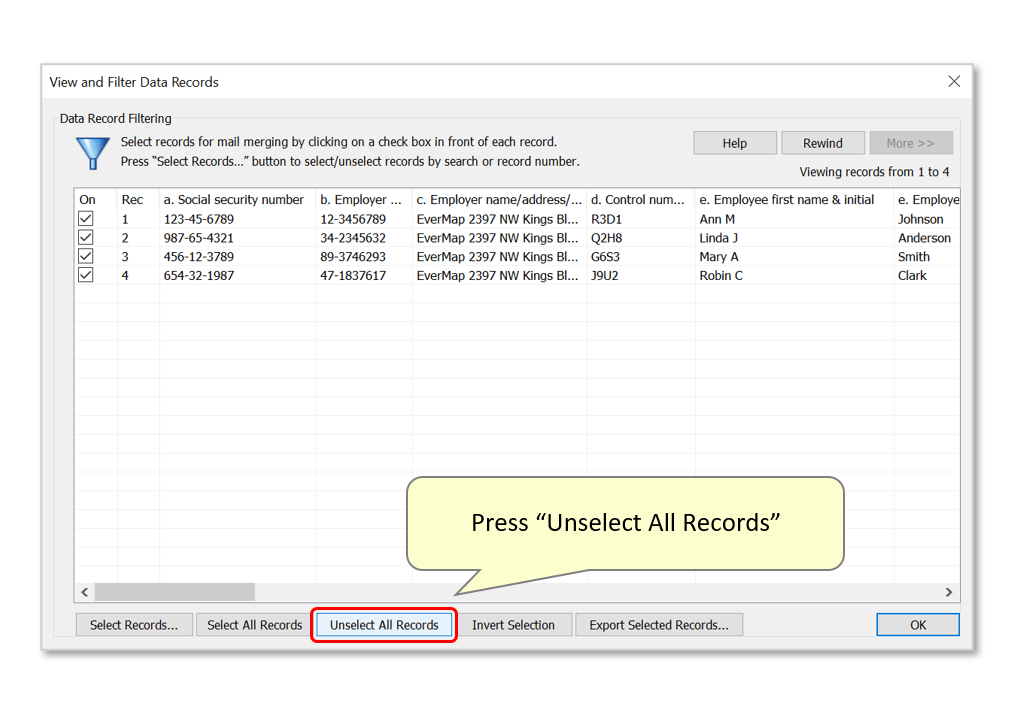
- The sample data source used here contains x4 records. When there are many records and you want to process only a few, it's easier to use the "Unselect All Records" button to uncheck all of them:
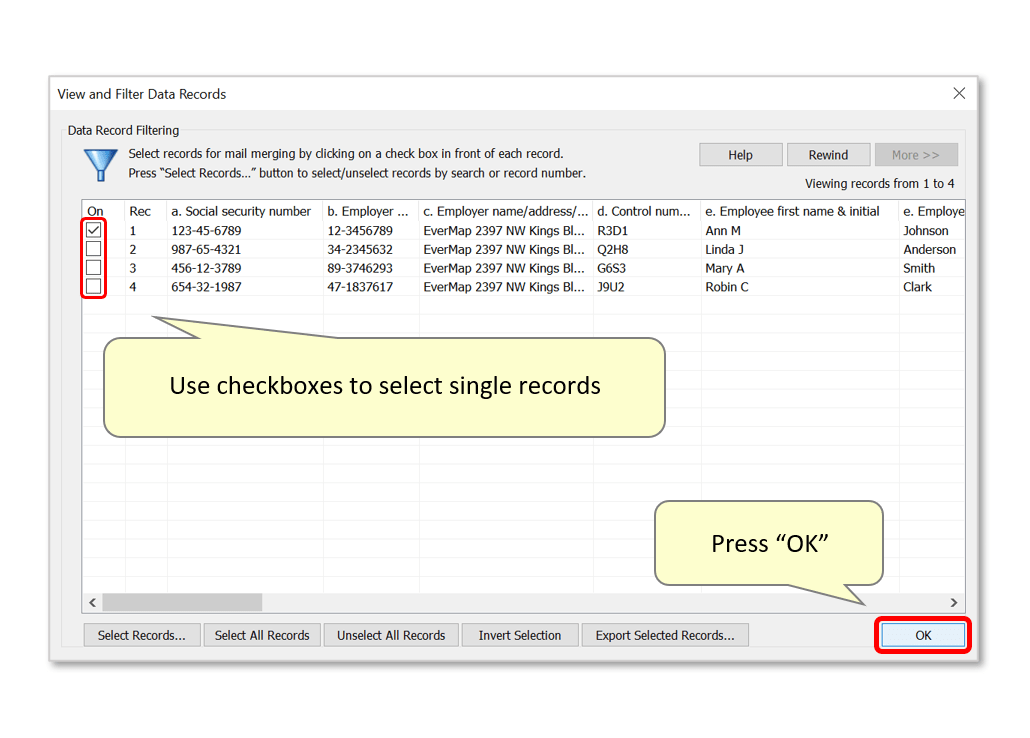
- Now use the checkboxes available to manually select any individual records that you want to process. Here, we will create one output W-2 form by selecting only the first record in the list.
- Press "OK" to proceed.
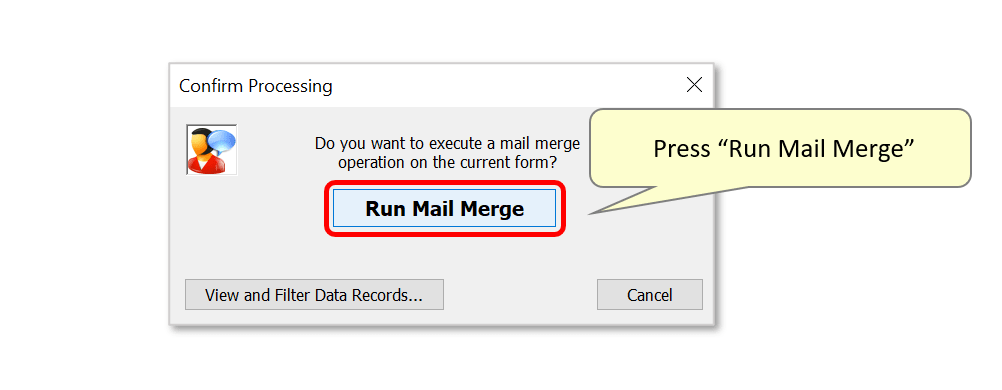
- Step 4 - Execute the Mail Merge
- Press "Run Mail Merge" to confirm the procedure.
- Step 5 - Inspect the Results
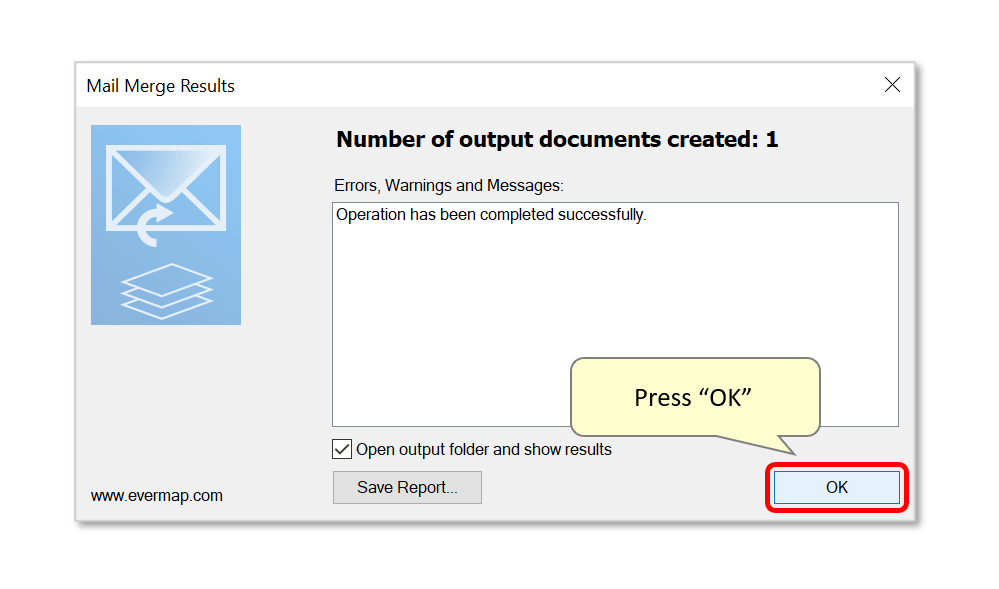
- A results box will confirm the success of the operation. By default, pressing "OK" will open the selected output location.
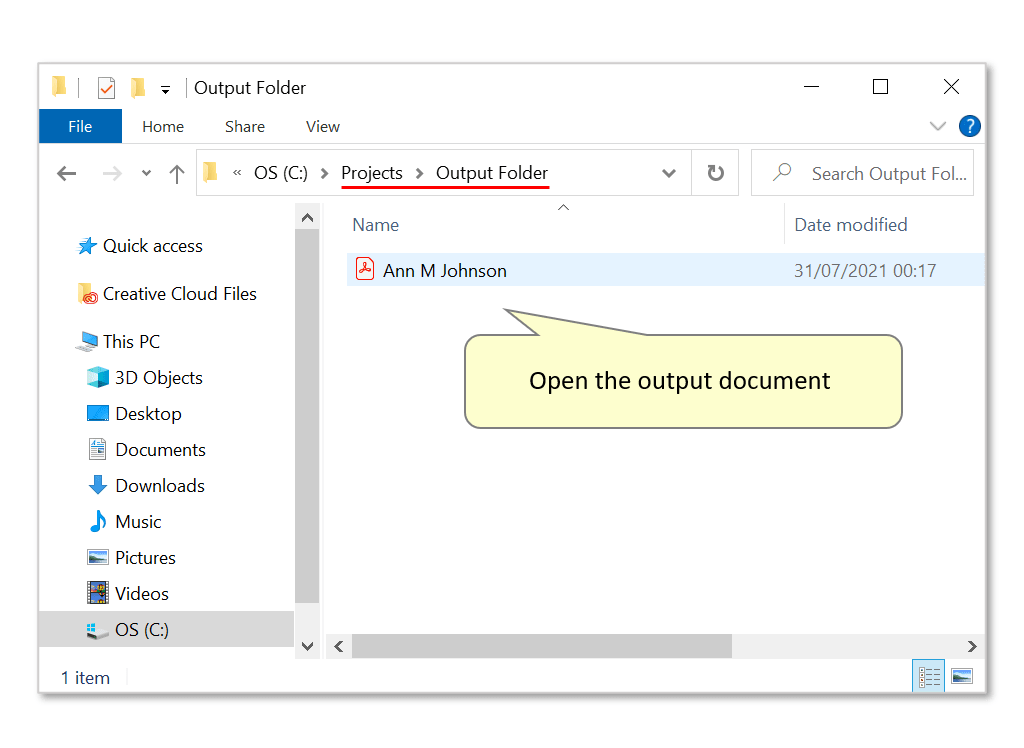
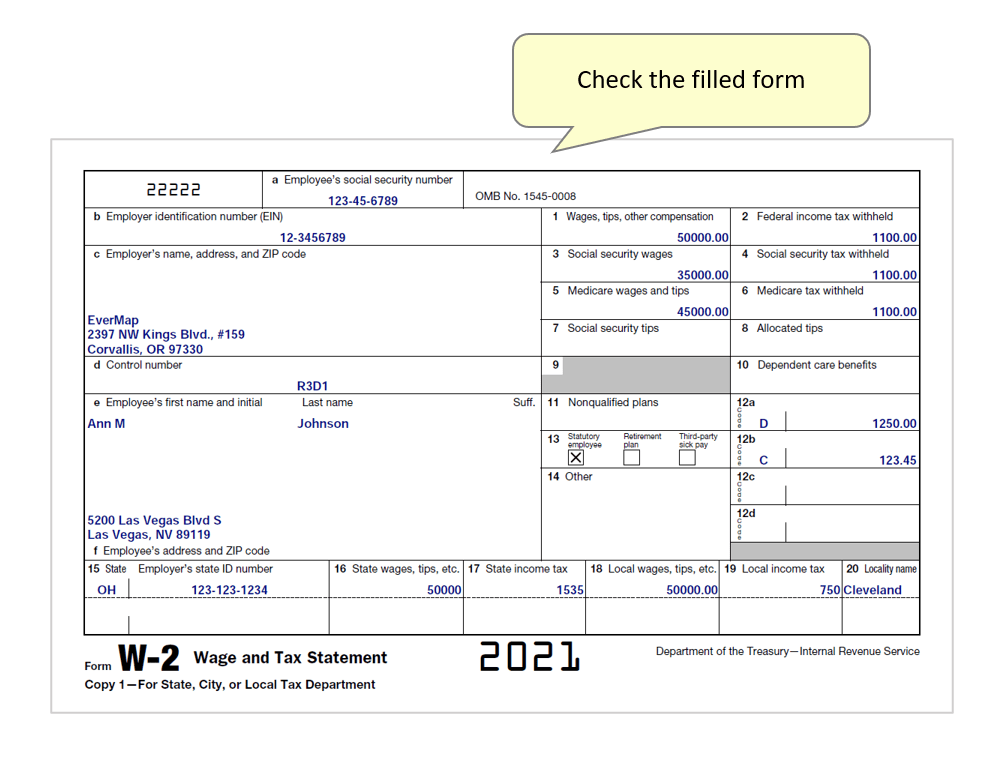
- Open the single output PDF form to check that the relevant data has been used to fill it.
- Click here for a list of all step-by-step tutorials available.