Customizing PDF Form Field Appearance Based on Data Values
AutoMailMerge plug-in for Adobe® Acrobat®
- Introduction
- This tutorial demonstrates a way to customize the visual appearance of form fields in output forms filled using AutoMailMerge™. This is achieved by using data values in the data source along with custom-written rules and conditions.
- In this example, JavaScript rules are used to change the color of form fields based to the data values. We also look at how to change a field’s ‘fill’ (background) color, and translate data values into custom symbols. These are then used to fill form fields - instead of just the data values. The code features data ‘ranges’ specifying that the field or text color are to be changed depending on the value of the data.
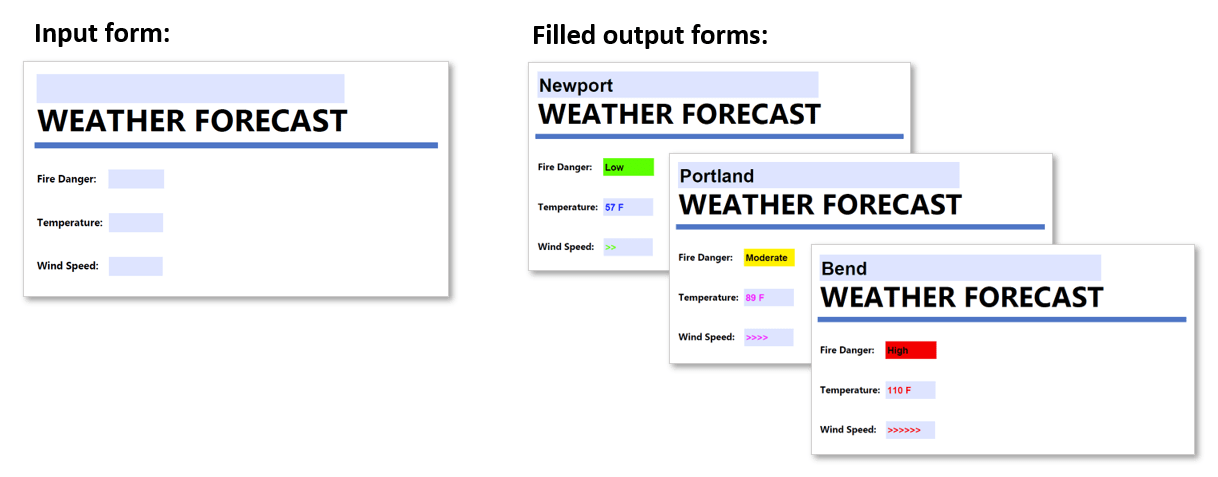
- The tutorial steps below show different weather forecast documents being filled using data from a spreadsheet file. Depending on the temperature levels and fire risk forecasts provided, the output form fields and their text will be color coded.
- Wind speed values will also be translated into “>>/>>>>/>>>>>>” depending on wind speeds using custom value ranges.
- Input Document Description
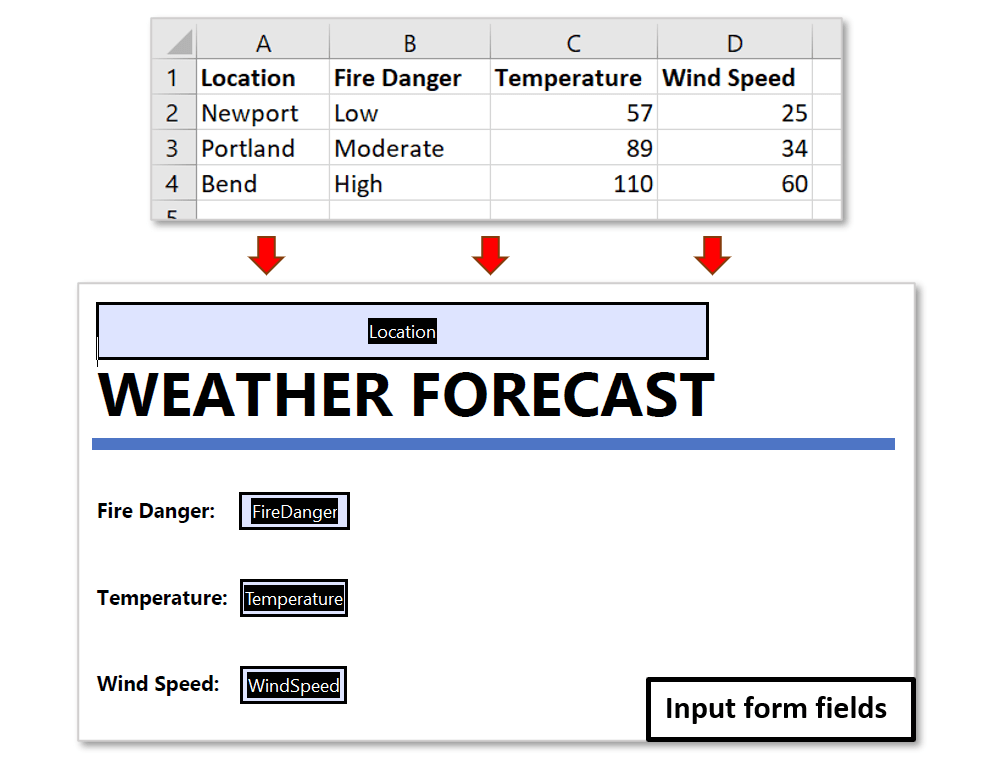
- We demonstrate this function using an input “Weather Forecast” PDF form that contains empty form fields mapped to data in the spreadsheet. The fields will be filled with: a ‘Location’ name; “Fire Danger” rating; predicted “Temperature”; and “Wind Speed”. The “Wind Speed” value will be translated into one of three “>>” symbols depending on its severity, instead of filling the field with the windspeed data provided.
- The goal is to have three separate forecast documents, one for each location (see images above). The “Fire Danger” form field will be of a specific color depending on the rating. The “Temperature” reading will be displayed as either blue/pink/red, and one of three “>>/>>>>/>>>>>>” symbol options will be used to indicate wind speed - also either blue/pink/red.
- Prerequisites
- You need a copy of Adobe® Acrobat® along with the AutoMailMerge™ plug-in installed on your computer in order to use this tutorial. Both are available as trial versions.
- Step 1 - Open the "Mail Merge" Dialog
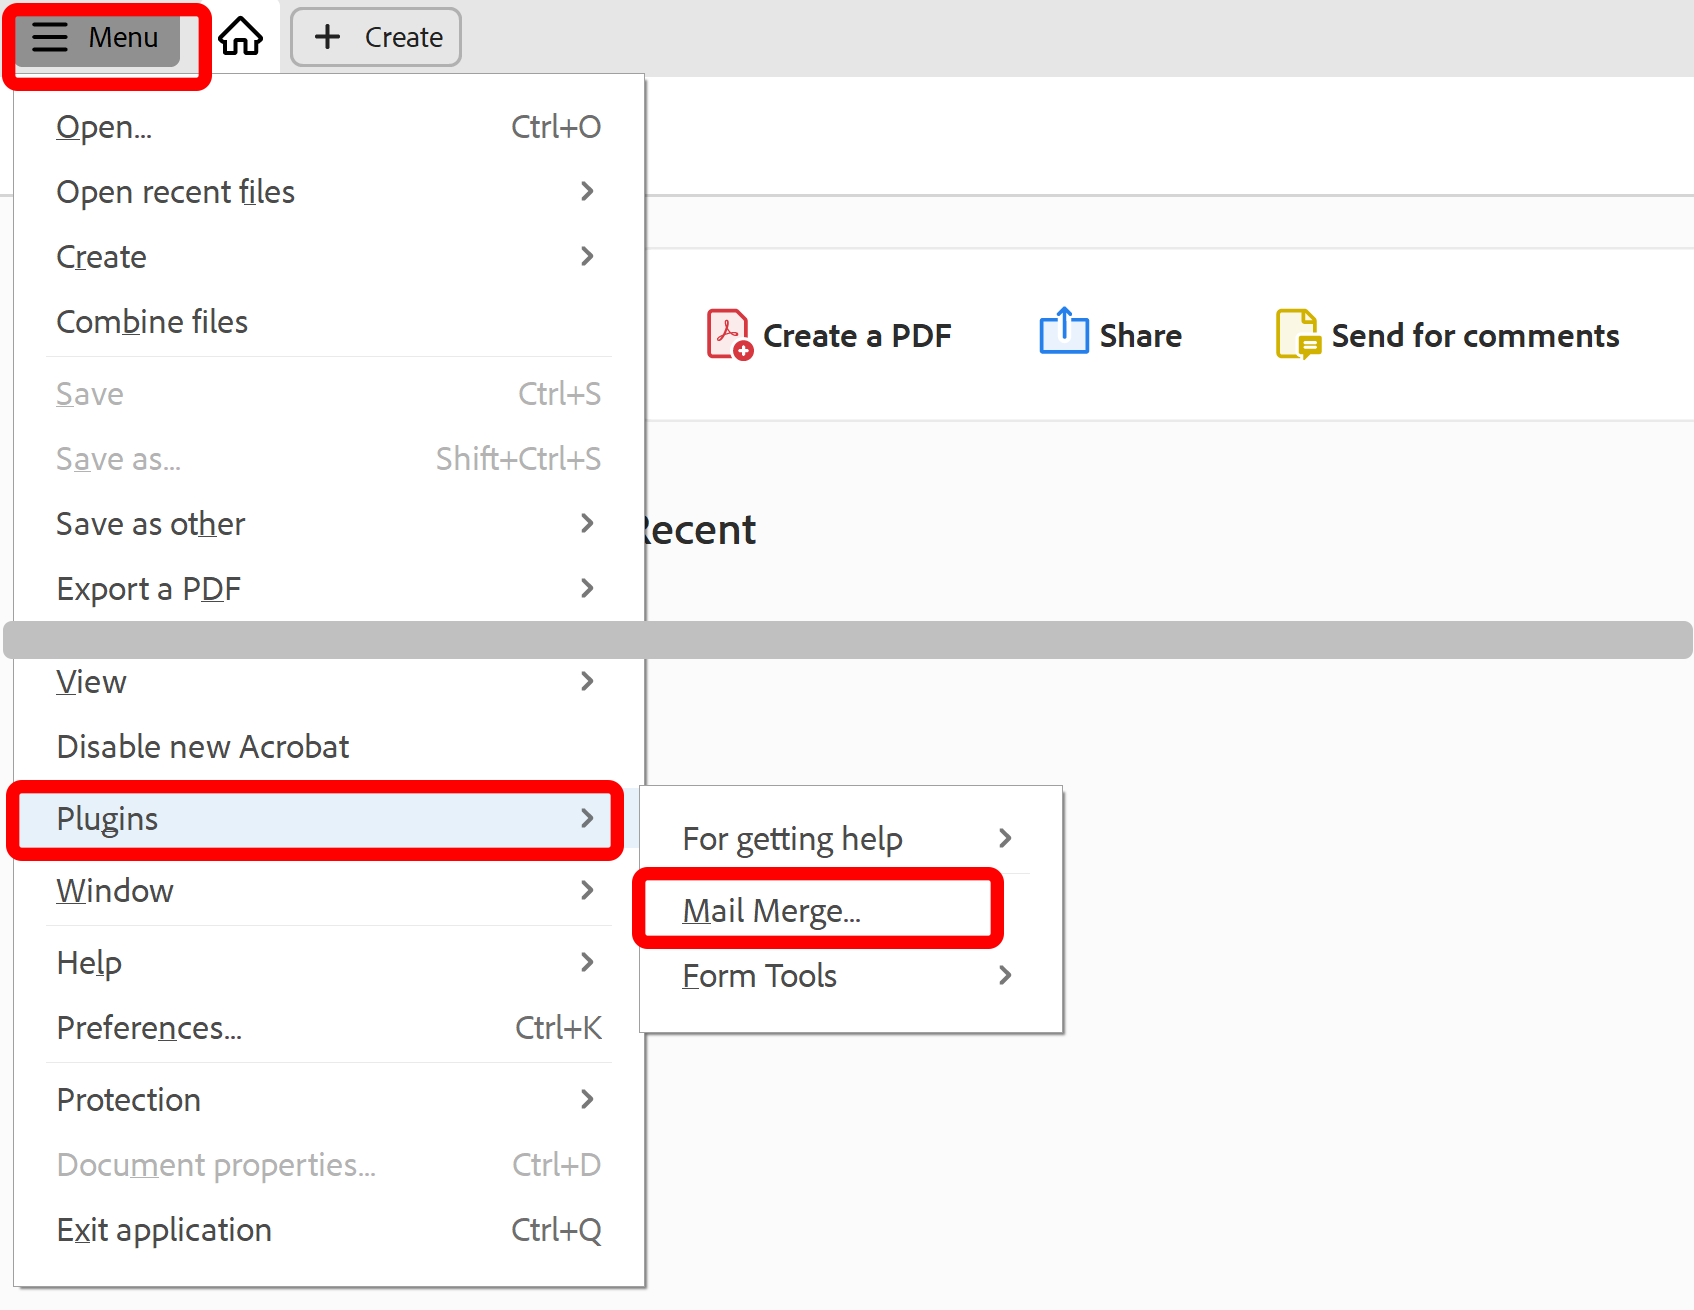
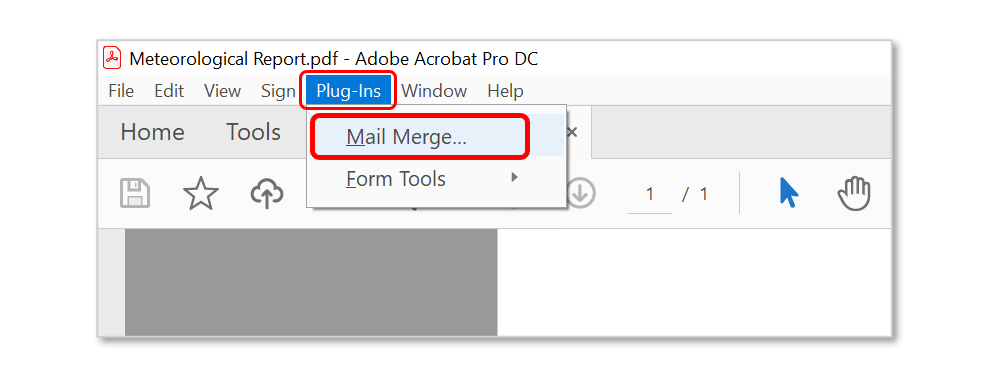
- Select Plugins > Mail Merge… to open the Mail Merge dialog.
- If you are using a new Adobe Acrobat interface, then you can locate Mail Merge menu here:
- Please see the following page for a short video tutorial on how to locate Plugins menu in the new Adobe® Acrobat® interface.
- If you are using a "classic" Adobe Acrobat interface (pre-2022), then you can locate Mail Merge menu here:
- Step 2 - Edit Mail Merge Settings
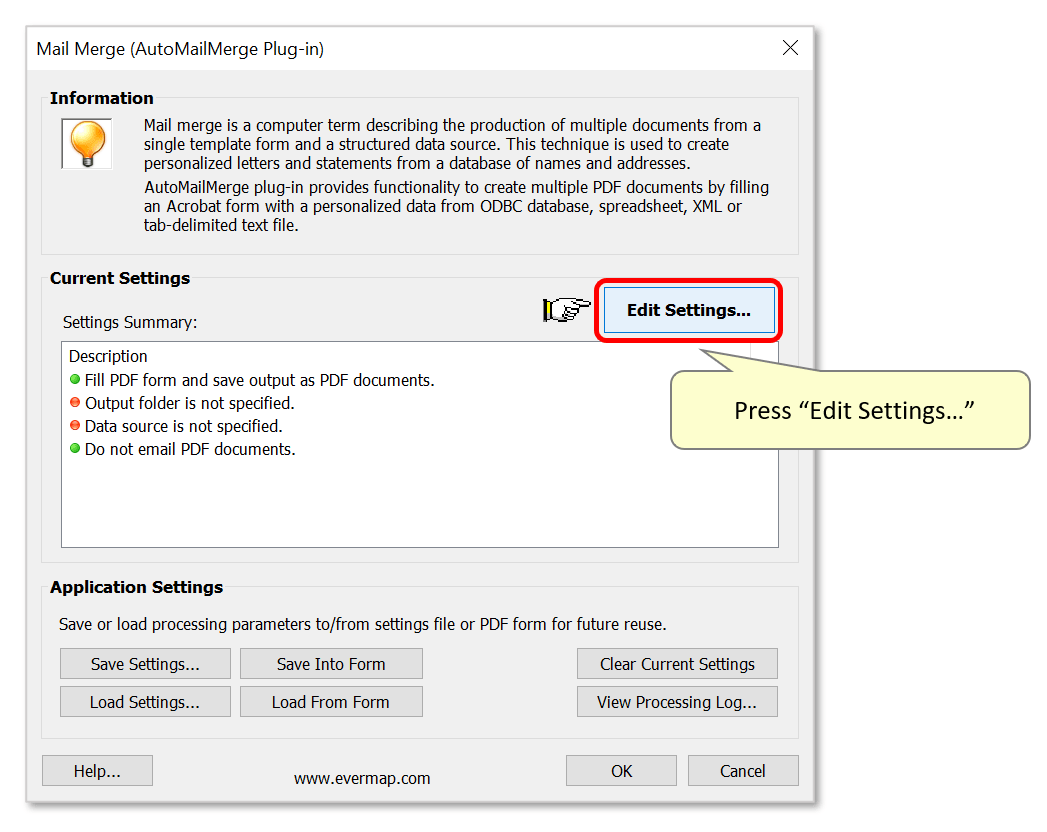
- If necessary, clear previously used settings. Then press the "Edit Settings…" button.
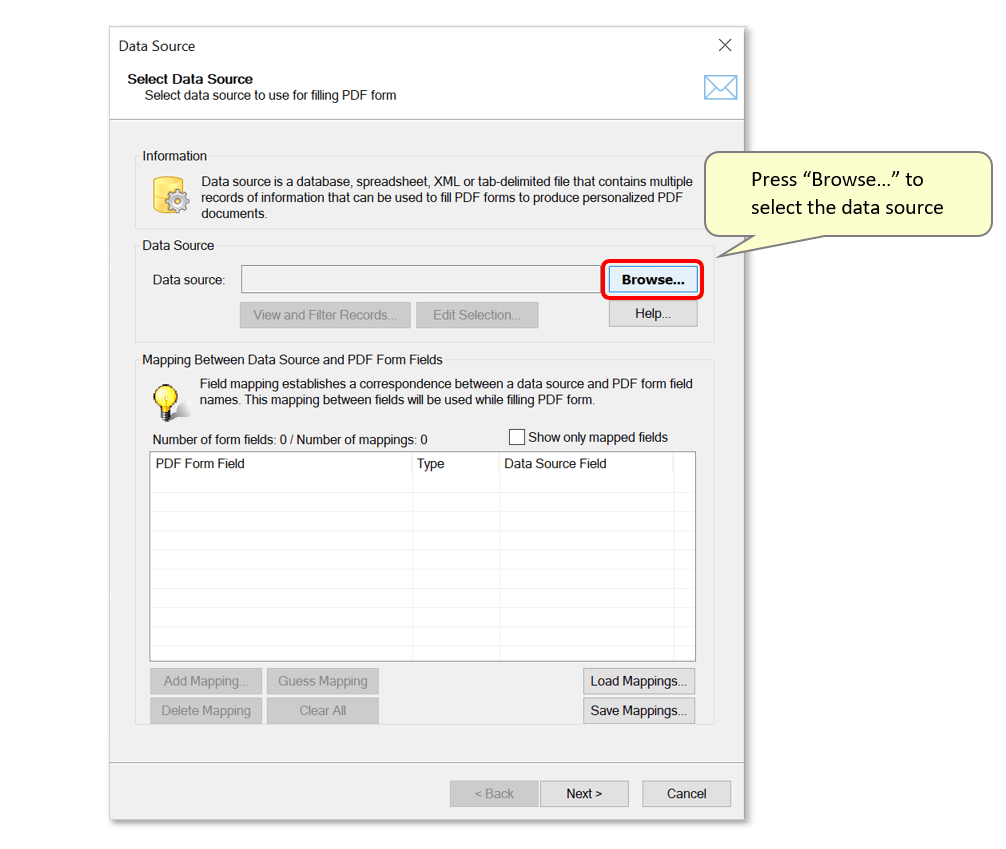
- Press the "Browse…" button in the "Data Source" dialog to select the input data file.
- Select a data type to use from the list (e.g.: Microsoft Excel Worksheet), then press "OK". Use the dialog that opens to locate and select the source file, then select the worksheet in the final dialog that opens.

- Step 3 - Add Mappings
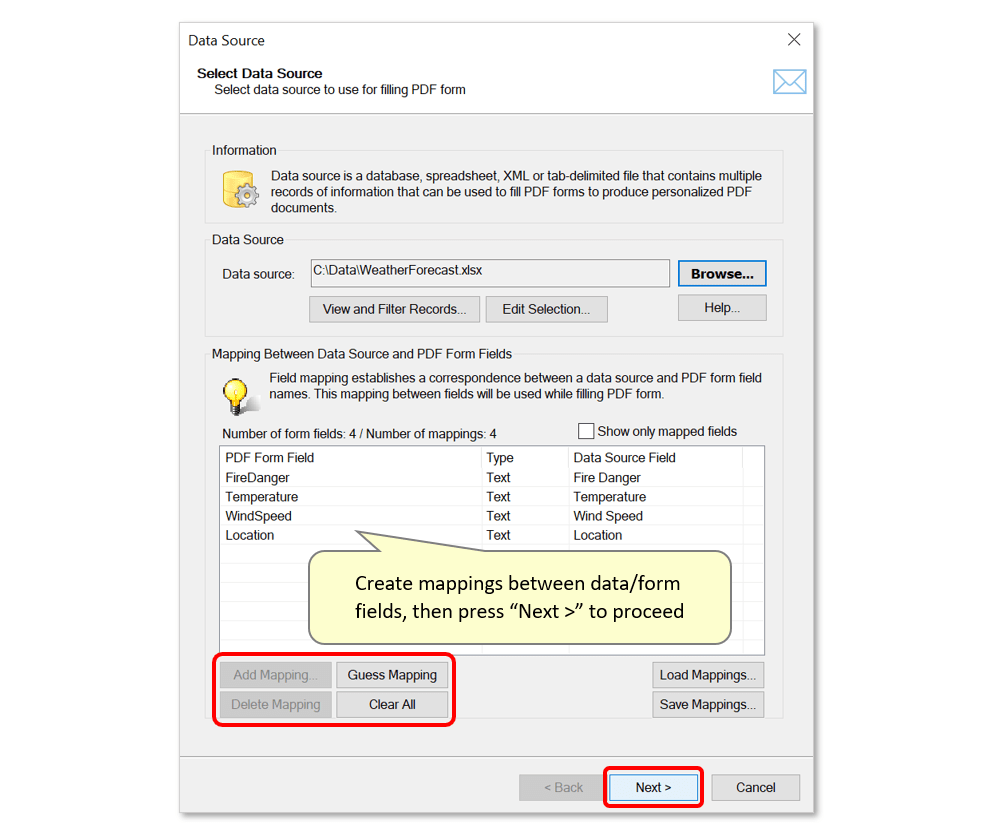
- Use the buttons provided to map data fields to their corresponding form fields.
- Proceed to the next settings pages by pressing "Next >".
- Step 4 - Specify Output Options
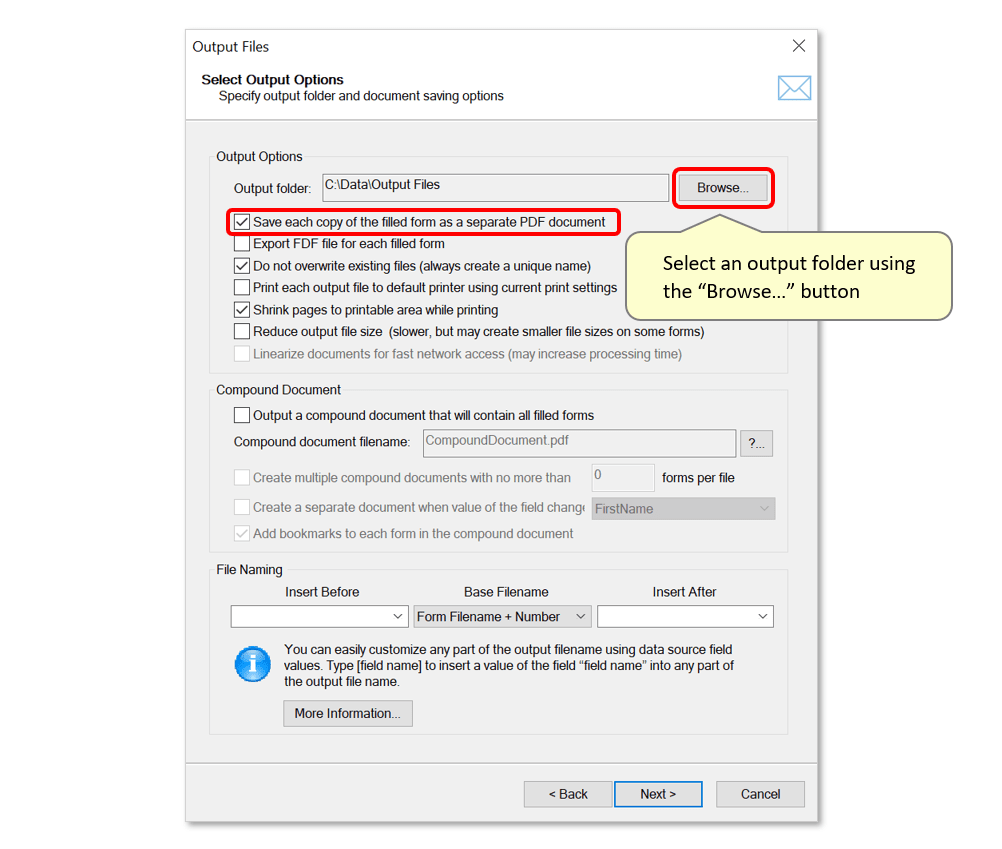
- Continue to the "Output Files" page to modify output options. Begin by selecting a suitable output location via the "Browse..." button.
- Also ensure that the "Save each copy of the filled form as a separate PDF document" option is selected.
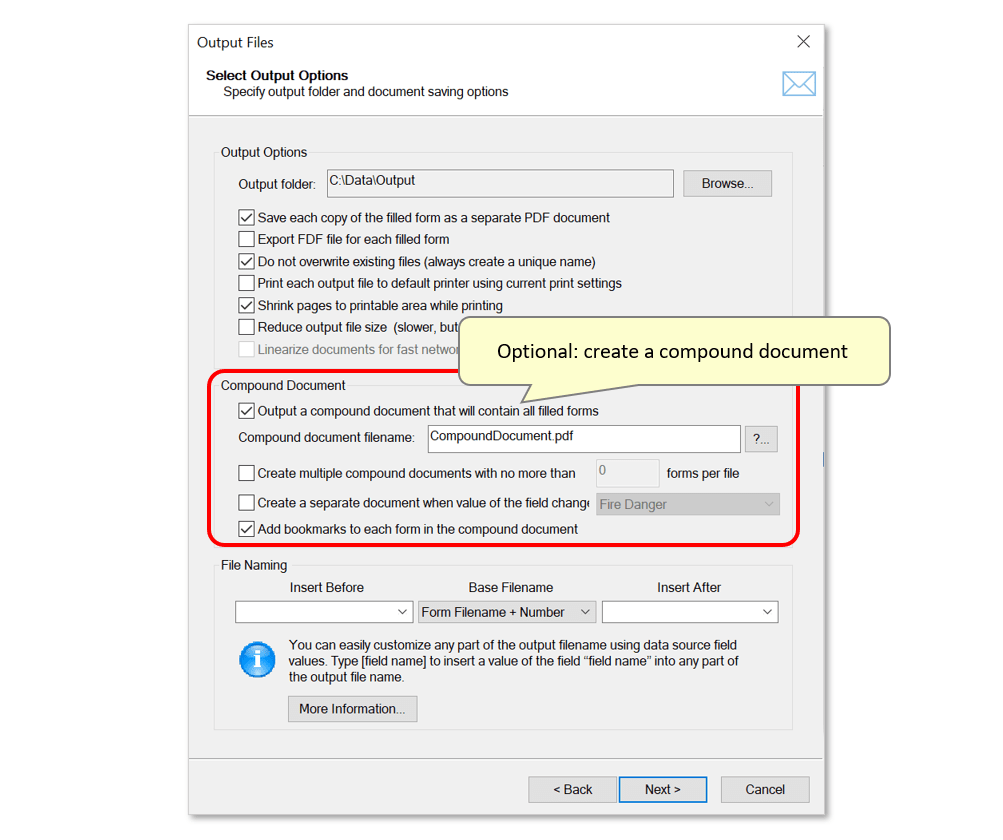
- Optional: create a 'compound document' that contains all filled forms combined into one file. Enter a filename into the entry box provided. In this example, the "Add bookmarks..." option is checked so that the compound document can be easily navigated.
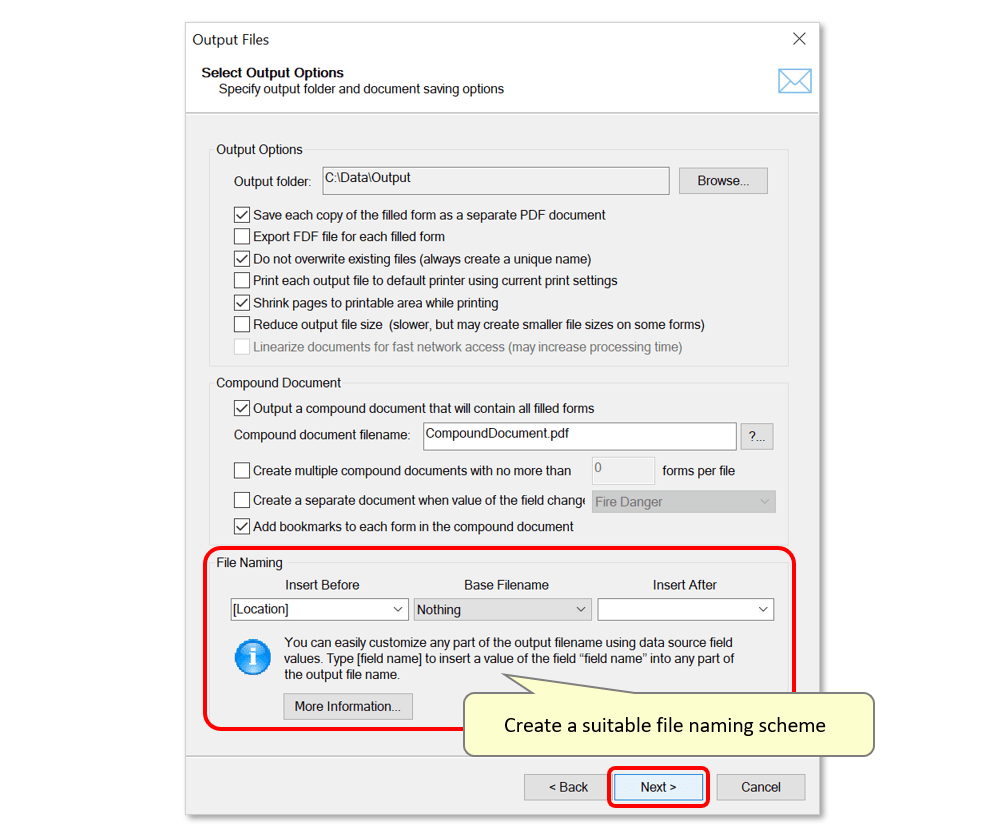
- Lastly, use the "File Naming" section to create a file naming scheme for the output files. In this example, files will be named using the "[Location]" field from the spreadsheet data source. This will use the corresponding location name as each forecast document filename.
- Press "Next >" to proceed to the final "Advanced" settings page.
- Step 5 - Add JavaScript Code
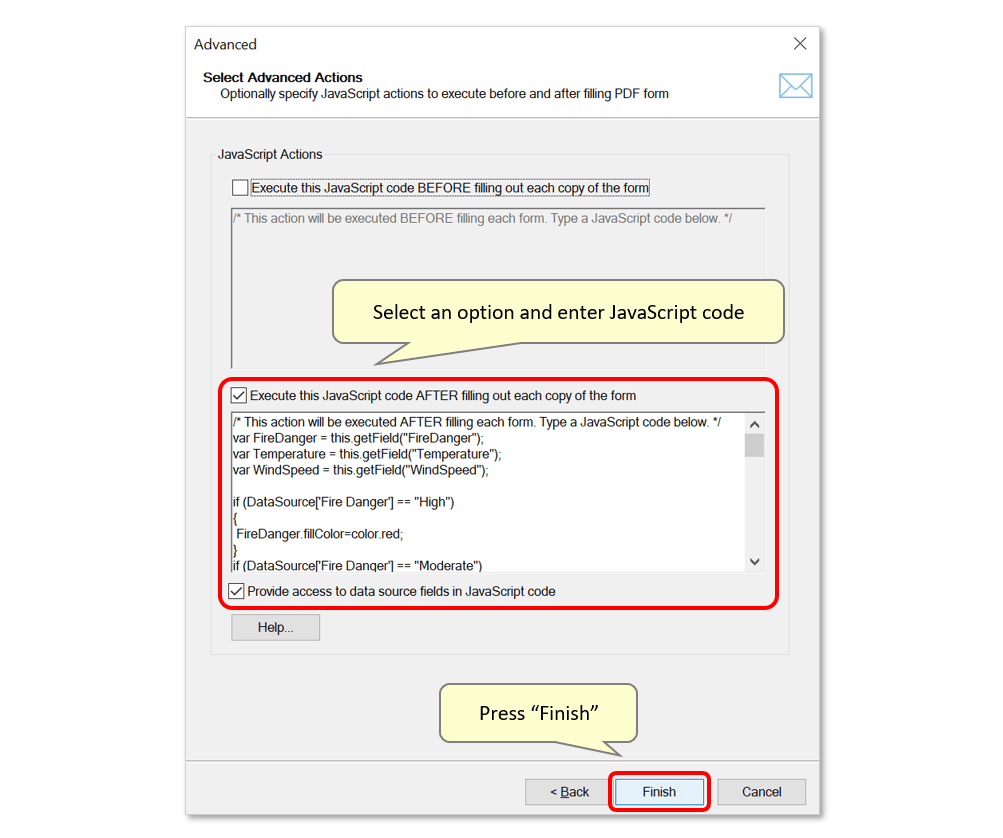
- On this screen, check the desired JavaScript action for adding code to be executed either before or after filling out forms. In this example, we use the "Execute this JavaScript code AFTER..." option.
- See the entire code used in this example detailed here:
-
var FireDanger = this.getField("FireDanger");
var Temperature = this.getField("Temperature")
var WindSpeed = this.getField("WindSpeed");
if (DataSource['Fire Danger'] == "High")
{
FireDanger.fillColor=color.red;
}
if (DataSource['Fire Danger'] == "Moderate")
{
FireDanger.fillColor=color.yellow;
}
if (DataSource['Fire Danger'] == "Low")
{
FireDanger.fillColor=color.green;
}
var t = parseInt(DataSource['Temperature'] );
if (t <= 60)
{
Temperature.textColor = color.blue;
}
if (t > 60 && t < 90)
{
Temperature.textColor = color.magenta;
}
if (t >= 90)
{
Temperature.textColor = color.red;
}
Temperature.value += " F";
var w = parseInt(DataSource['Wind Speed']);
if (w < 30)
{
WindSpeed.value = ">>";
WindSpeed.textColor = color.green;
}
if (w >= 30 && w <= 55)
{
WindSpeed.value = ">>>>";
WindSpeed.textColor = color.magenta;
}
if (w > 55)
{
WindSpeed.value = ">>>>>>";
WindSpeed.textColor = color.red;
}
- Ensure that the "Provide access to data source fields in JavaScript code" option is checked if it is necessary to access the data source record directly in the JavaScript. If this option is ON, then a DataSource object is automatically generated and added to the script. For example, if a data source record contains 3 fields: "First Name", "Last Name" and "Email", then the values of these fields can be accessed in the JavaScript code as DataSource['First Name'], DataSource['Last Name'] and DataSource['Email'].
- The maximum allowed text string that is stored in the DataSource field variable is 1024 characters. The maximum allowed name of the field is 128 characters. Longer text strings will be truncated.
- If a data source record has a lot of fields with a lot of data, then adding DataSource object to the JavaScript environment may take extra time required for parsing a much longer code. If this becomes a speed issue, turn this option off and use an alternative way to get data source values. The alternative approach is to add a number of hidden form fields to the form and fill them using a regular mail merge approach. This way their values will be available in the script, but not visible on the form.
- Press "Finish" once done.
- Step 6 - Run the Mail Merge
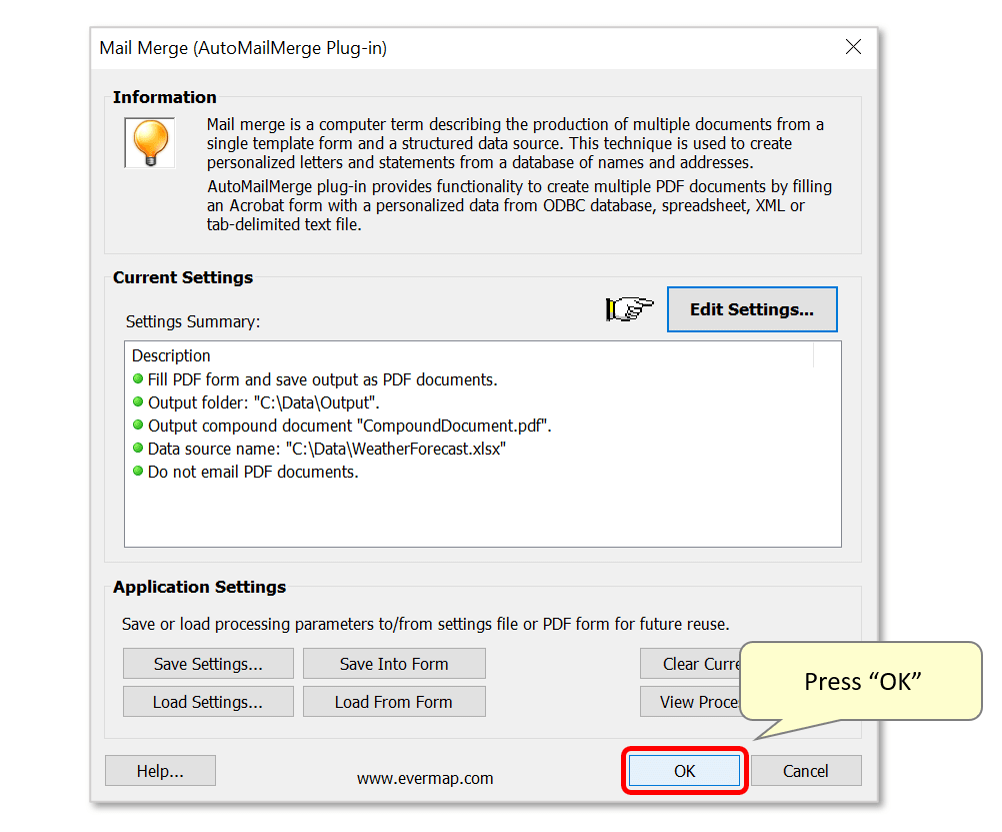
- The confirmed settings summary will now be listed with green circles. Optionally, save the mail merge settings as an *.mms file for later use by pressing the "Save Settings" button - use "Load Settings" to load them.
- Click "OK" to start the mail merge process.
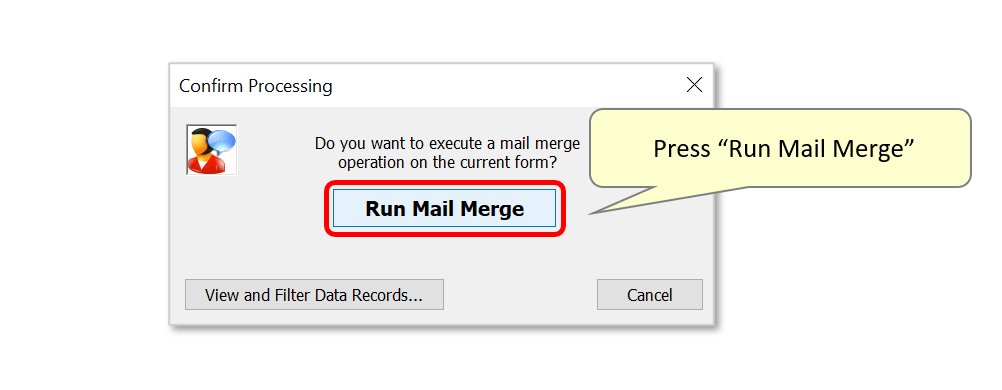
- Press "Run Mail Merge" to confirm.
- Step 7 - Open the Output Files
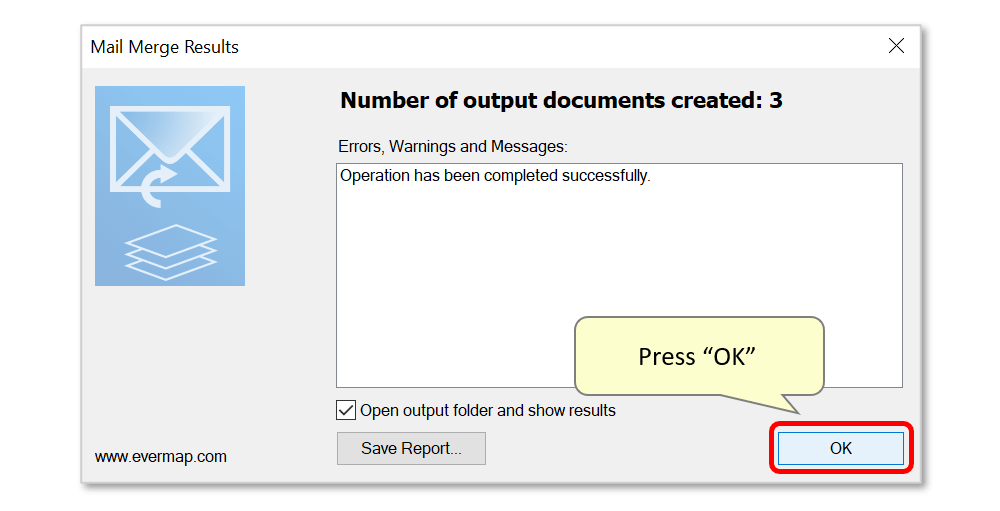
- A results box will confirm the success of the operation. By default, pressing "OK" will open the selected output location.
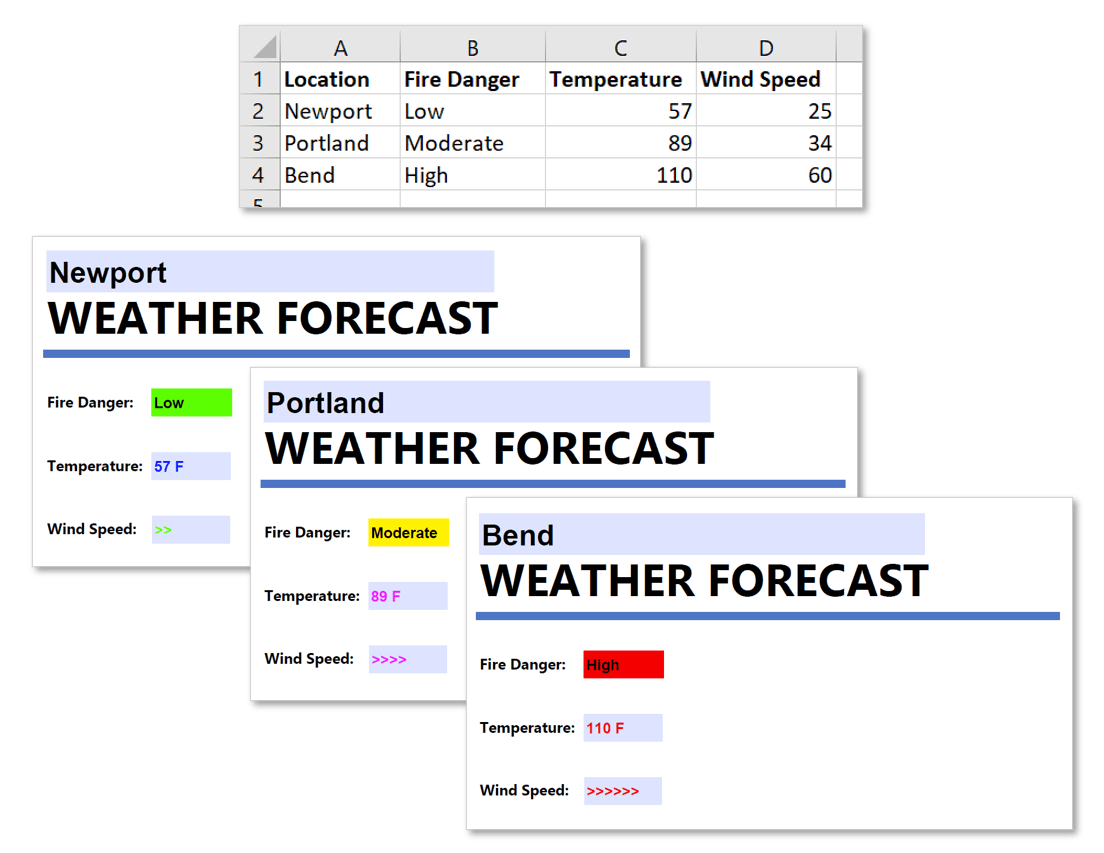
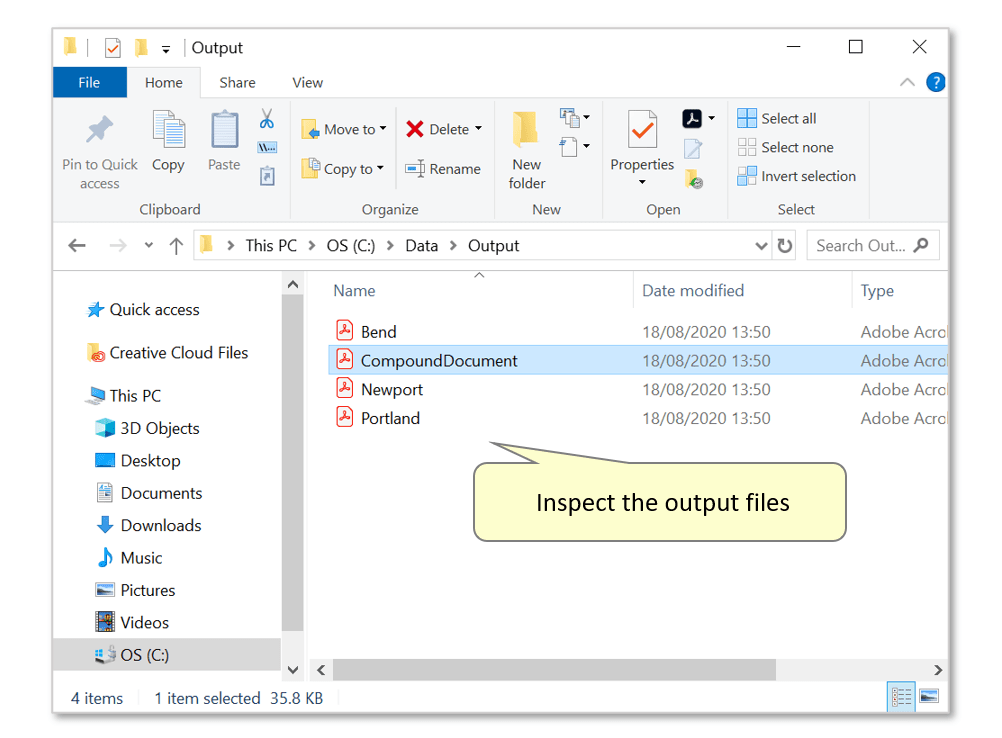
- Open the files to inspect them. In this example, weather reports have been generated for X3 locations. The compound document containing all three together has also been created.
- Step 8 - Inspect the Results
- Inspect the file(s) to check that the form field appearances have been modified according to the JavaScript code used. Here, we examine the 'compound document'
to check that it contains all three output filled forms.
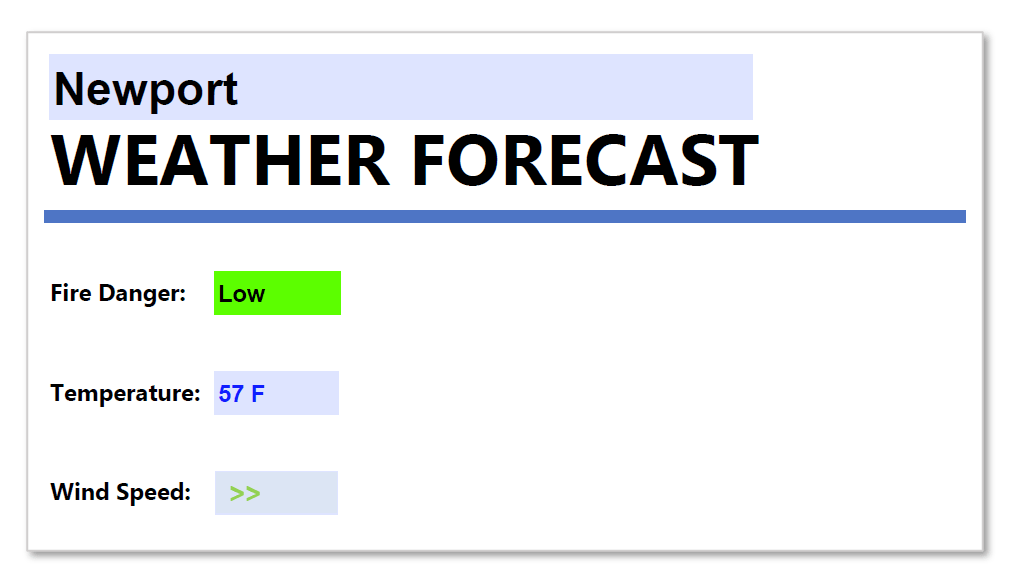
- The image below shows the form filled for "Newport" - the "Fire Danger" field is green, the "Temperature" field text is blue, and the "Wind Speed" has a green ">>" rating.
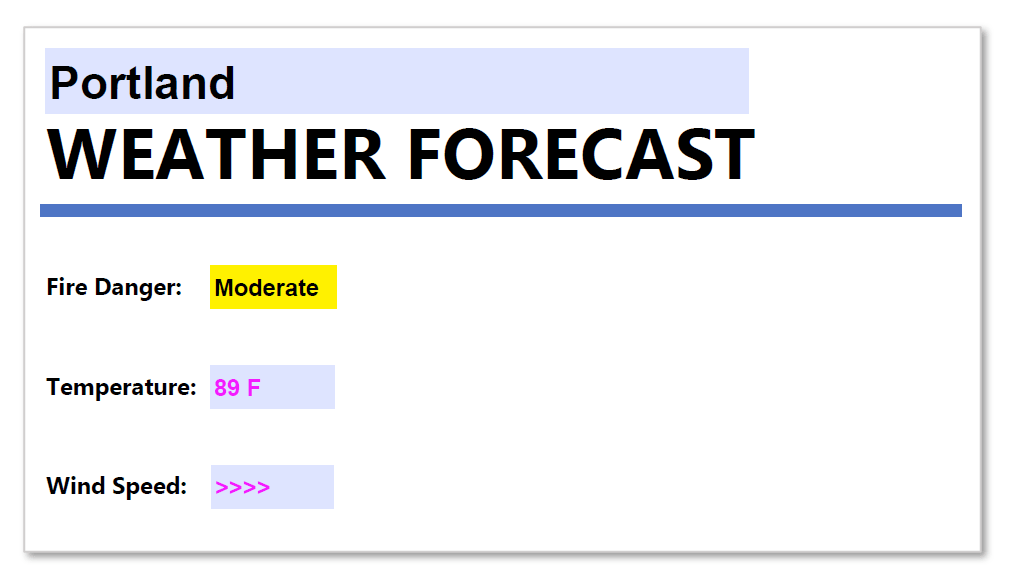
- The image below shows the form filled for "Portland" - the "Fire Danger" field is yellow, the "Temperature" field text is pink, and the "Wind Speed" has a pink ">>>>" rating.
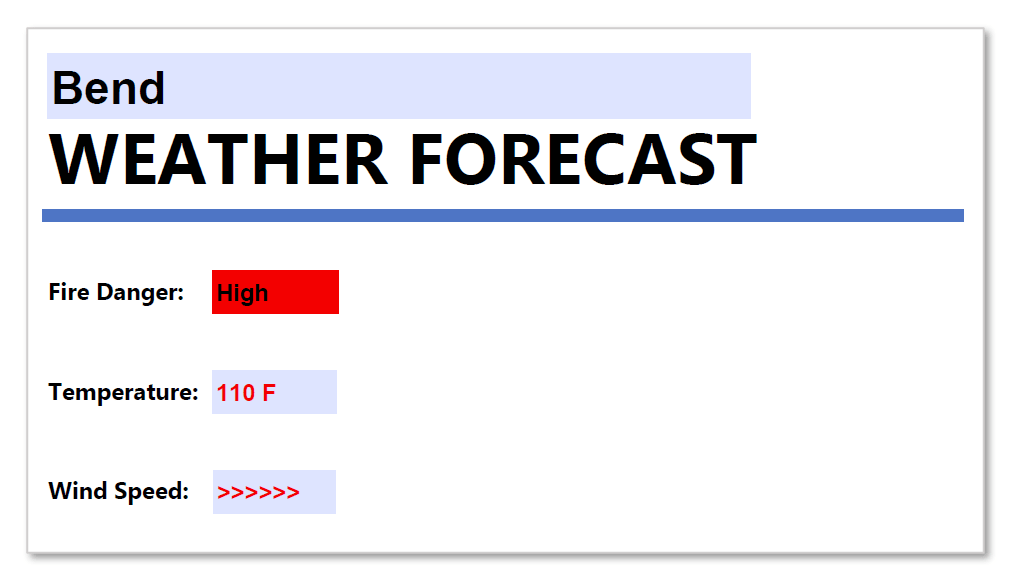
- The image below shows the form filled for "Bend" - the "Fire Danger" field is red, the "Temperature" field text is red, and the "Wind Speed" has a red ">>>>>>" rating.
- Click here for a list of all step-by-step tutorials available.