Adding White Margins to PDF Documents with AutoPageX™ Plug-in
- Introduction
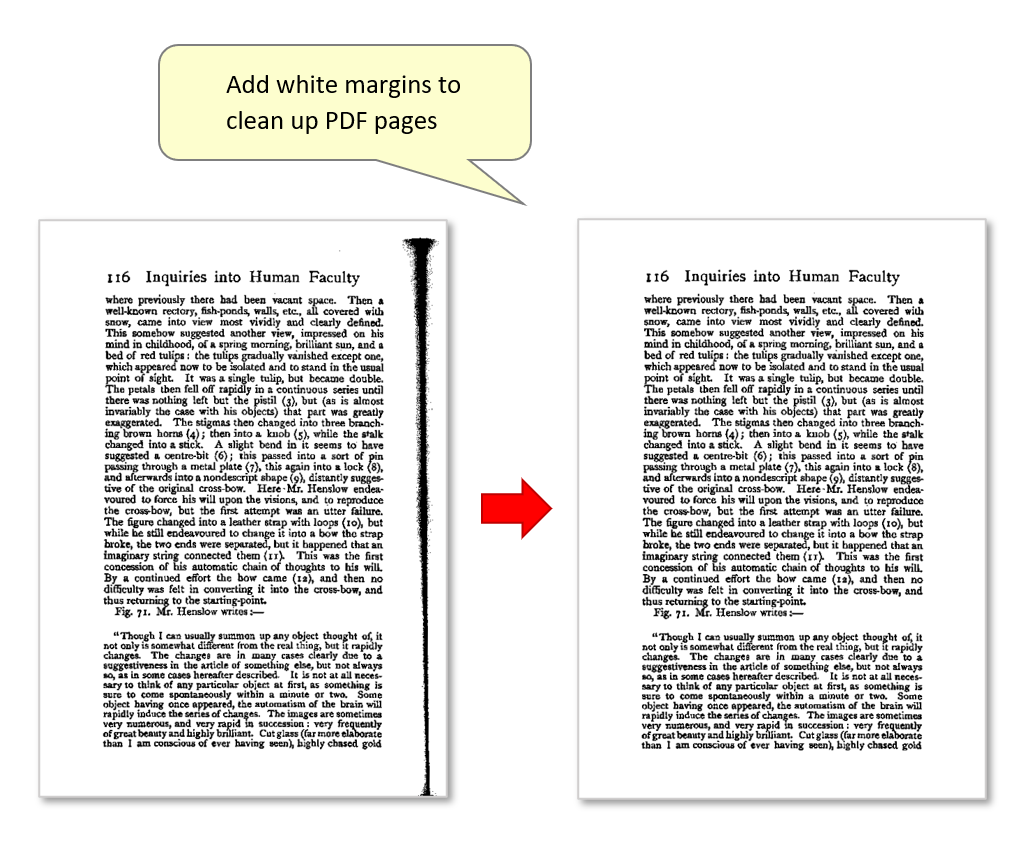
- The AutoPageX plug-in "Add White Margins" tool can be used to quickly add white areas to the edges of PDF documents. This is ideal for cleaning up the appearance of poor quality scanned documents. For example, they may feature shadows, punch holes to one side or any other undesirable visual element. The white margins cover this space and create a clearer document appearance.
- In this tutorial, we will demonstrate how to use this tool by adding custom white margins to all sides of a sample PDF page - where scanning the document has resulted in dark marks.
- Prerequisites
- You need a copy of Adobe® Acrobat® along with the AutoPageX™ plug-in installed on your computer in order to use this tutorial. Both are available as trial versions.
- Step 1 - Open the Tool
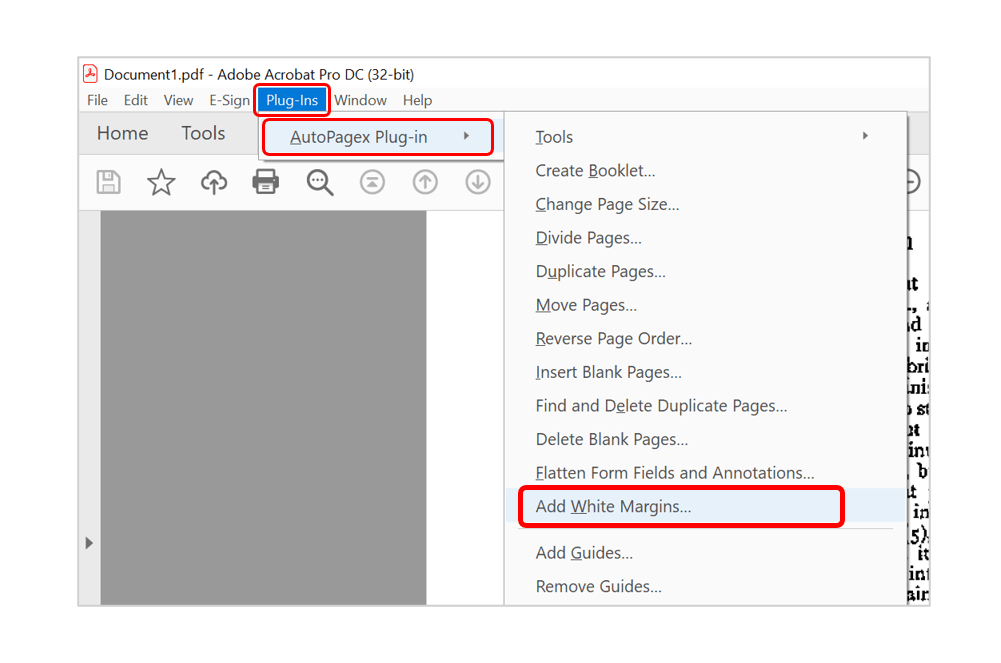
- Open the PDF document for processing in Acrobat, and select "Plug-Ins > AutoPagex Plug-in > Add White Margins...".
- Step 2 - Configure Margin Sizes
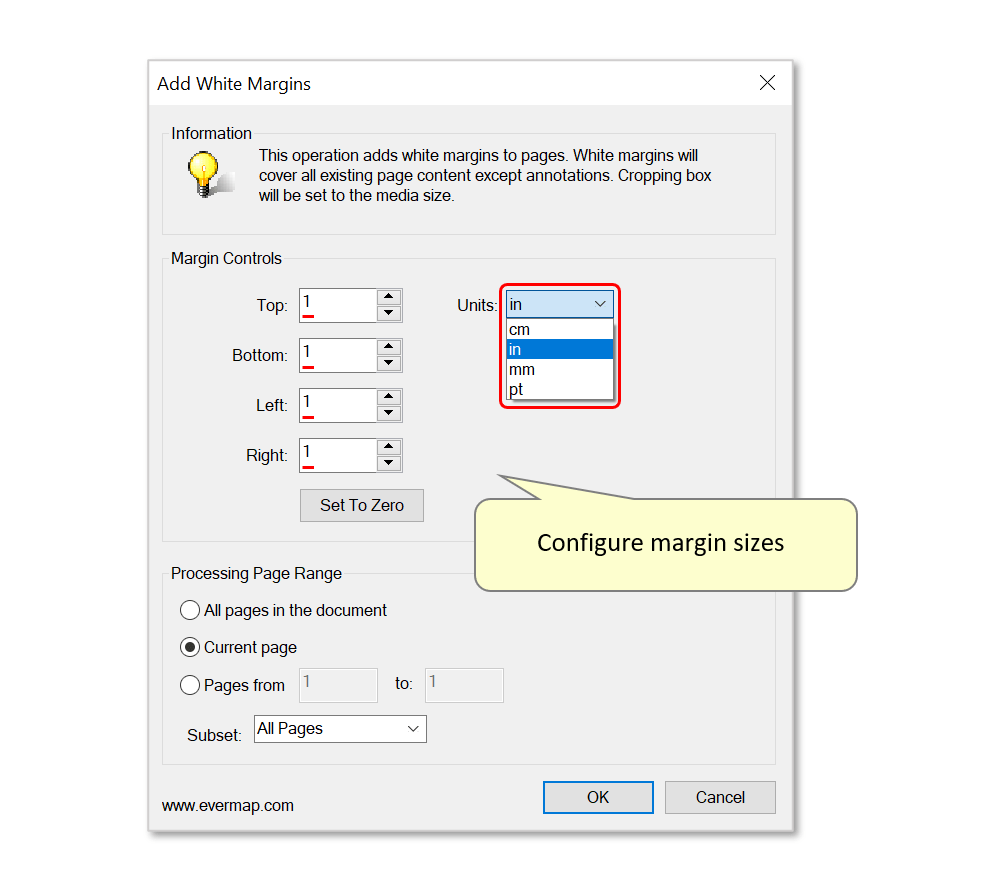
- Use this dialog to configure margin sizes and the desired pages for processing. First, select a unit of measurement for the margins - here we will add 1-inch margins to all sides of the page, but each margin can be any custom size. Reset the values to zero using the "Set To Zero" button.
- Step 3 - Add White Margins
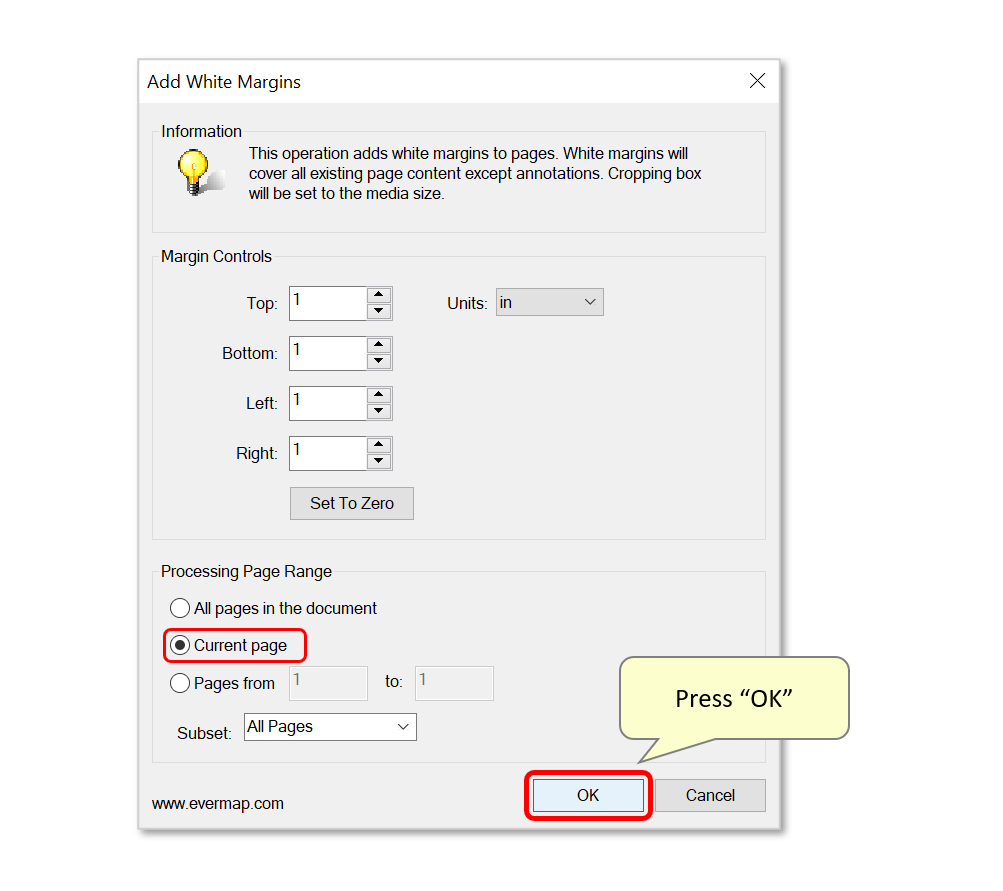
- Select the page(s) to be processed and press "OK" to proceed.
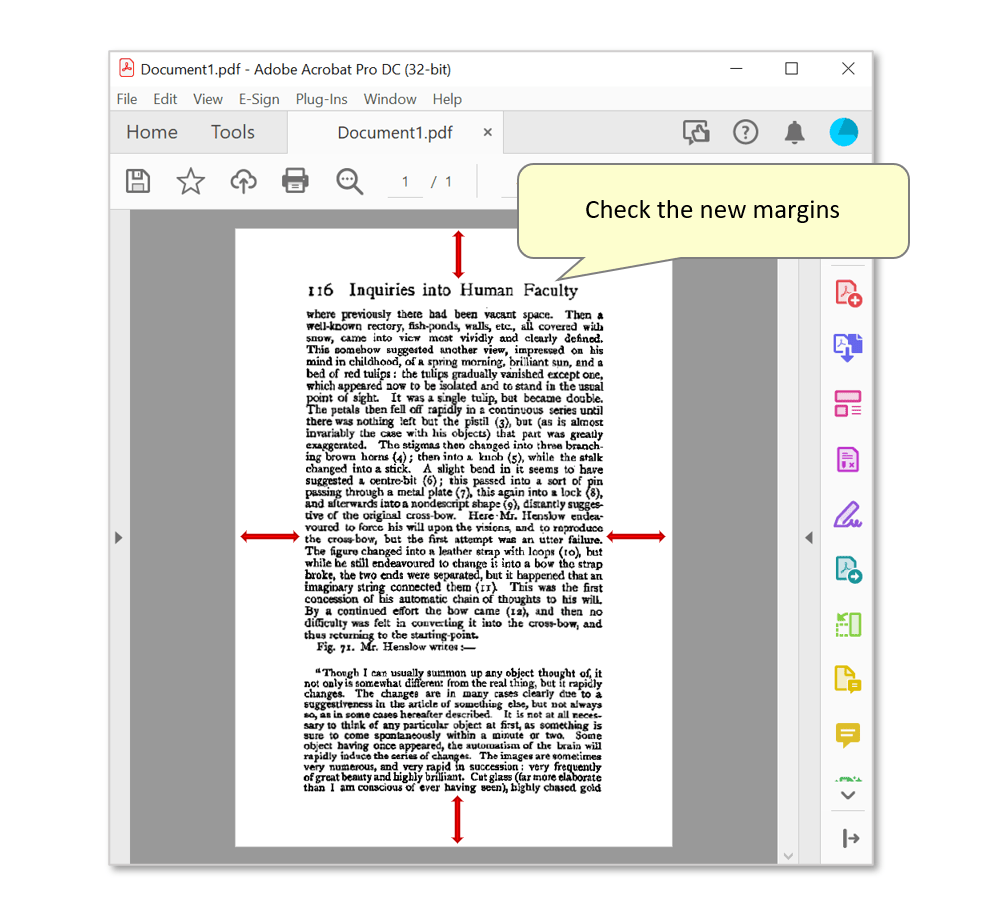
- Step 4 - Check the Results
- Check that the white margins have been added correctly. Here, the x4 edges of the sample document have been covered with white areas. Press the "Save" symbol or use "File > Save/As..." to save these changes.
- Click here for a list of all step-by-step tutorials available.