Merge All Files in Each Subfolder into a Single PDF File
AutoSplit plug-in for Adobe® Acrobat®
- Introduction
- In this tutorial, we will demonstrate how to merge all files in one or more folders into single PDF files. Doing this manually for the contents of one folder at a time would be a slow process. AutoSplit™ features a tool that quickly executes this procedure on the contents of multiple folders at once.
- Merged files can be saved within corresponding folders or placed in a specified output location. All file formats supported by Adobe Acrobat can be converted into PDF and merged into output files. One output PDF file is created for each input folder – and named after it. Each of the merged input documents are also bookmarked within the output PDF.
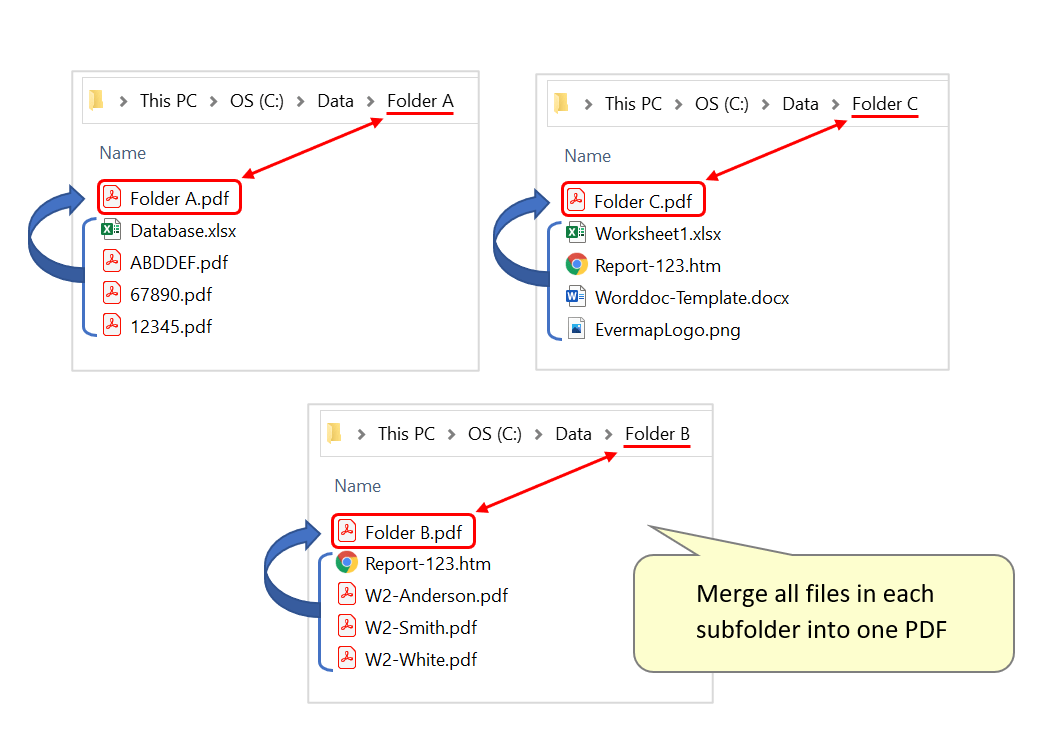
- In the steps below, the goal is to merge the contents of x3 input folders into individual PDF files. Each output file is saved to the corresponding input folder, and named after it:
- Prerequisites
- You need a copy of Adobe® Acrobat® along with the AutoSplit™ plug-in installed on your computer in order to use this tutorial. Both are available as trial versions.
Step-by-Step Tutorial
- Step 1 - Open the Tool
- Open Adobe® Acrobat® and select “Plug-ins > Merge Documents > Merge All Files in Each Subfolder into Single File...” from the main menu to open the "Merge Sub-Folders into Single PDF Files" dialog.
- [⚡ How to locate Plugins menu in Adobe® Acrobat® ⚡]
- Step 2 - Select Input Folder
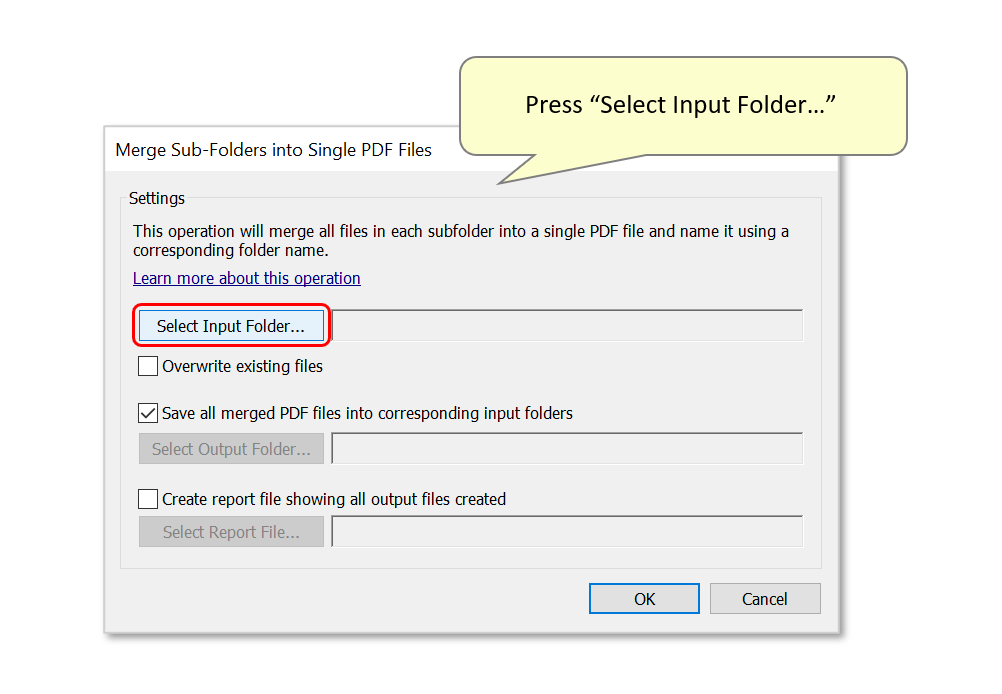
- Use this dialog to configure the document merge operation. First, select an input folder by pressing "Select Input Folder...".
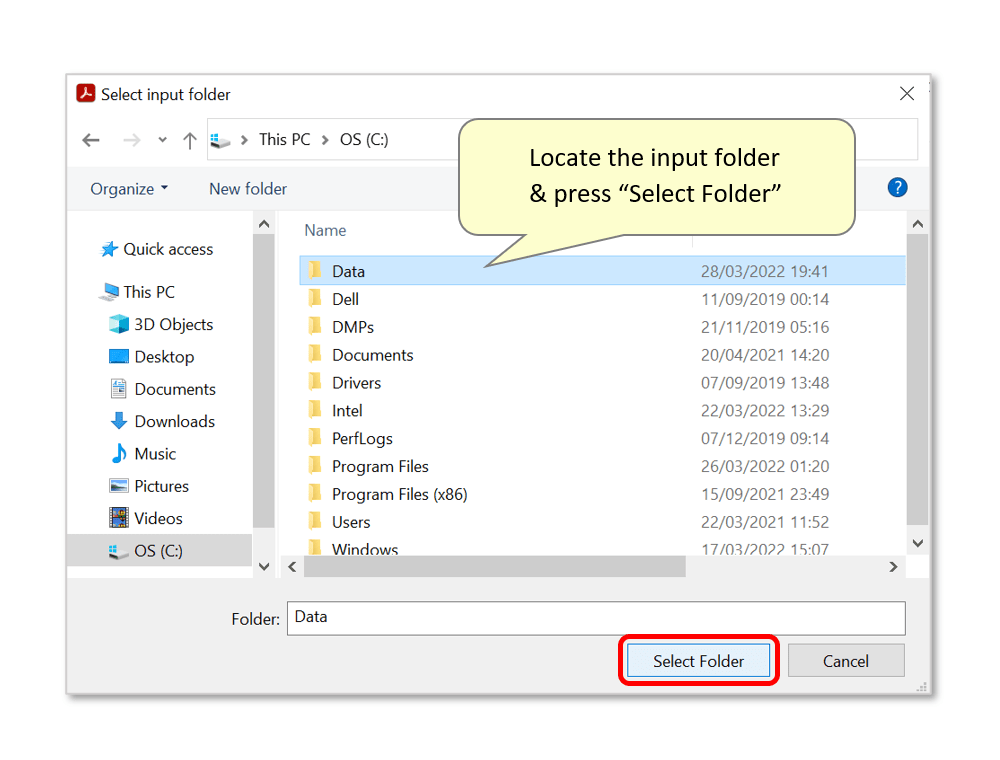
- Locate the desired input folder - or the folder containing all subfolders - for processing, and press "Select Folder". In this example, C:\Data contains subfolders "A/B/C".
- Step 3 - Confirm Output Options
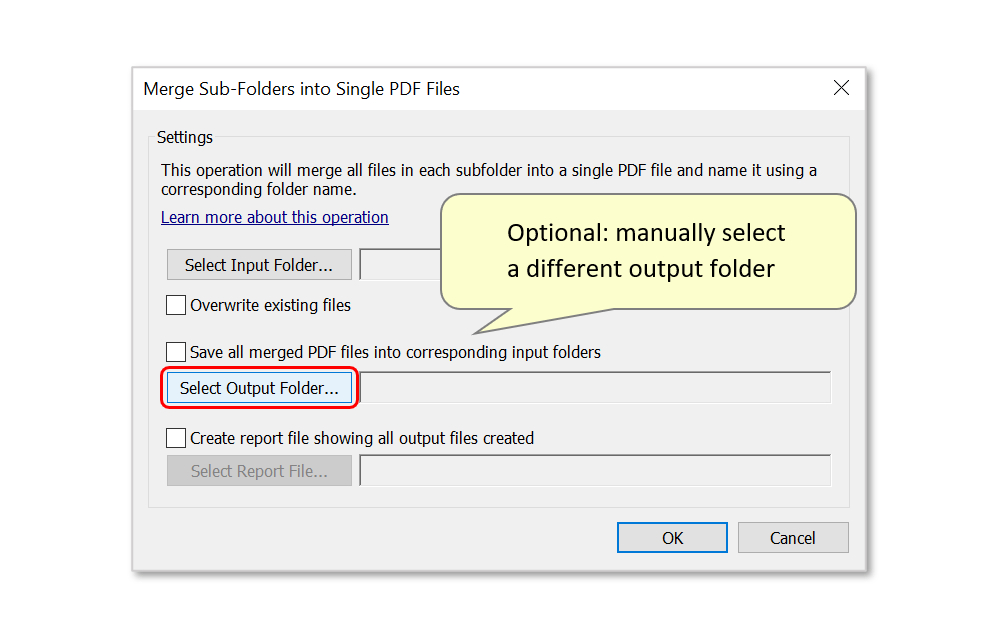
- By default, merged PDF files will be saved in their corresponding input folders:
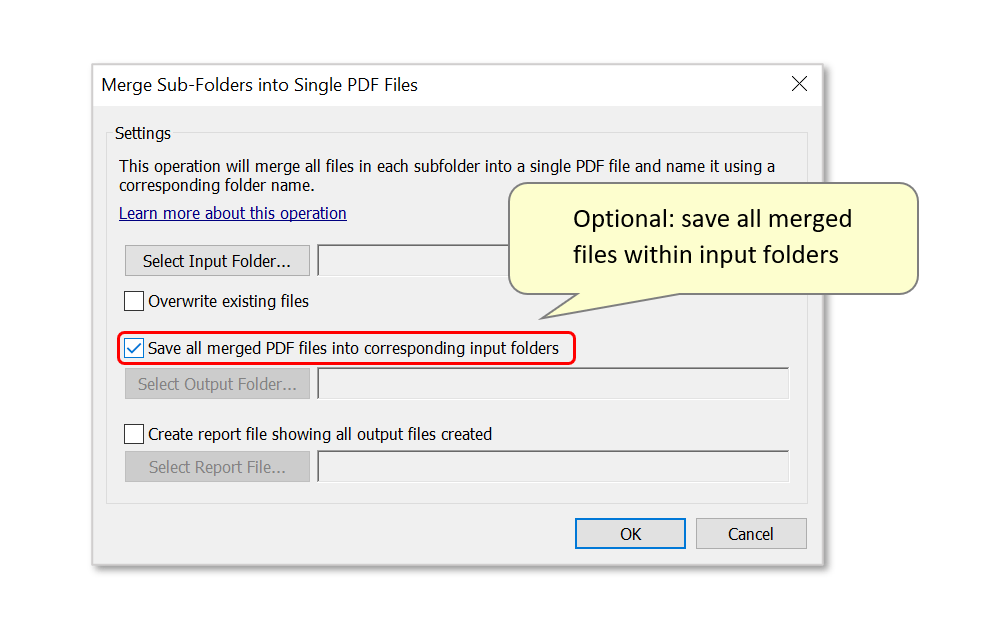
- Optionally uncheck this option and press "Select Output Folder..." to manually configure an output location for merged files.
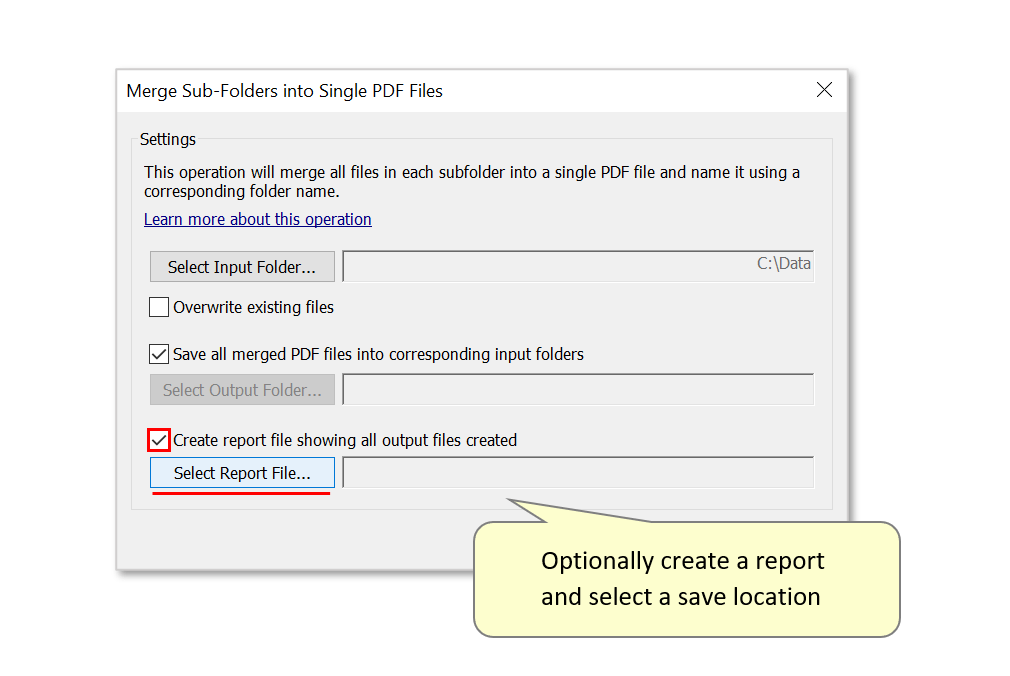
- Step 4 - Optional: Create Report File
- Check “Create report file” to generate a HTML format report file showing a list of all output files generated, and any errors encountered during processing. Press "Select Report File..." to choose a folder for the report to be saved in.
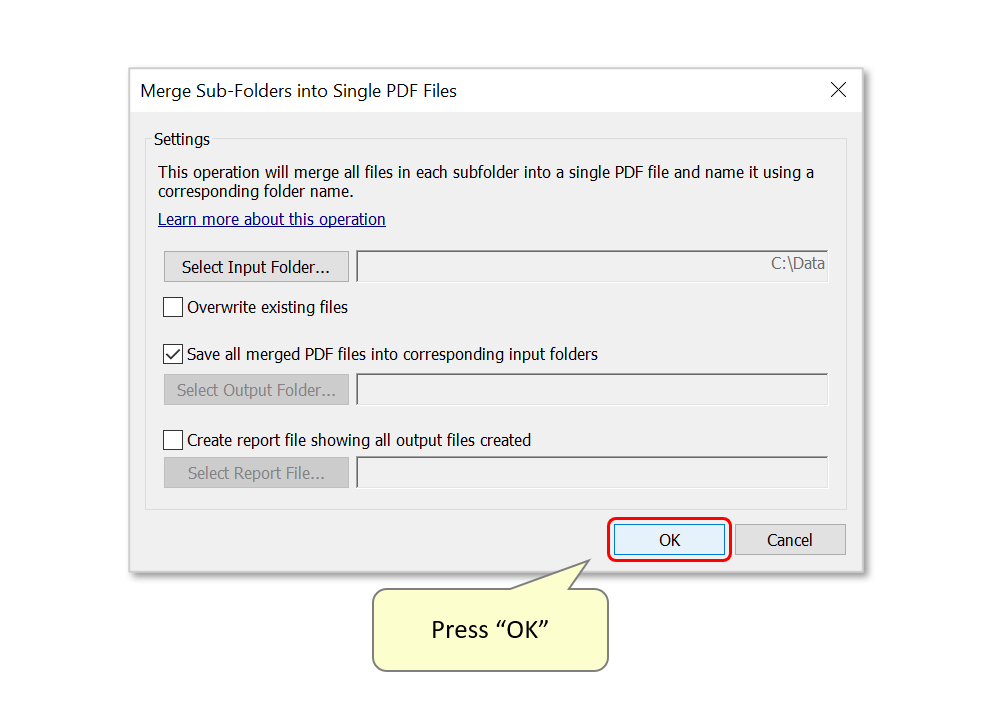
- Step 5 - Merge Files
- Press "OK" to run the procedure.
- A progress bar opens while processing files:

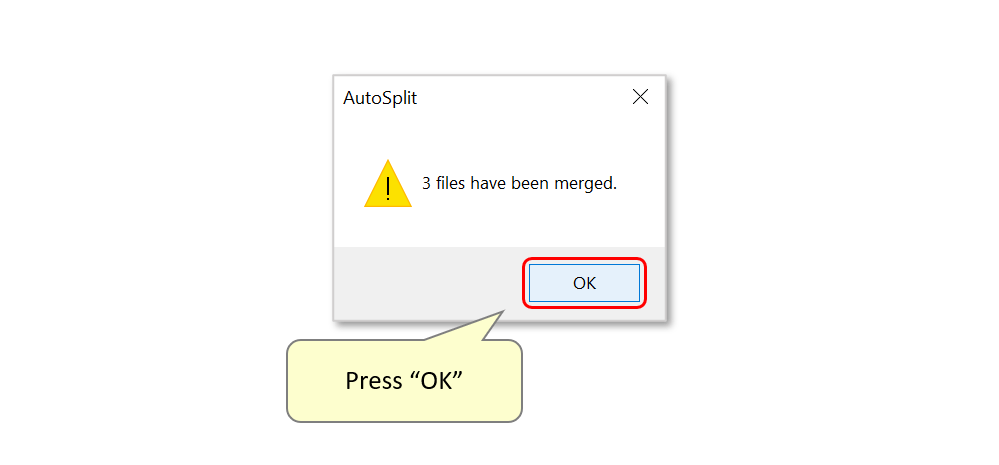
- Step 6 - Inspect the Results
- A report box displays the number of output files. Press "OK" to close it.
- Open the processed folders to inspect the merged documents.
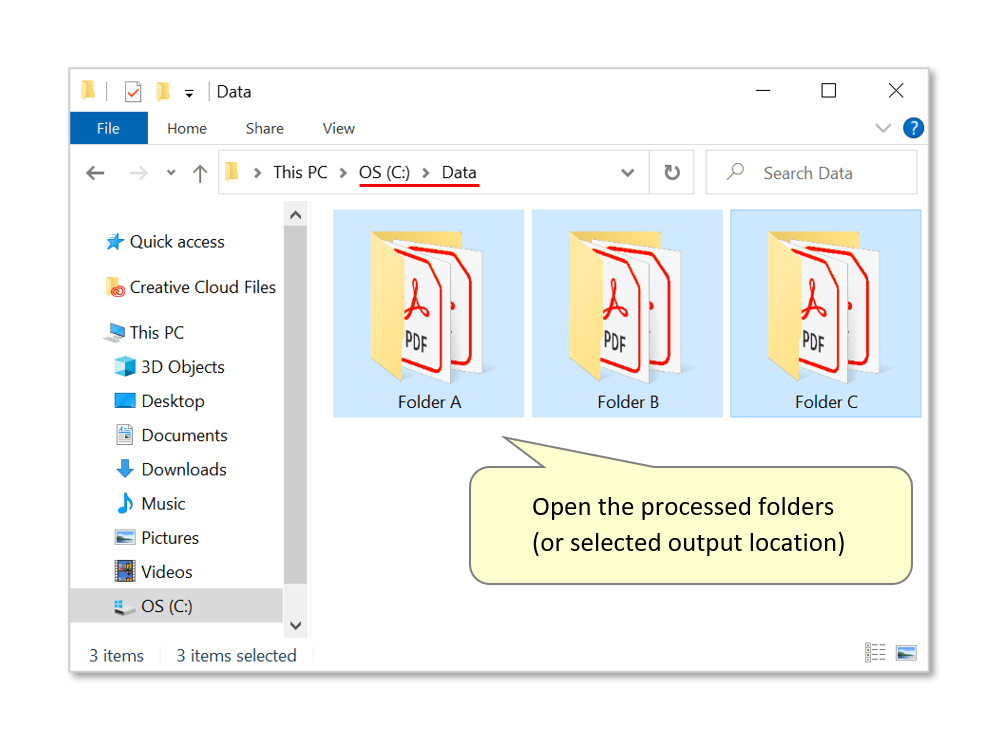
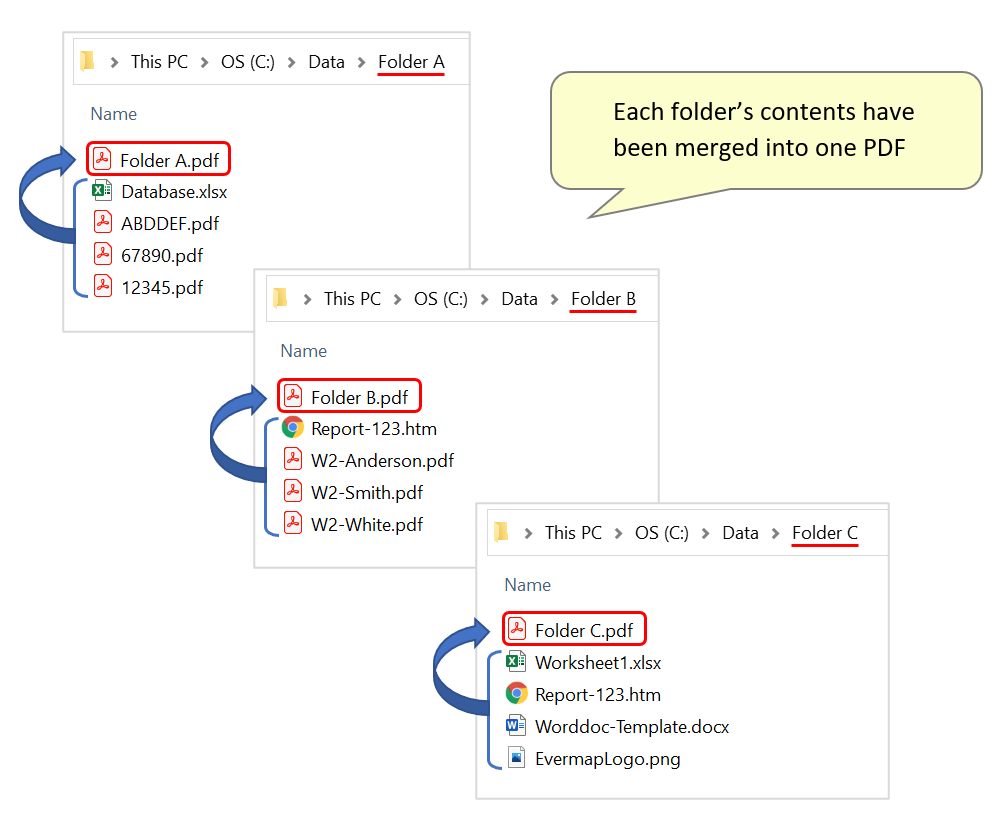
- Here, the contents of each subfolder have been merged into one PDF. Each document has been placed in the corresponding folder, and named after it:
- Click here for a list of all step-by-step tutorials available.