Adding Lists of Records to PDF Forms
- Introduction
- In this tutorial, we look at how to fill PDF forms with lists of items/records using the AutoMailMerge plug-in. For example, how to list multiple product items on the invoice or a purchase order. It is not possible to put multiple data records into a single PDF form - i.e.: one form must usually be created for each data record. This is because fields in PDF forms are identified by name, and fields with the same name automatically share the same value. This principle makes logically difficult to associate the same data field (but from different data records) with different PDF form fields. Different data values needs to be placed into form field with different names in order to preserve their unique values.
- Here is an example of multiple data records listed on the same PDF form:
- If you want to list multiple values on a single PDF form, you have to redesign the data file (spreadsheet, table) to make sure that all data that is necessary to populate a single copy of the form is contained in a single data record. The approach is to combine multiple data records into a single record by adding extra columns. For example, if a PDF form can list up to 10 items, then create 10 separate columns for each item. This approach is of course limited because it puts an upper limit on the maximum number of items in the "list", but it is acceptable in many applications.
- Input Document Description
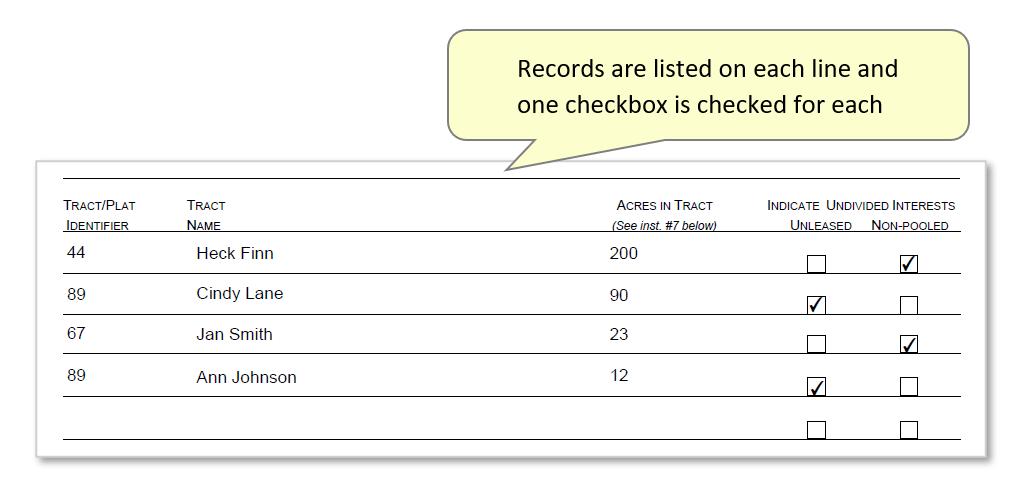
- To demonstrate this, we use a sample government form that contains a section where people’s names and corresponding information must be listed. One of two checkboxes must also be checked for each record. To simplify this demonstration, we will only fill this section of the form during the mail merge.
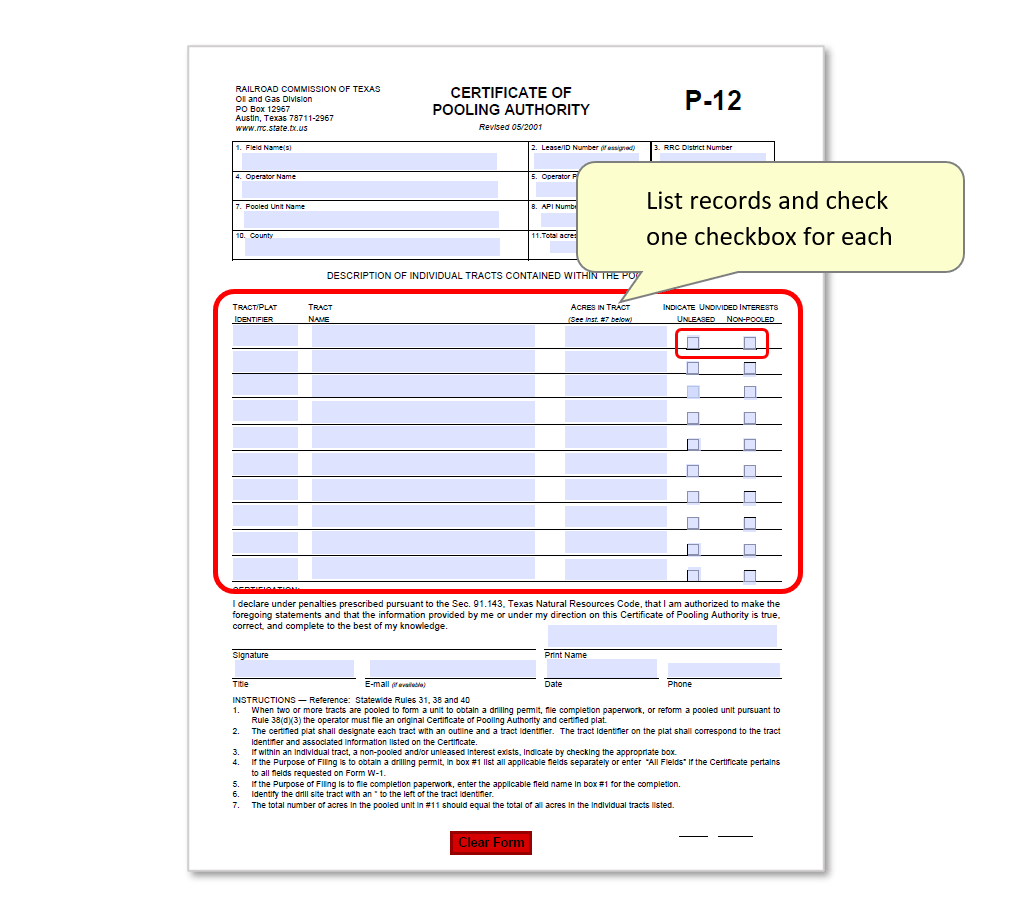
- Up to ten records can feature on each filled form, and the goal is to have multiple forms with lists of different people combined into one output document.

- Here is an example of what we want to accomplish:
-
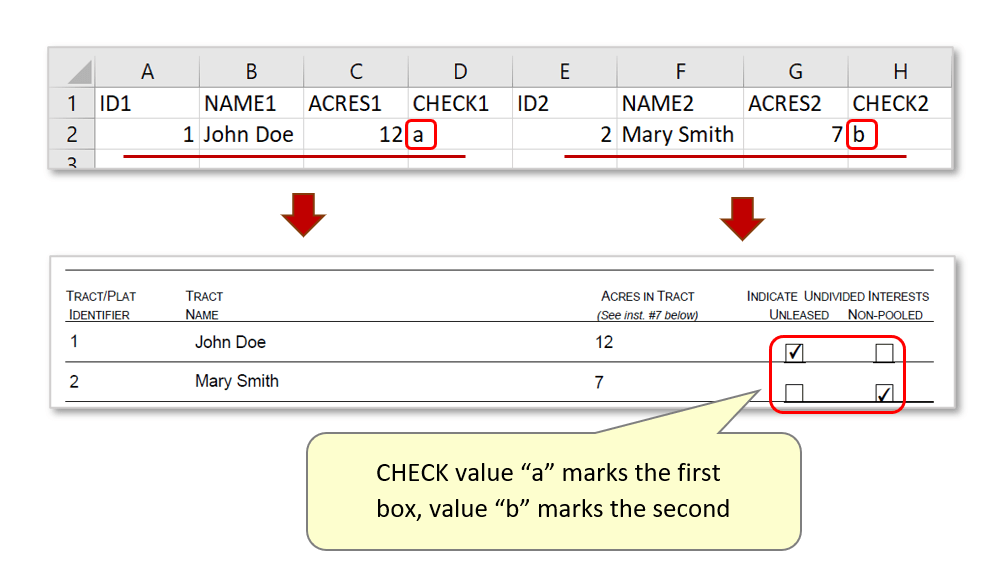
- The data source used is an Excel spreadsheet. Instead of having all data for each individual listed under single columns, it contains records grouped within a four-cell format across entire rows (ID, Name, Acres, and ONE column for both checkboxes). All the data in each row will be used to fill one single form. Form field names correspond with all column titles in the spreadsheet using a “ID1/2/3…10” “NAME1/2/3…10” “ACRES1/2/3…10” “CHECK1/2/3…10” format for up to ten records to be added to each form.
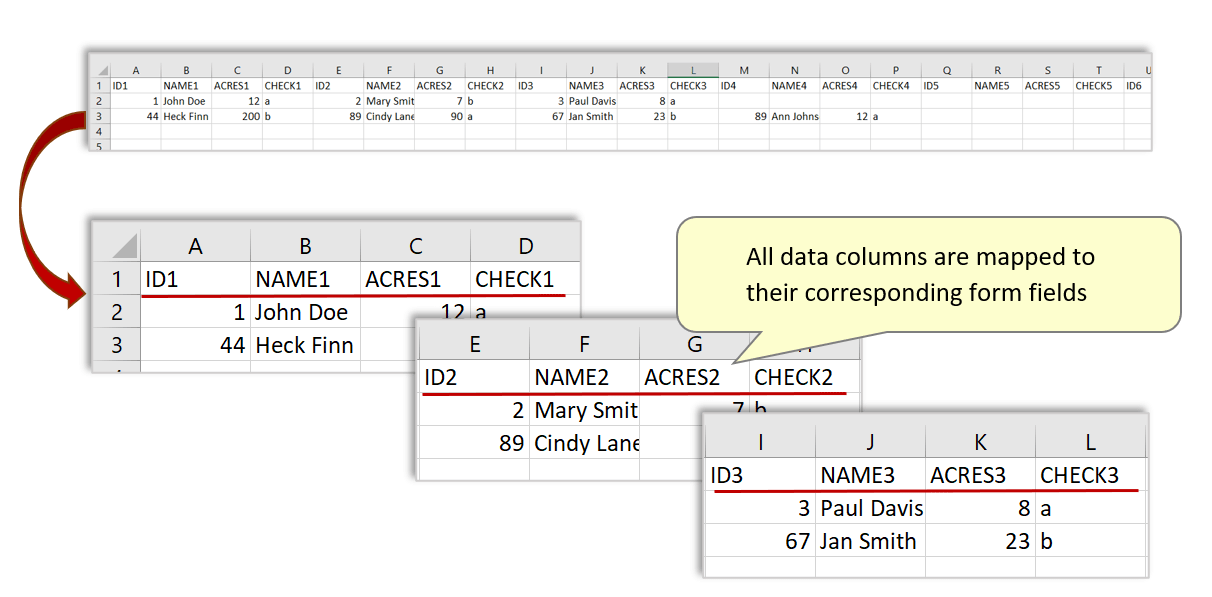
- The checkboxes operate as radio-buttons. Depending on the data values relating to checkboxes (“a” or “b”), only one of them will be selected – or none at all if there is no value. See the separate checkboxes in PDF forms tutorial to configure checkboxes correctly (see the "Options" tab under "Check Box Properties" to set the export value).
- Prerequisites
- You need a copy of Adobe® Acrobat® along with the AutoMailMerge™ plug-in installed on your computer in order to use this tutorial. Both are available as trial versions.
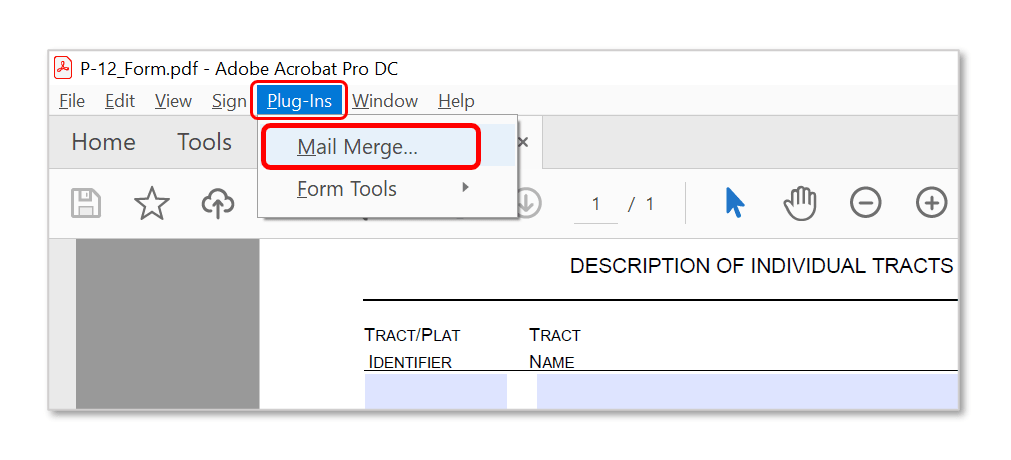
- Step 1 - Open the "Mail Merge" Dialog
- Select "Plug-Ins > Mail Merge…" to open the "Mail Merge" dialog.
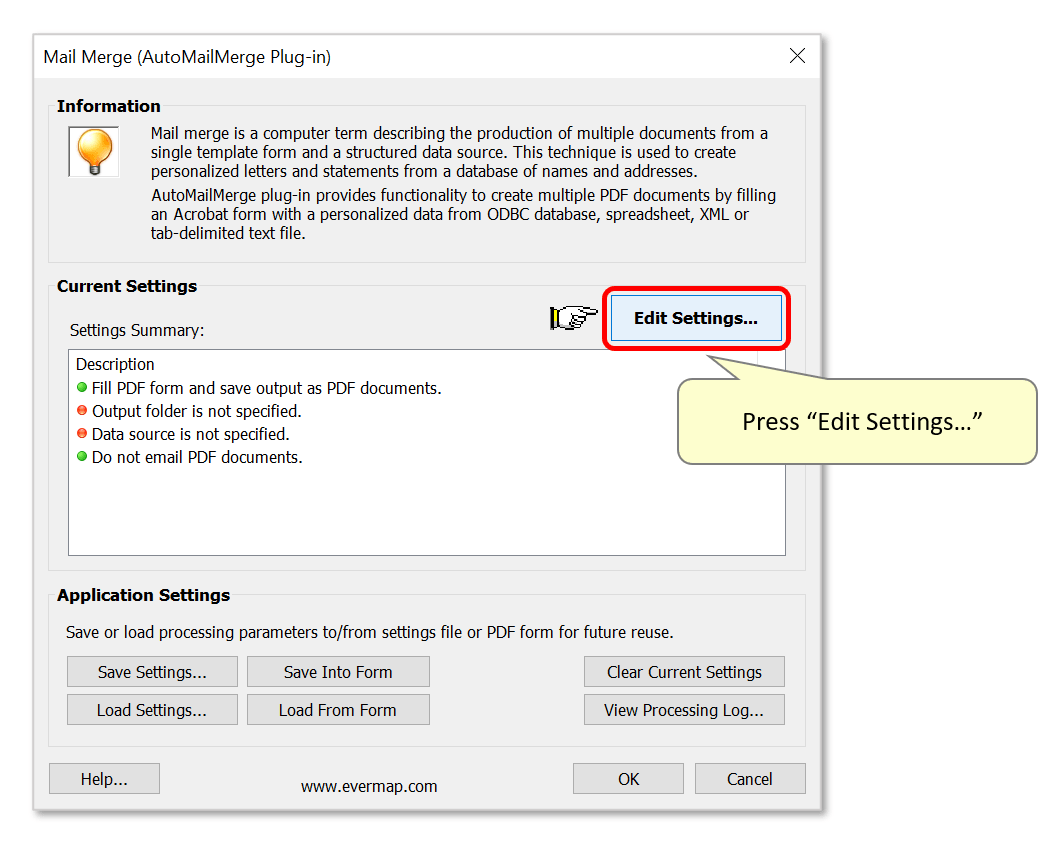
- Step 2 - Edit Mail Merge Settings
- If necessary, clear current settings and then press the "Edit Settings…" button.
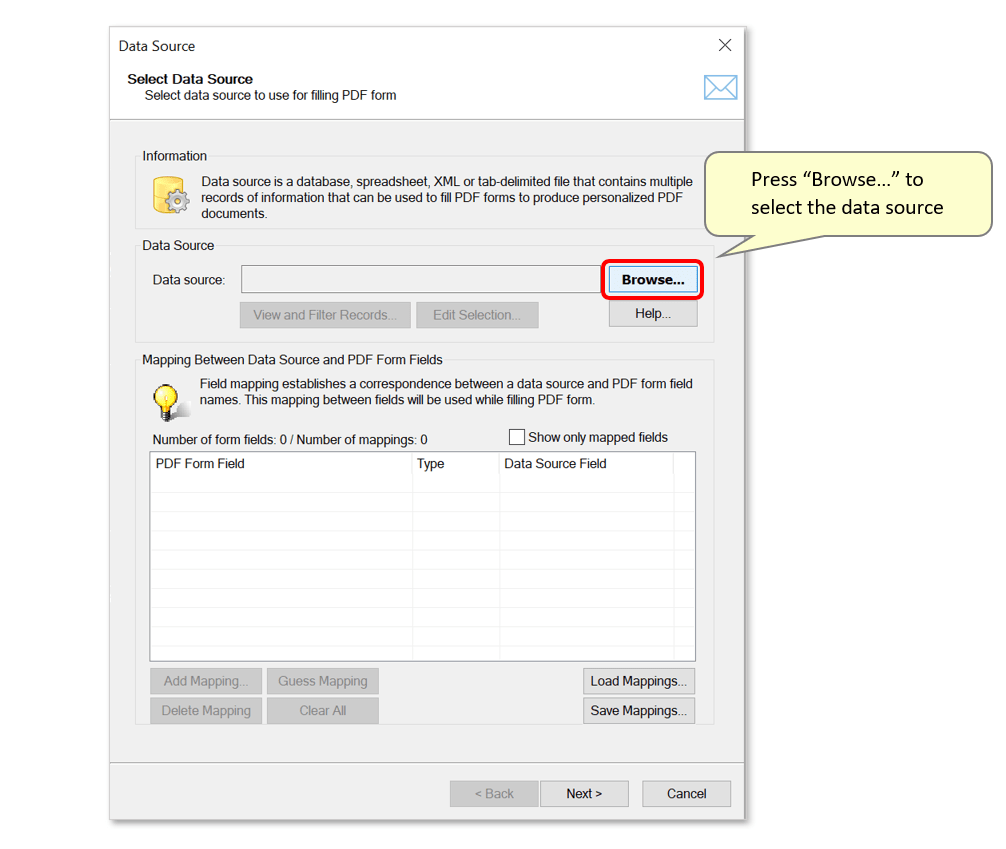
- Press the "Browse…" button in the "Data Source" dialog to select the input data file.
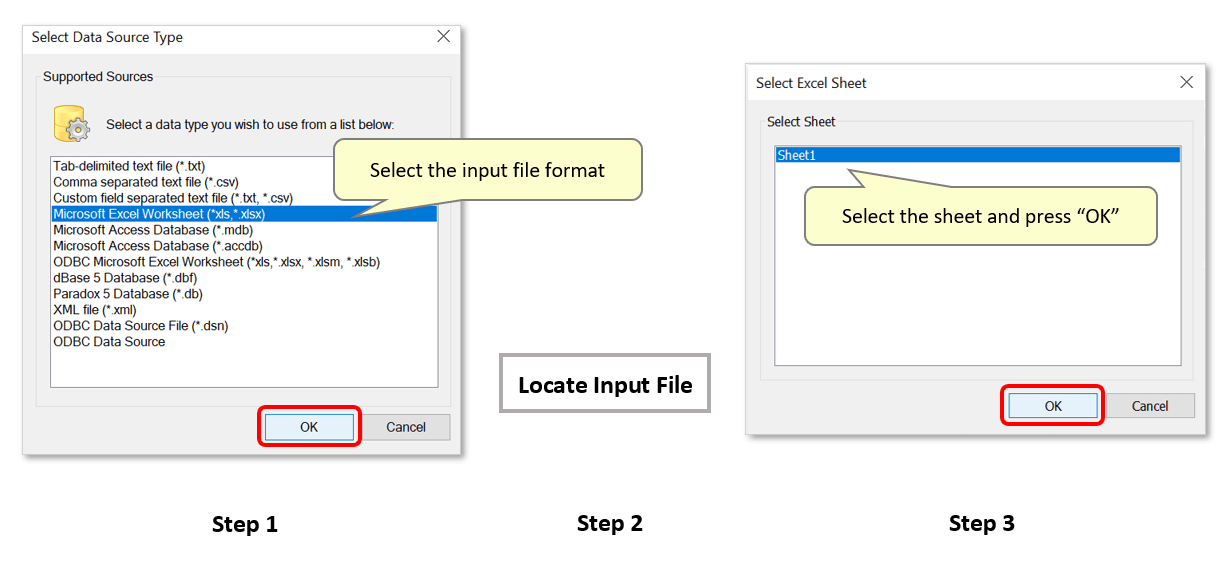
- Select a data type to use from the list (e.g.: Microsoft Excel Worksheet), then press "OK". Use the dialog that opens to locate and select the source file, then select the worksheet in the final dialog.
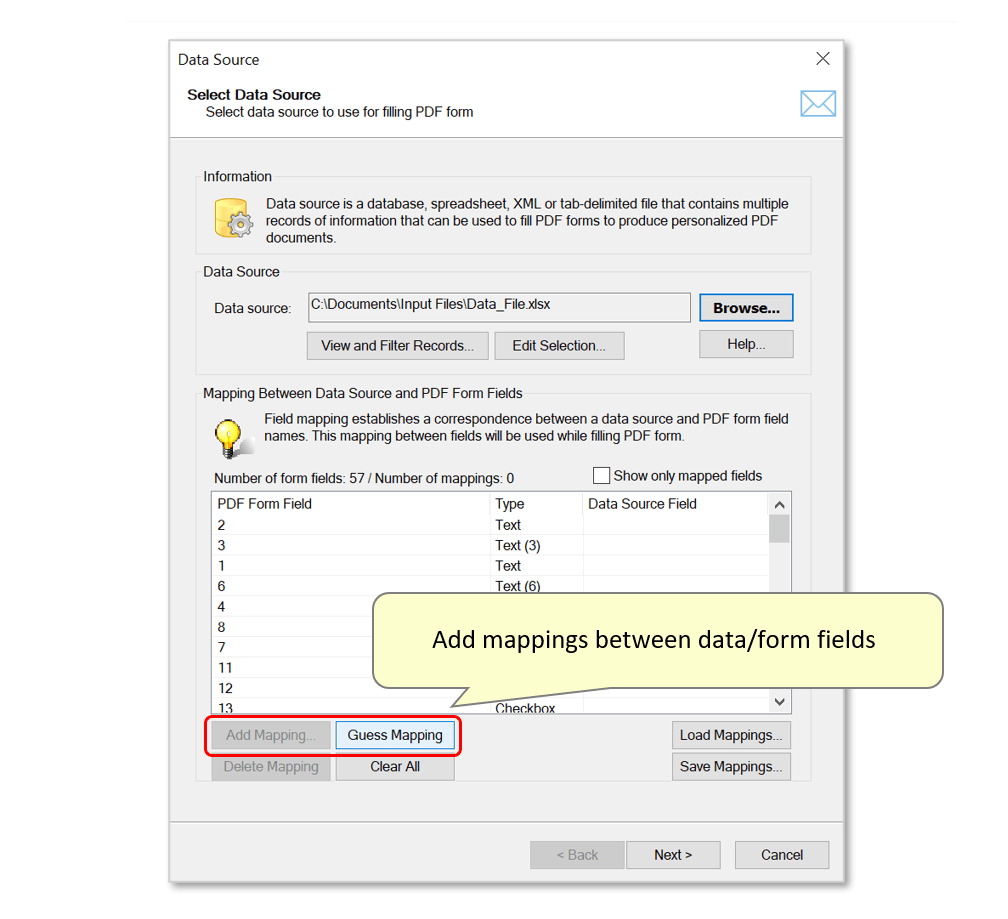
- Step 3 - Add Field Mappings
- Any fields in the PDF form will now be listed here. Use the buttons provided to map data fields to their corresponding form fields.
- In this example, we will use the "Guess Mapping" button to automatically assign data fields to form fields. This is much faster than manually linking fields together. Consider also using the separate visual field mapping tool tutorial to create a mapping profile that can be loaded via the "Load Mappings..." button.
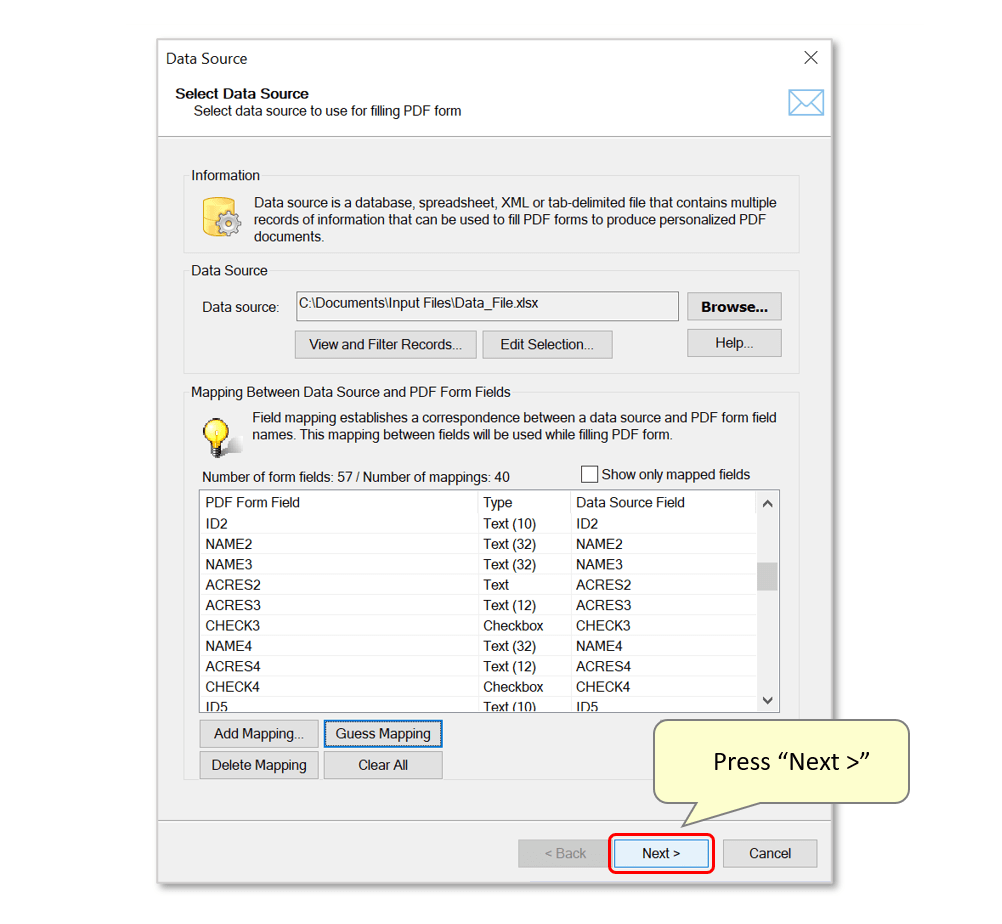
- All mappings have been assigned. Press "Next >" to proceed.
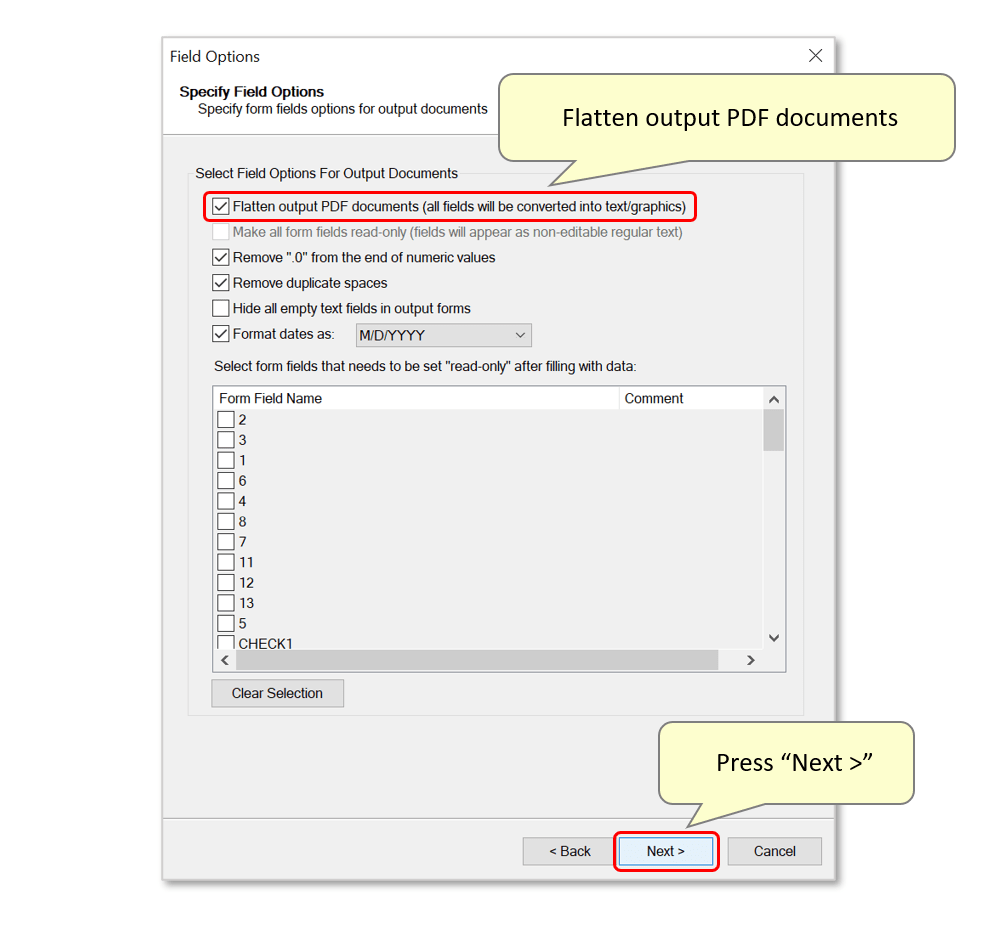
- Step 4 - Specify Field Options
- Ensure the "Flatten output PDF documents..." option is checked. This converts form fields into regular text in the output merged document(s) so that they are no longer "editable".
- Press "Next >" to proceed.
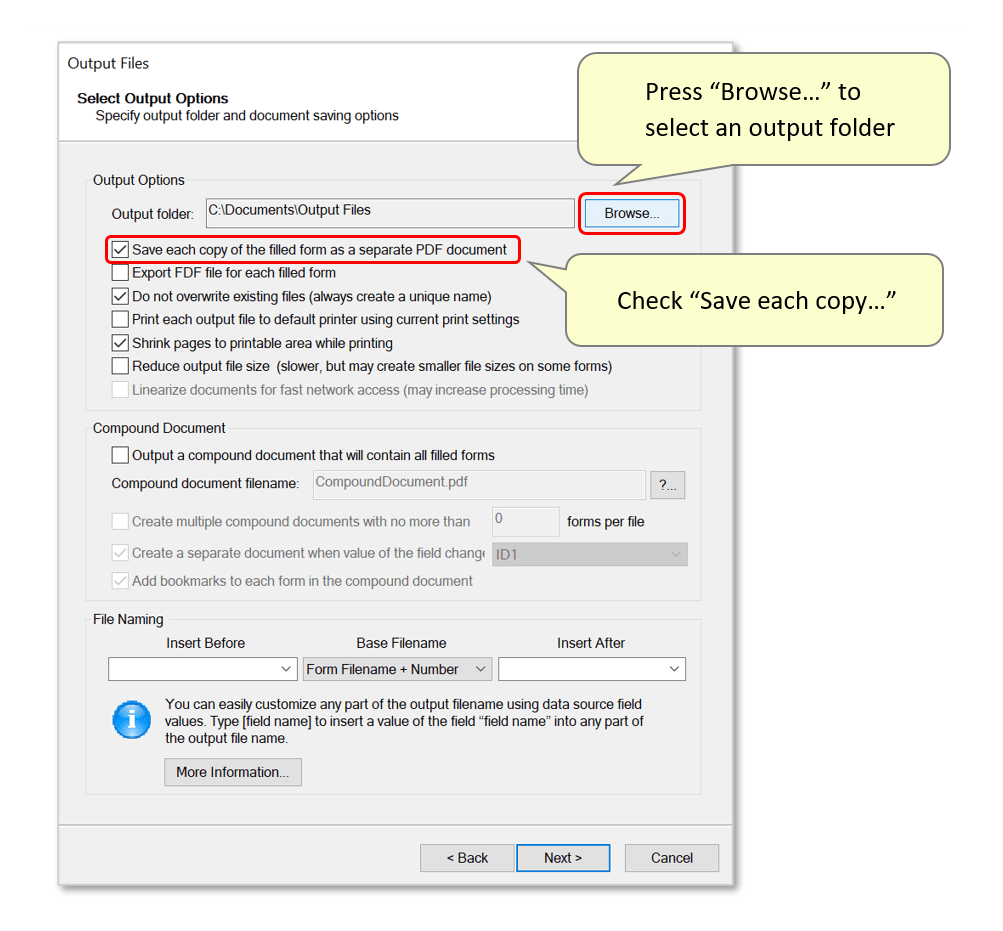
- Step 5 - Specify Output Options
- Continue to the "Output Files" page, and select an output folder via the "Browse..." button.
- Ensure that the "Save each copy of the filled form as a separate PDF document" option is selected.
- Optional: use the 'compound document' feature to produce one file containing all filled forms. Check this option and enter a filename - here we have used "CompoundDocument.pdf".
- IMPORTANT: Uncheck "Create a separate document..." as ALL form fields will contain different data in the output. We also have the "Add bookmarks..." option selected so that the compound document can be easily navigated.
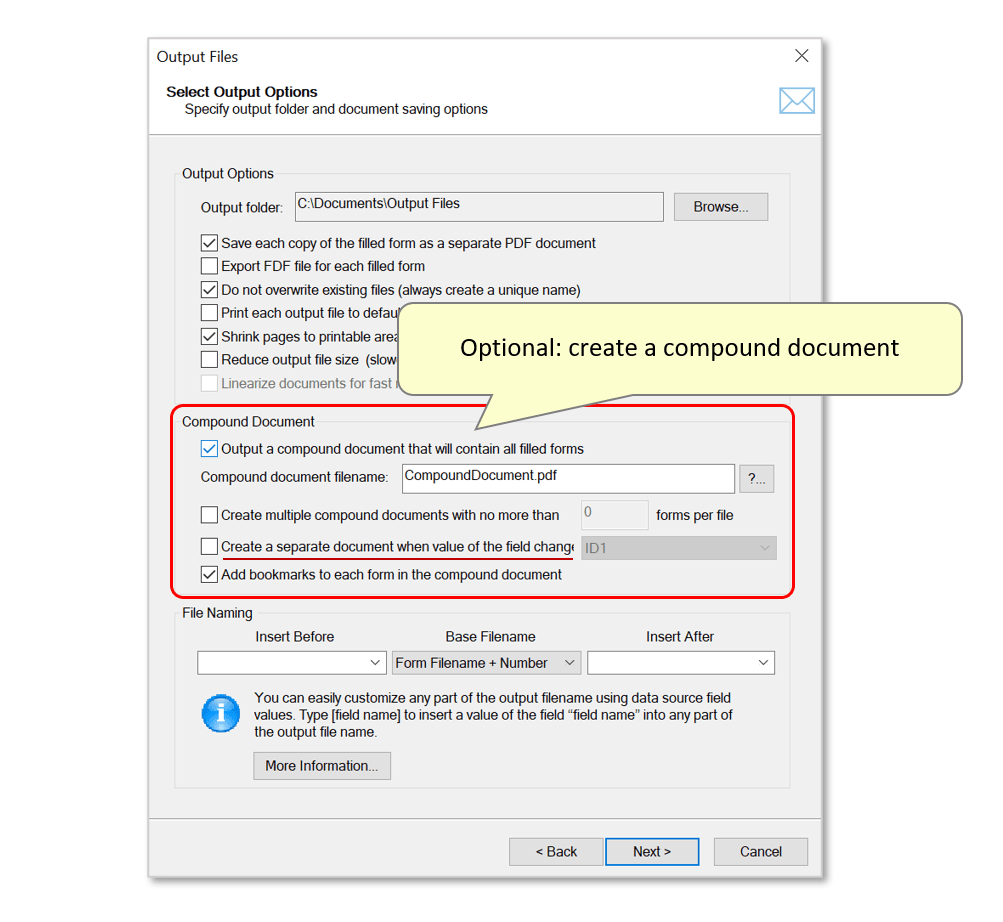
- Use the "File Naming" section to create a file naming scheme for the output files. Refer to data fields by entering them within [....] brackets. In this example, files will be named using the original filename followed by an auto-incrementing number.
- Press "Next >" to proceed through the next settings pages and confirm the configuration.

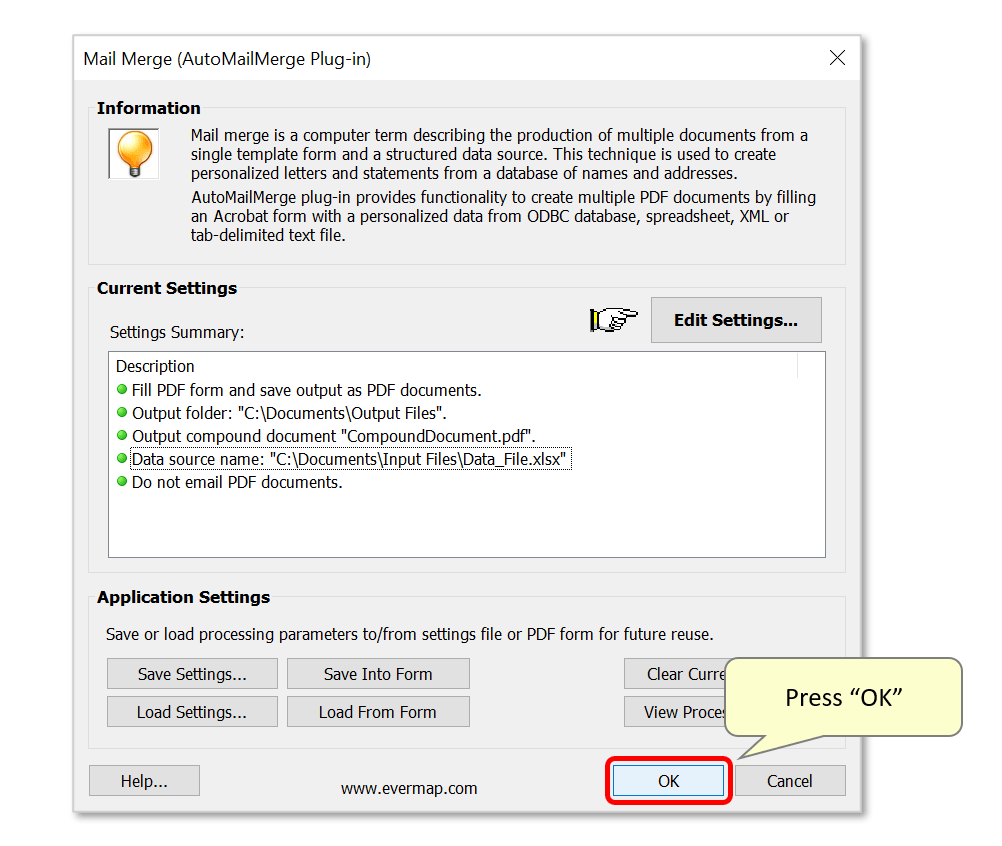
- Step 6 - Complete the Mail Merge
- Review the settings summary and press "OK" to confirm the procedure.
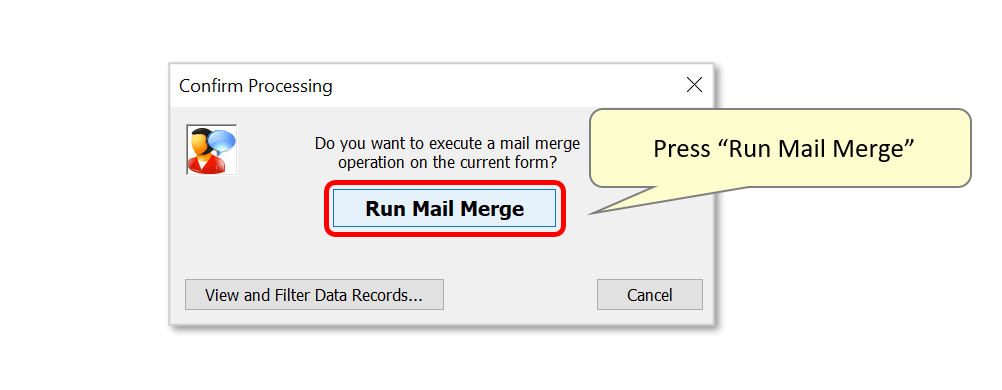
- Press "Run Mail Merge" to confirm.
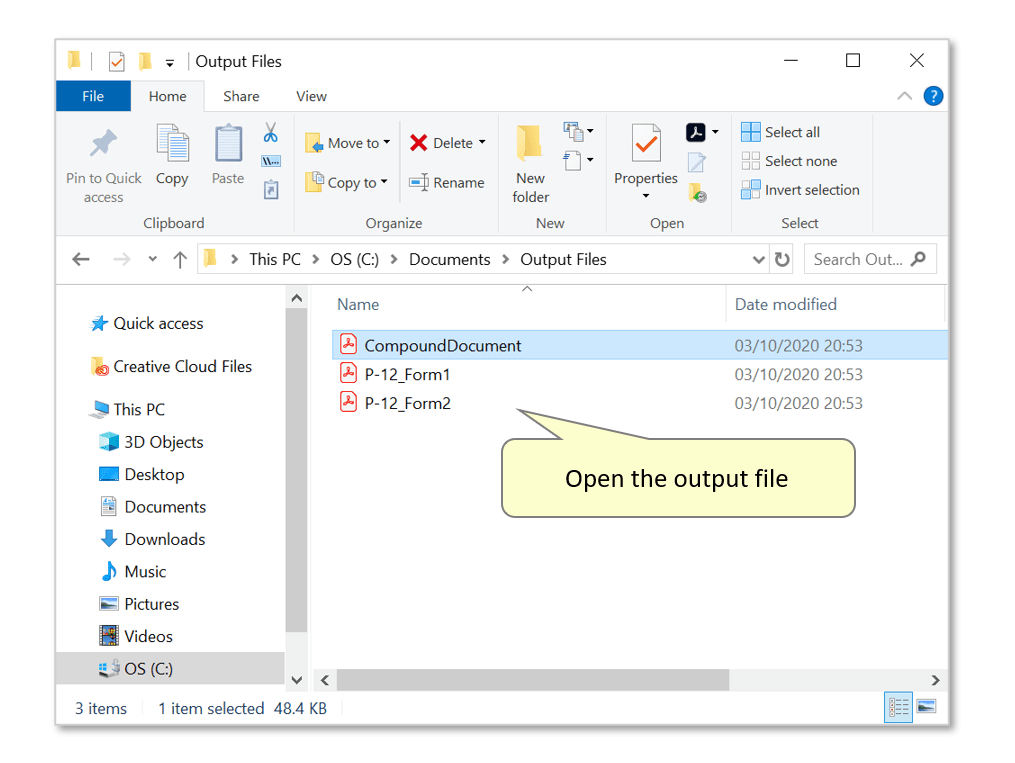
- Step 7 - Open the Output File
- A results box confirms the success of the operation. By default, pressing "OK" will open the selected output location.
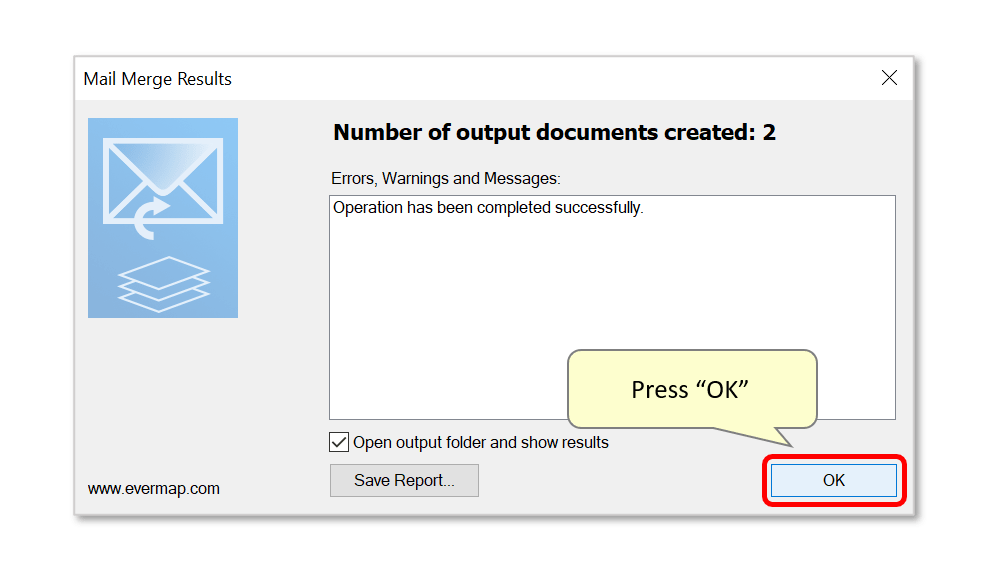
- Open the output file(s) to inspect the filled forms.
- Step 8 - Inspect the Results
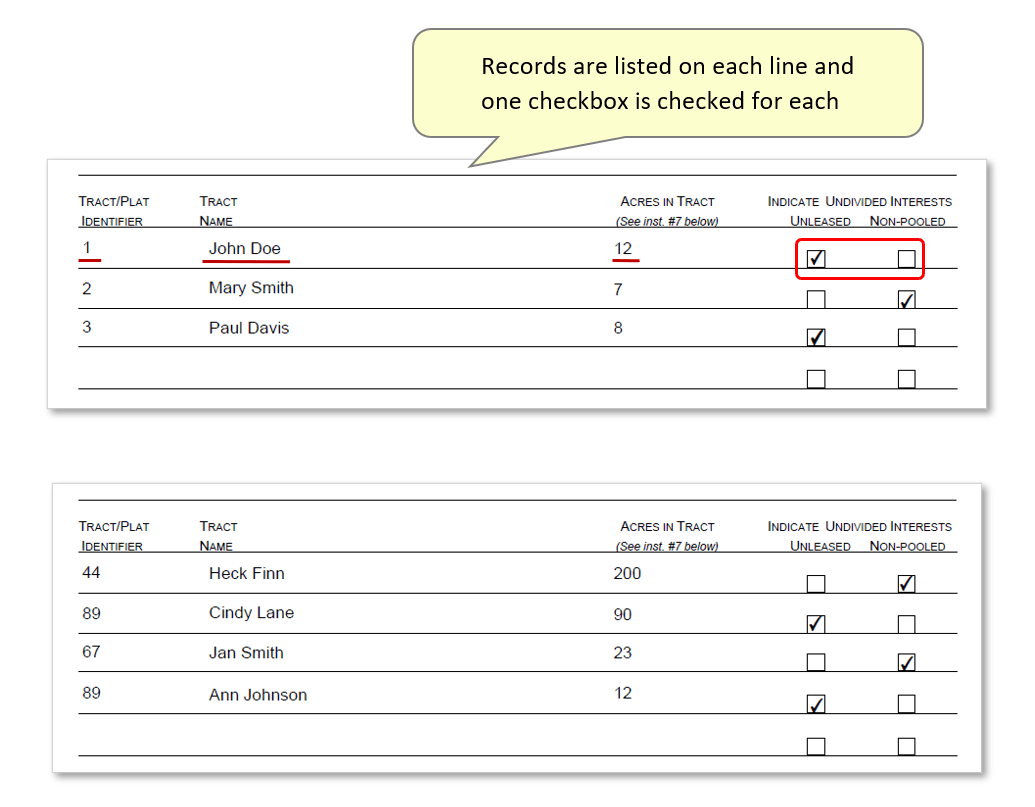
- In this example, the compound document contains two filled forms. The image below shows the filled sections of each one. Records are listed one-per-line and one checkbox has been checked for each.
- Click here for a list of all step-by-step tutorials available.