Naming Split PDF Files with Text from Location
AutoSplit plug-in for Adobe® Acrobat®
- Introduction
- This tutorial shows how to name output PDF files in "Split Document" operation provided by the AutoSplit™ plug-in for the Adobe® Acrobat®. The "Split Document" operation provides a way to automatically name output PDF files using document's text. Multiple different naming methods can be combined together to create a wide variety of file naming schemes. This tutorial shows how to name output PDF files using text from a page location. Use this option if a desired text is always located at the same place on the first page of each output PDF file.
.png)
- We are going to split 12-pages PDF document into single-page output files and name them using Bates number located in the upper right corner on each page.
- This operation is available in the Guided Actions (aka Action Wizard) tool and can be used for automating of document processing workflows. Use it apply the same processing steps to multiple PDF files without manually opening files and using menus.
- Prerequisites
- You need a copy of the Adobe® Acrobat® along with the AutoSplit™ plug-in installed on your computer in order to use this tutorial. You can download trial versions of both the Adobe® Acrobat® and the AutoSplit™.
- Step 1 - Open a PDF Document
- Start the Adobe® Acrobat® application and open a PDF document using "File > Open..." menu.
- Please note that if an input PDF document does not contain any searchable text, then it can be used for any text-based processing. If you are using a scanned paper document, then make sure the "Recognize Text" operation (also known as "Optical Character Recognition" or OCR) is applied to this document prior to processing.
- Step 2 - Open the "Split Document Settings" Dialog
- Select "Plug-ins > Split Documents > Split Document..." from the main Adobe® Acrobat® menu to open the "Split Document Settings" dialog.
-
[⚡ How to locate Plugins menu in Adobe® Acrobat® ⚡] - Step 3 - Select Split Method
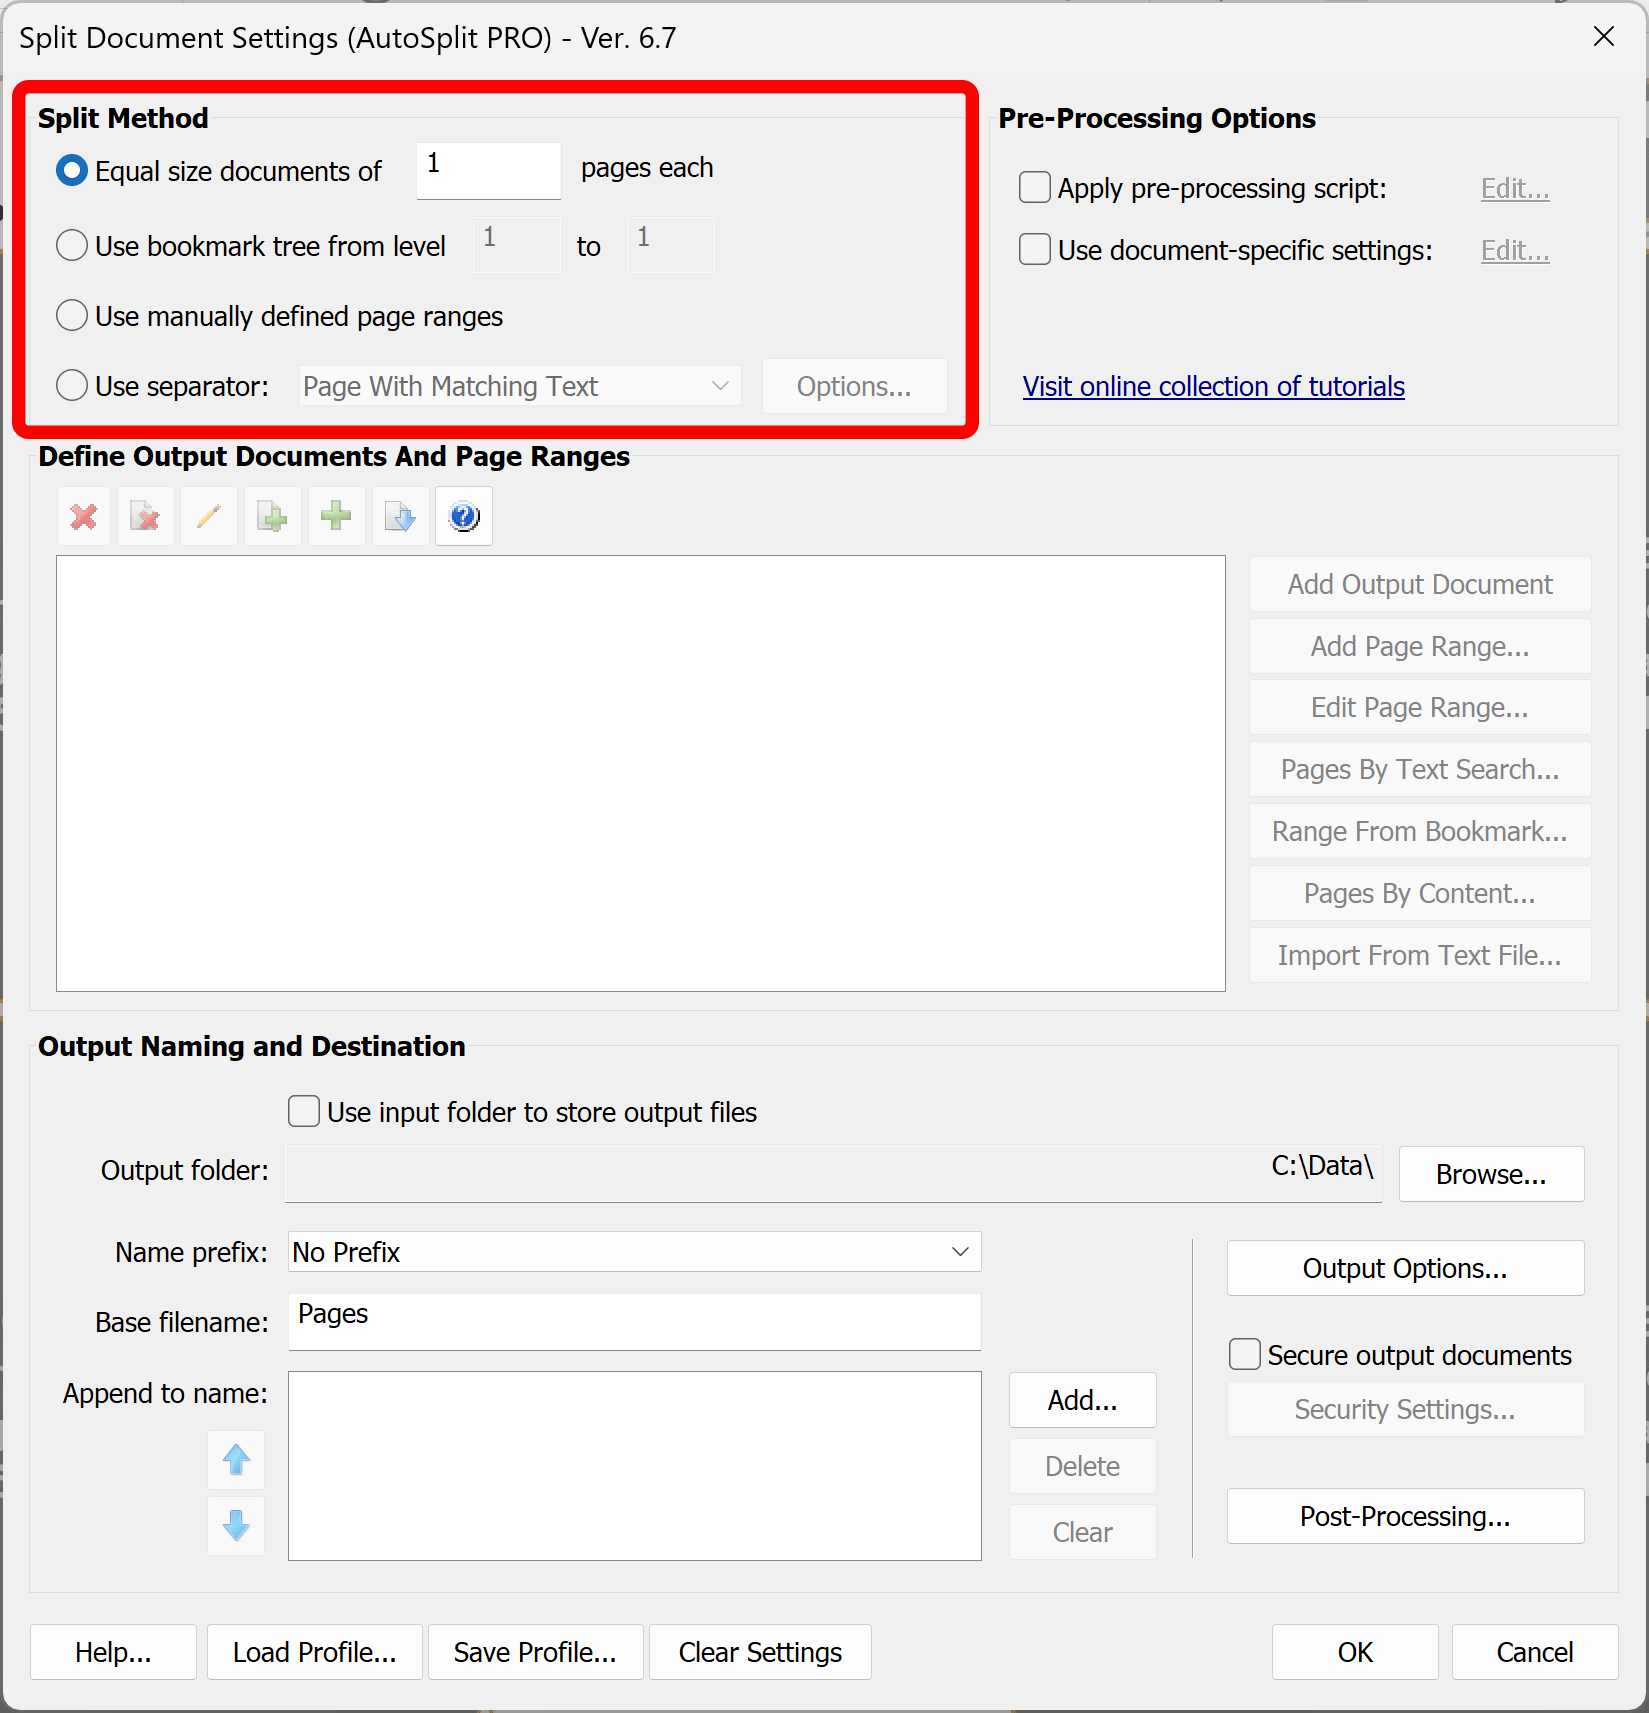
- Specify a desired document splitting method. This tutorial is focused on naming output files generated by document spliting operation. It does not matter what specific splitting method is used, file naming part works for all of them. As an example, we have selected to split the input document into equal size output documents (one page per file).

- Step 4 - Specify Output File Naming
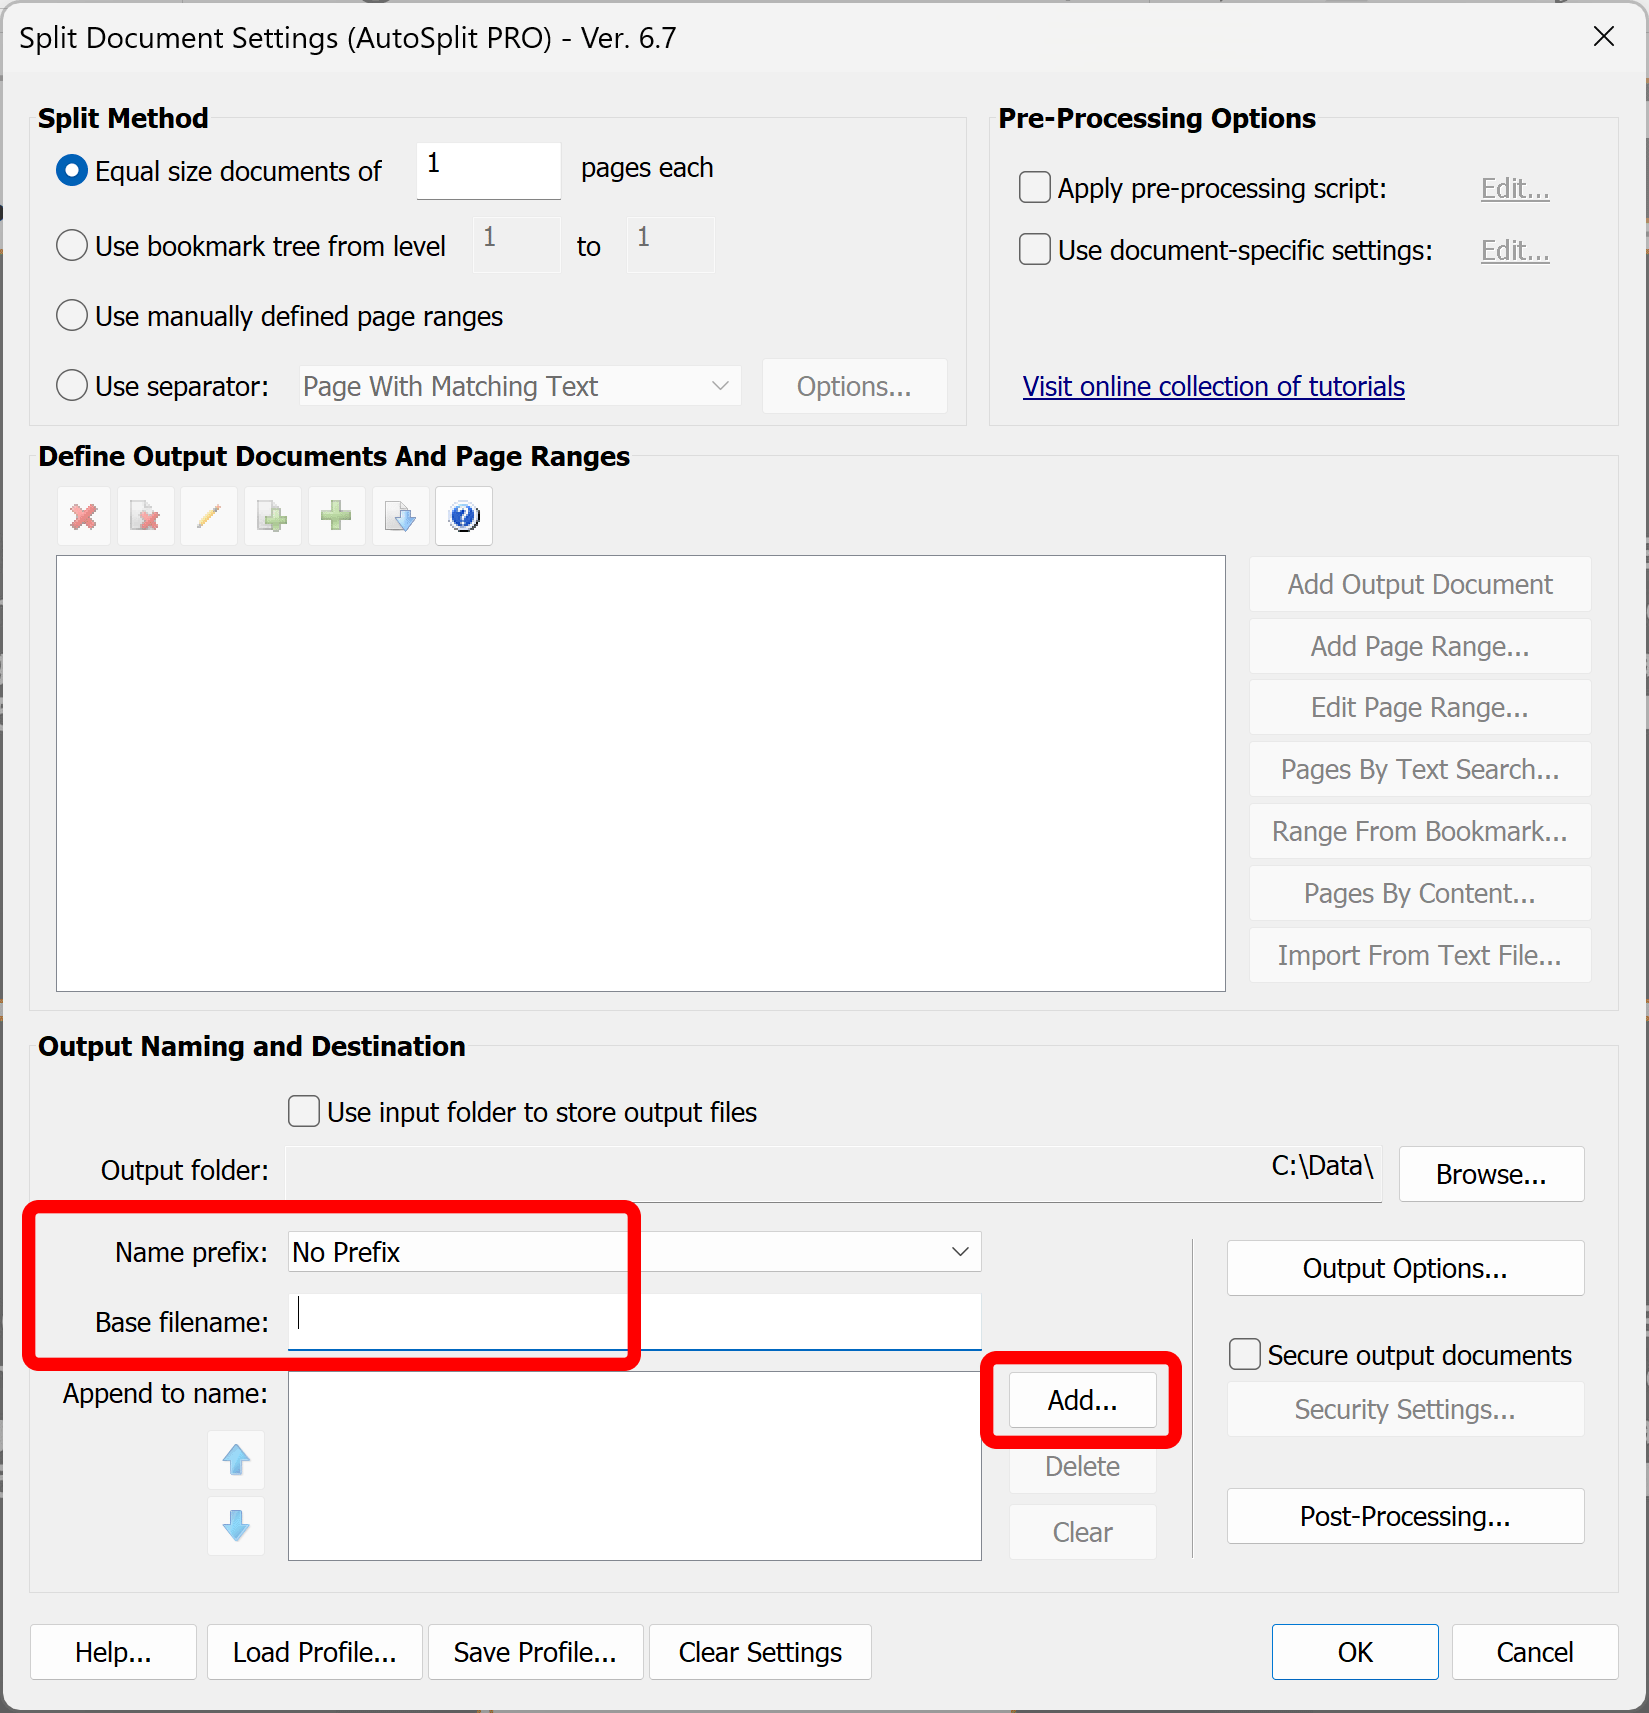
- Press the "Add" button in the "Output Naming and Destination" section to add a new component to the filename.

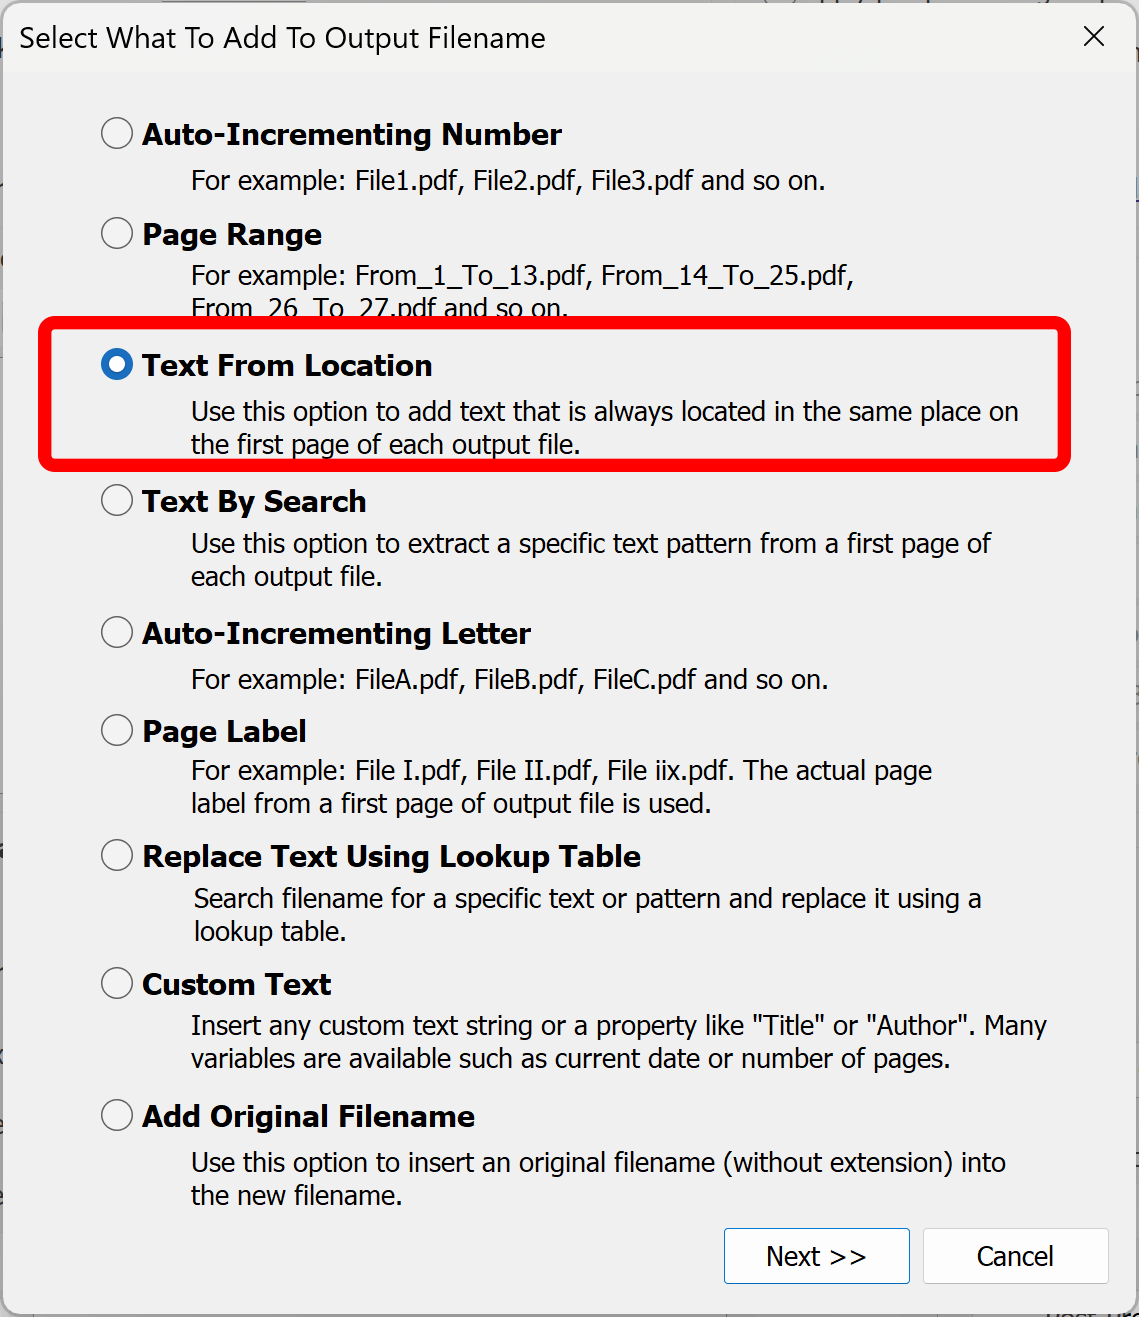
- Select the "Text From Location" option. Click "Next >>".

- The "Extract Text From Page" dialog provides an interface for defining area on the page where to extract text. User can either type in coordinates (left, right, top, bottom) or use a tool to draw an area on the page. Use the "Zoom" tool to enlarge part of the page for a more precise selection.
- Click and hold the left mouse button while using the Selection tool, then draw a rectangle around an area on the sample page. All text located in this page area will be extracted and used to name output PDF files. Click "OK" once done.
.png)
- Step 5 - Specify an Output Folder
- We are going to use only Bates number for the file naming, and skip all other options. Select "No Prefix" in the "Name prefix:" pull-down menu. Clear the field of the "Base filename:" option.
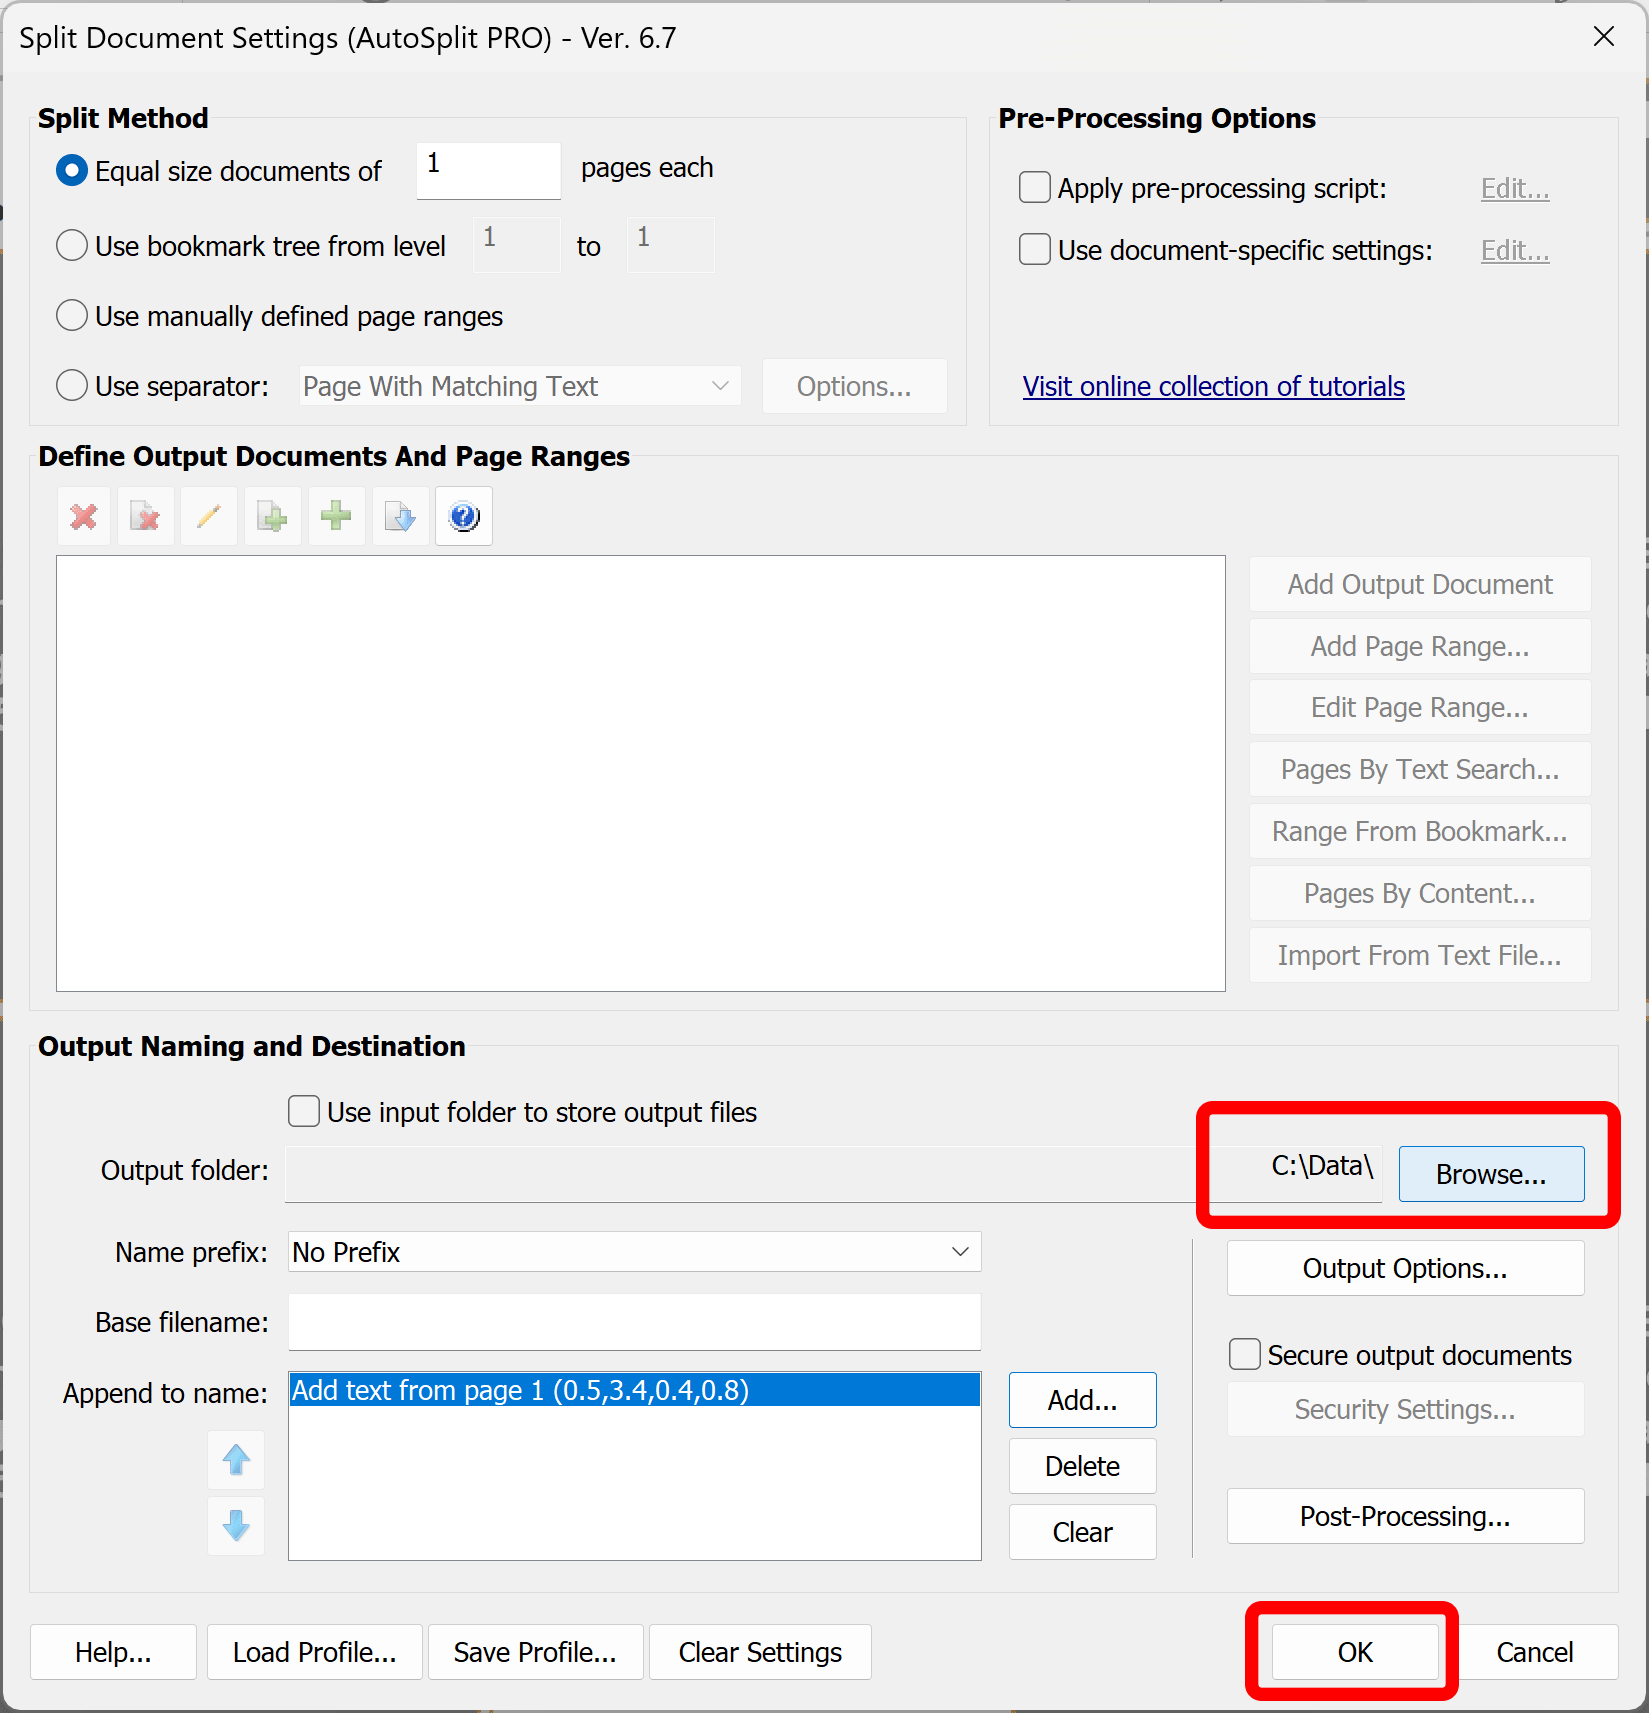
- Press "Browse..." button to select an output folder. All output documents will be placed into this folder.
- Click "OK" to proceed.

- Step 6 - Start Extraction Process
- Click "OK" in the confirmation dialog to start the document splitting.
.png)
- Step 7 - Inspect the Results
- Check the list of the output files displayed in the "AutoSplit Results" dialog. Click "Open Output Folder" to inspect output PDF files
.png)
- The output folder contains 12 single-page documents that are named using the text (Bates number) extracted from the upper-right corner of the first page.
.png)
- Click here for a list of all step-by-step tutorials available.