Extracting Text From Multiple PDF Files into a Spreadsheet
- Introduction
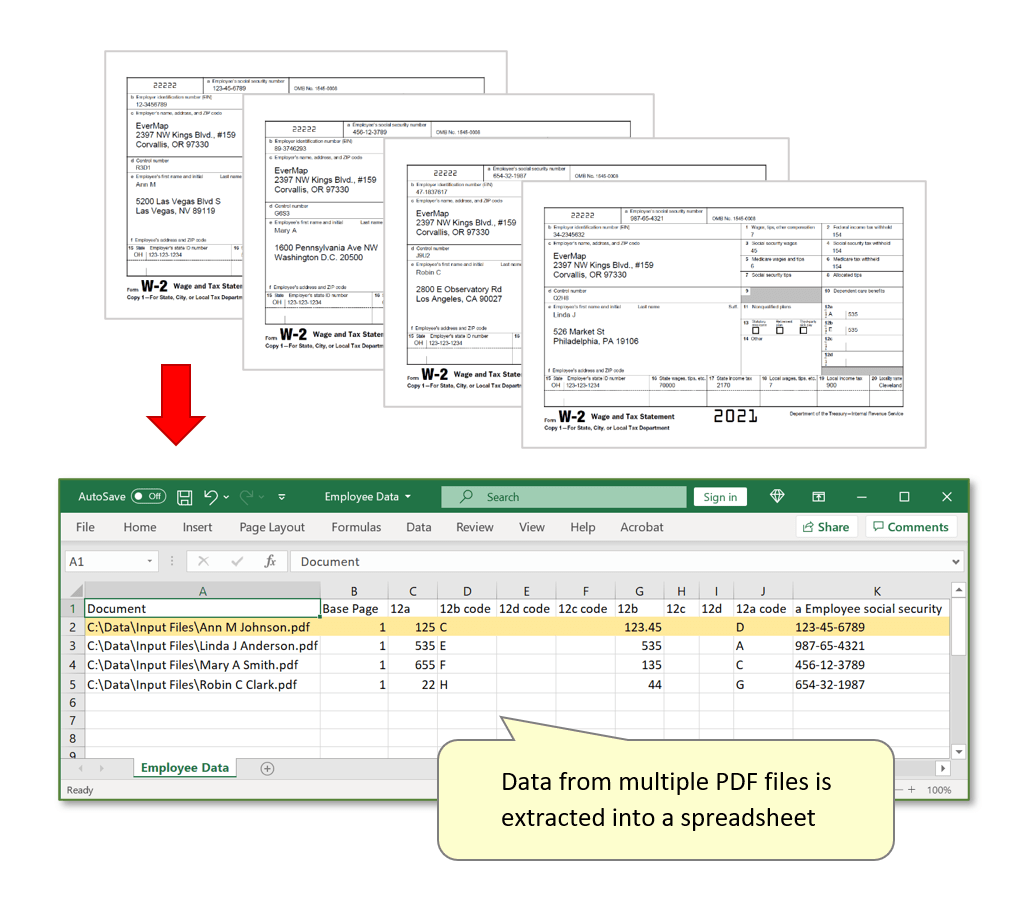
- Manually extracting data from PDF files into a spreadsheet or a database can be time consuming. Automate this task by using the AutoExtract™ plug-in to define data locations within a PDF file and extract corresponding text into a spreadsheet or data file. This procedure may be useful when you have multiple PDF forms with information, but no data file containing all of the data in one location.
- In this tutorial, we will demonstrate how to execute a basic extraction procedure with the AutoExtract™ plug-in, by using a W-2 PDF form as an example. The goal is to process multiple PDF files (W-2 forms) by extracting data fields (First, Last Name, SSN, amounts, etc.) and creating a data record in an output spreadsheet file in a *.csv format. Note that in this tutorial W-2 form is not an interactive PDF form, but a regular plain PDF file. If you have interactive PDF forms, then the process of extracting data is simple and does not require any special software.
- What is a Data Field?
- All data that we are extracting from PDF documents needs to be stored in the structural way in the output data file. Data is stored in one or more “data fields”. A group of related data fields is stored as a data record. Data field is stored as a named column in the output data file and is similar to a data field in a database. Each data field is identified by a unique name. Data fields are stored as plain text and do not have any specific data type.
- Processing Overview
- Each input PDF file contains a single copy of W-2 form. One data record needs to be extracted from each file and stored as a record in the output spreadsheet. The first step is to define where each data field is located in the PDF documents, and then use this information to extract data from multiple PDF files into the output spreadsheet(s). The process can be greatly simplied if you have access to the interactive version of the same PDF form. If this is the case, then you can automatically get all positional information from the PDF form and use it to extract text from non-interactive version of the same document.
- Sample PDF Files
- The W-2 form is used in this tutorial as an example. There is nothing in AutoExtract that is specific for W-2 or any other tax-related forms. It was selected as one of the most common tax documents. Form W-2 is an IRS tax form used in the United States to report wages paid to employees and the taxes withheld from them. The official W-2 PDF version can be downloaded from the IRS website by clicking here.
- Prerequisites
- You need a copy of Adobe® Acrobat® (Standard or Professional) along with the AutoExtract™ plug-in installed on your computer in order to use this tutorial. Both are available as trial versions.
Tutorial Overview
- There are two different cases that we are going to cover in this tutorial:
- First case: no interactive PDF form is available, and we have to define location of each data field manually by selecting the area on the page. This needs to be done only once to configure the processing settings. Next, these settings can be used to process any number of input PDF files.
- Second case: an interactive PDF form is available for the document. It can be used to automatically extract data field locations from the PDF file. This significantly reduces preparation time and complexity of the job. Once the data field locations are known, they can be used to process any number of input PDF files. You can also use "Prepare Form" tool in Adobe Acrobat to add interactive fields to a sample PDF file to create data field descriptions. Use this method if data fields always occupy the same locations on every document.
First Case: Defining Data Fields Locations
- Overview
- In most real-world cases, a sample interactive PDF form is not available for the documents that need to be processed or data fields do not always occupy the same area on each document. In this case, it is not possible to extract data from the documents just based on a fixed location. AutoExtract™ provides multiple different methods for defining how to find a specific data field in the PDF documents. Please see the following detailed tutorial on defining data field using manual configuration method.
Second Case: Using Interactive PDF Form to Get Data Fields Locations
- Step 1.1 - Open AutoExtract
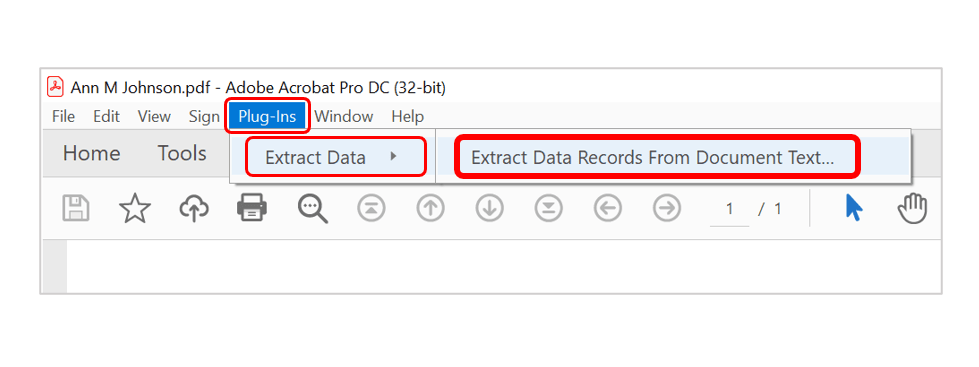
- Open a sample PDF form in Acrobat that contains interactive form fields. If you do not have a copy of interactive PDF form, then please see steps for adding data field definitions manually. Here, we will use a custom W-2 form. Now select "Plug-Ins > Extract Data > Extract Data Records From Document Text…" to open the "AutoExtract Plug-in" dialog.
- Step 1.2 - Extract Fields from PDF Form
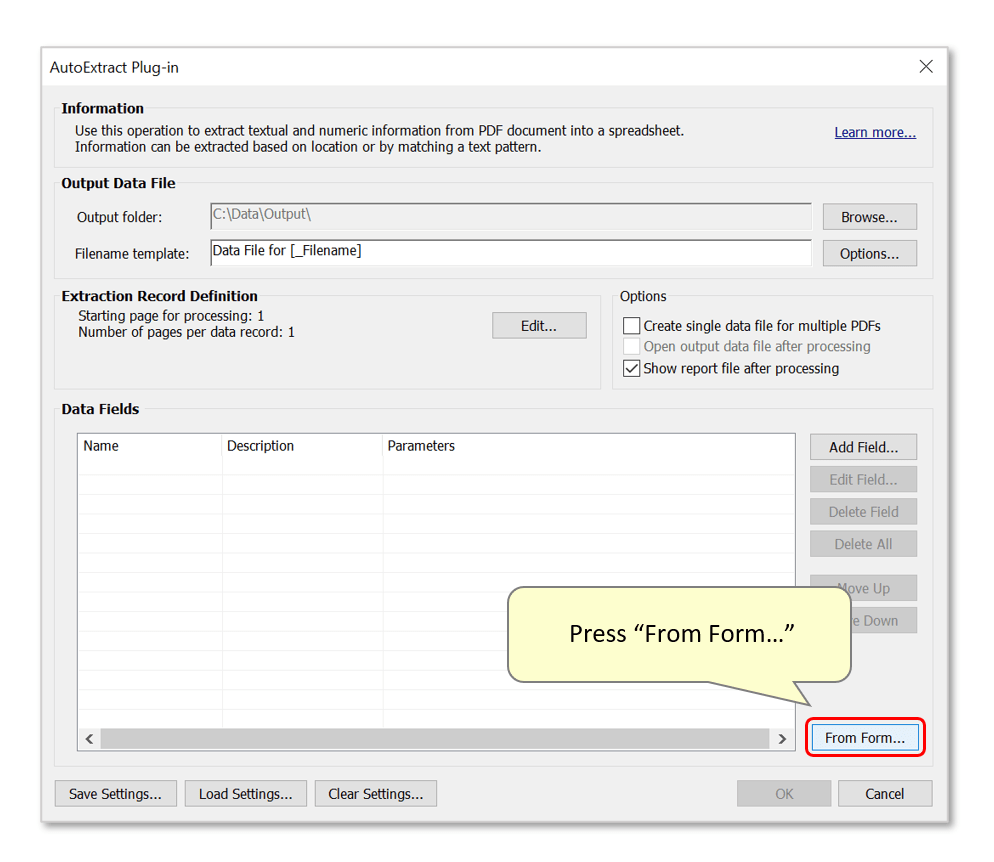
- Press the "From Form..." button to add data fields to the settings configuration based on the interactive PDF form fields located within the currently open PDF form. Note that only text fields will be used.
- Press "OK" to proceed.

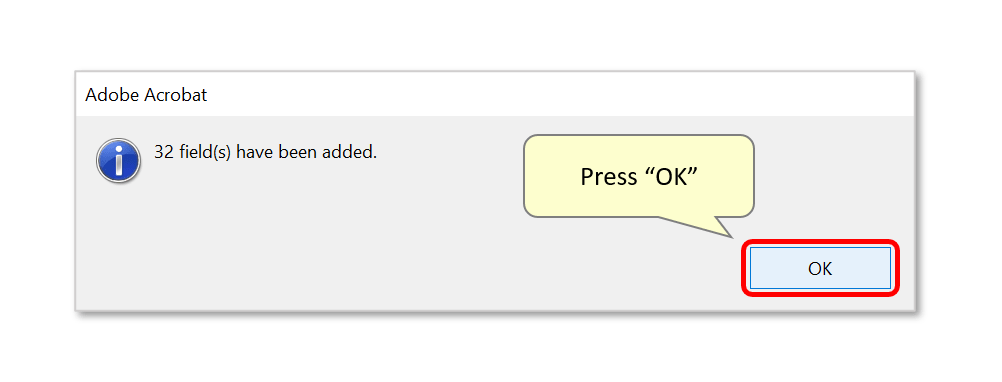
- A report box displays the number of fields that have been recognised. Press "OK" to close it.
- Now you should see a list of newly added data fields definitions. Note that field names and locations were extracted automatically.
- Step 1.3 - Configure Output Options
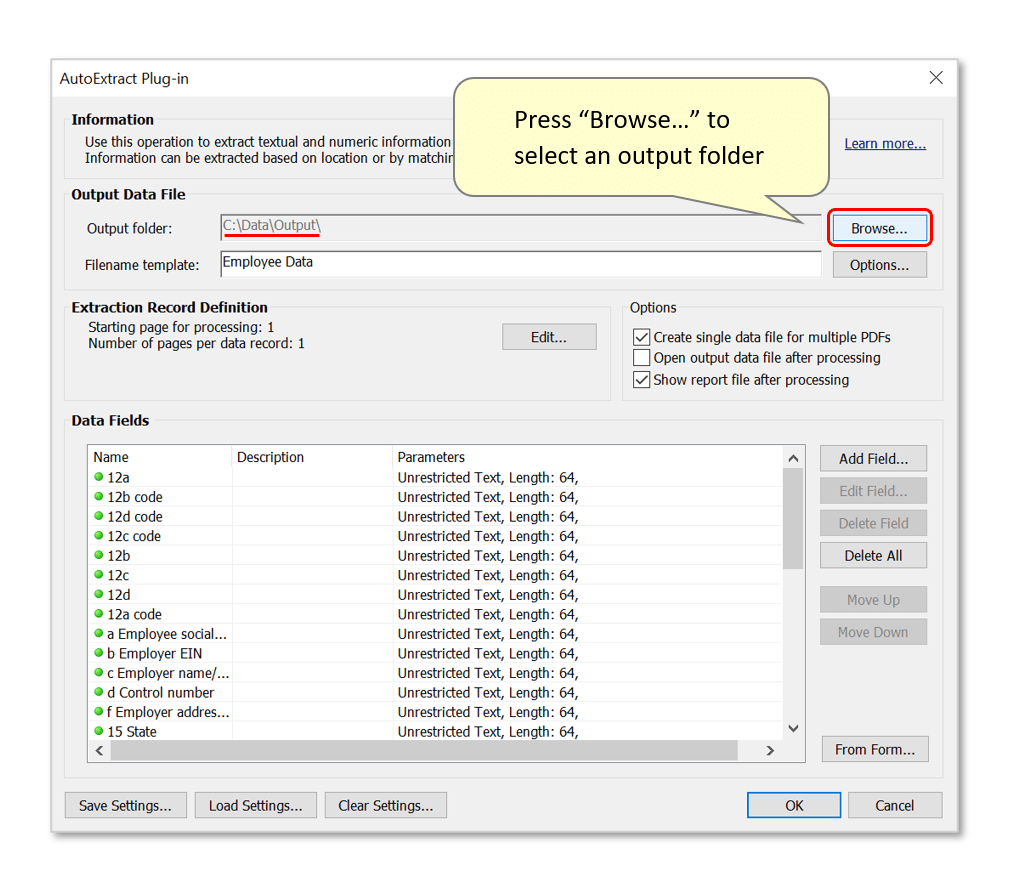
- Press "Browse..." to select a suitable output folder for spreadsheet data files to be saved in.
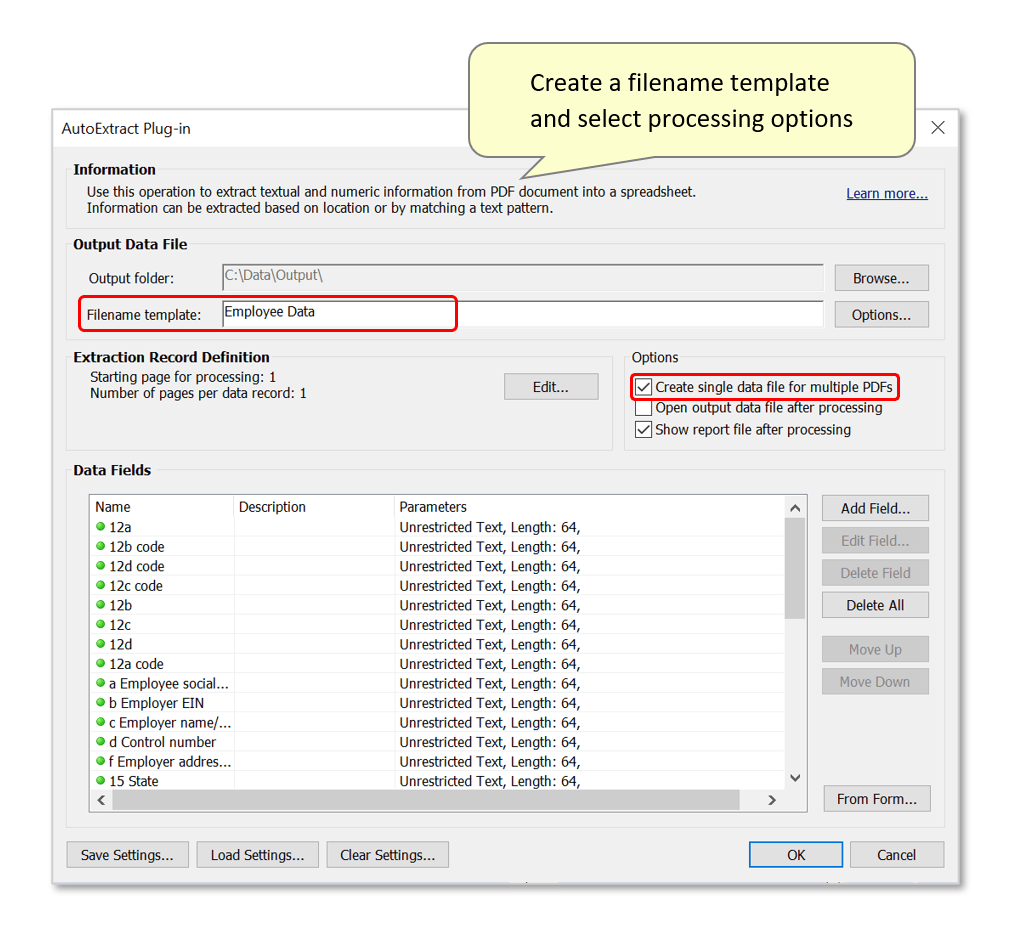
- Optionally customize the filenaming template for output files. Any text entered in the "Filename template:" box will be inserted into output filenames. Output data files can be named using data fields by using [FieldName] syntax anywhere in the filename template.
- Alternatively, the "[_Filename]" keyword extracts the input PDF filename and inserts it as a component of the output filename. The default template used here would create a "Data File for Ann M Johnson.csv" output filename format for each input PDF used (see step 5 below).
- The plug-in can either create one output spreadsheet for each input PDF file, or store all data for all input PDF files in a single spreadsheet. In this example, we will create one output spreadsheet titled "Employee Data.csv" by checking the "Create single data file for multiple PDFs" processing option. The spreadsheet will contain a series of records - one for each input filled form.
- Step 1.4 - Confirm Extraction Settings
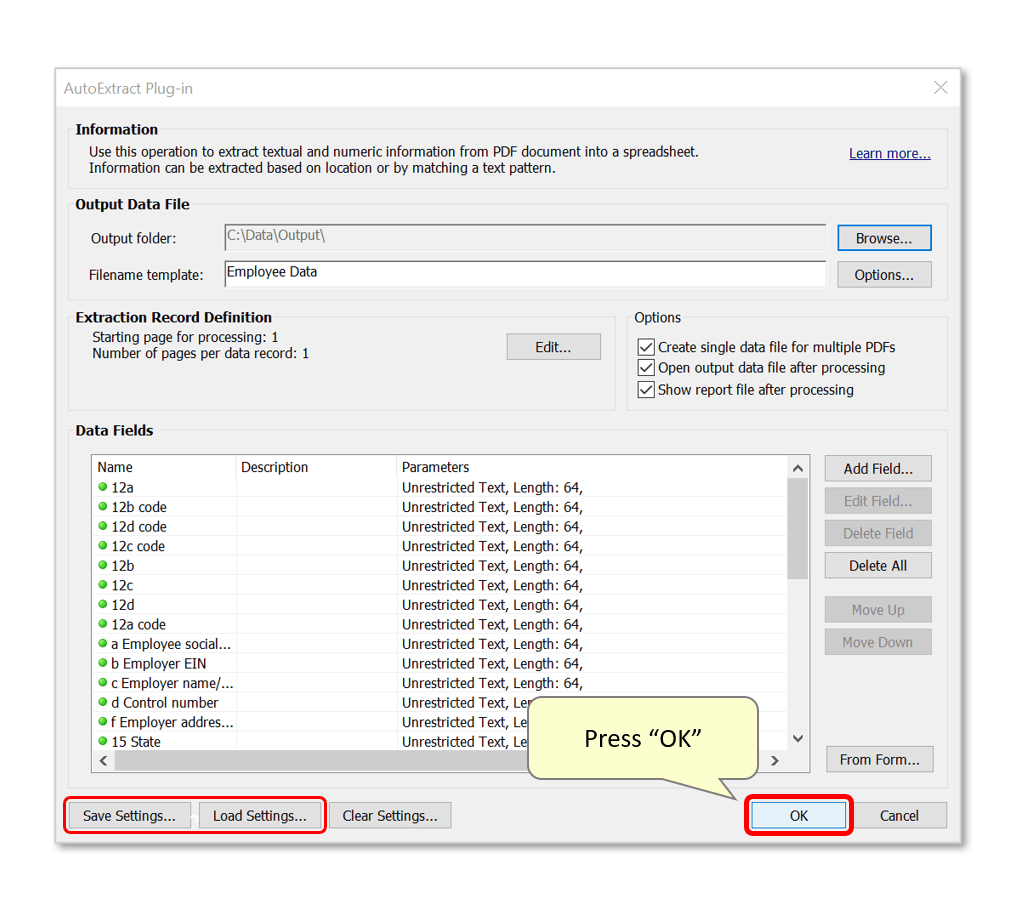
- Optionally use the "Save Settings..." button to save the current configuration as an AutoExtract Settings file. Settings will be saved with a *.zones file extension, and can be loaded via the "Load Settings..." button.
- Press "OK" to proceed.
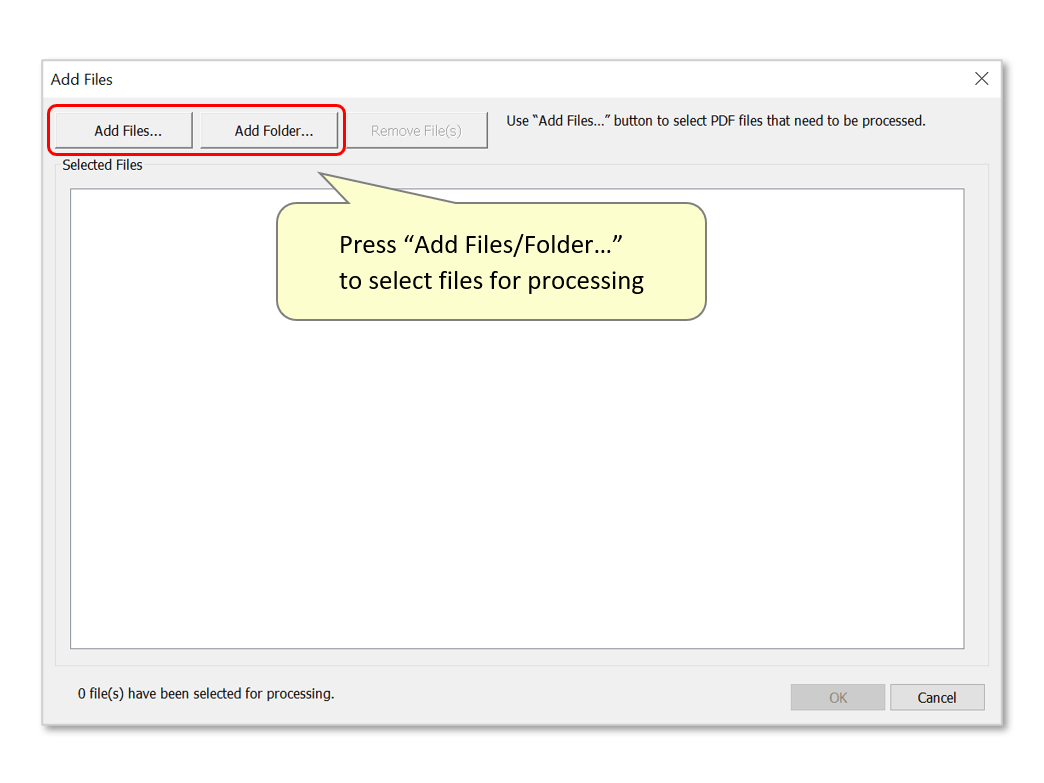
- Step 1.5 - Add Files for Processing
- Use the "Add Files..." button to choose PDF files for extracting data from. Alternatively, add an entire folder by pressing "Add Folder...".
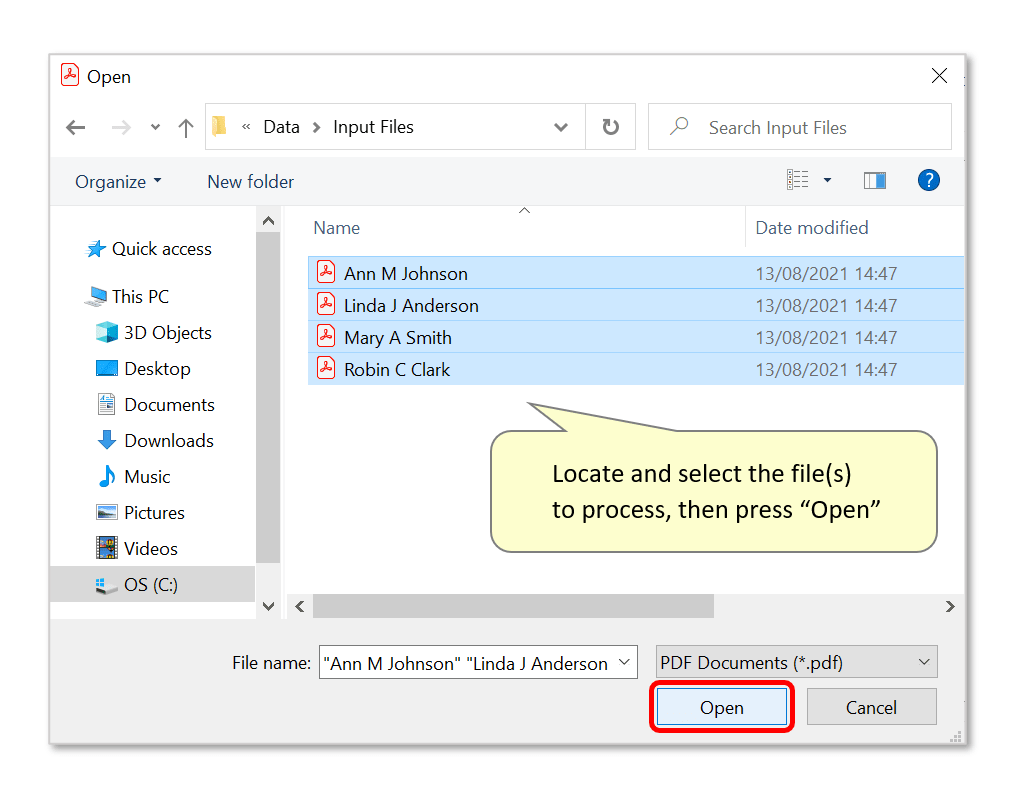
- Locate and select files for processing, then press "Open". In this example, we will extract data from x4 separate W-2 forms. Note that it's possible to add files from various folders and process them at the same time by repeatedly using the "Add Files/Folder..." buttons.
- Step 6 - Run the Procedure
- Press "OK" to extract the data records.

- Step 7 - Inspect the Results
- A report box displays the number of spreadsheet records created. Press "OK" to close it, and open an auto-generated processing report in your default browser.

- Check the processing report.

- Open the output folder chosen in step 3. The processing report will be saved here, as well as the output spreadsheet file(s). Open it to check its contents.

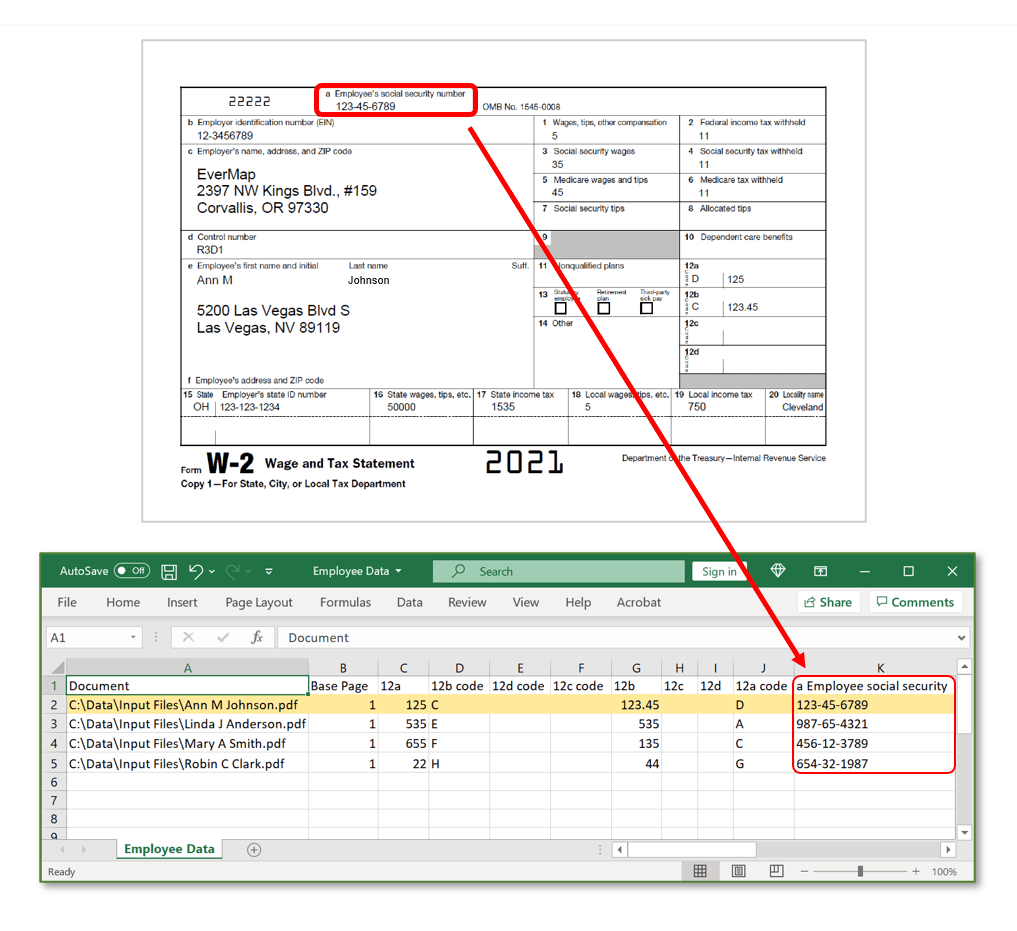
- Inspect the extracted data. Each data record is presented across various field headers that correspond to each text field in the input form.

- Click here for a list of all step-by-step tutorials available.