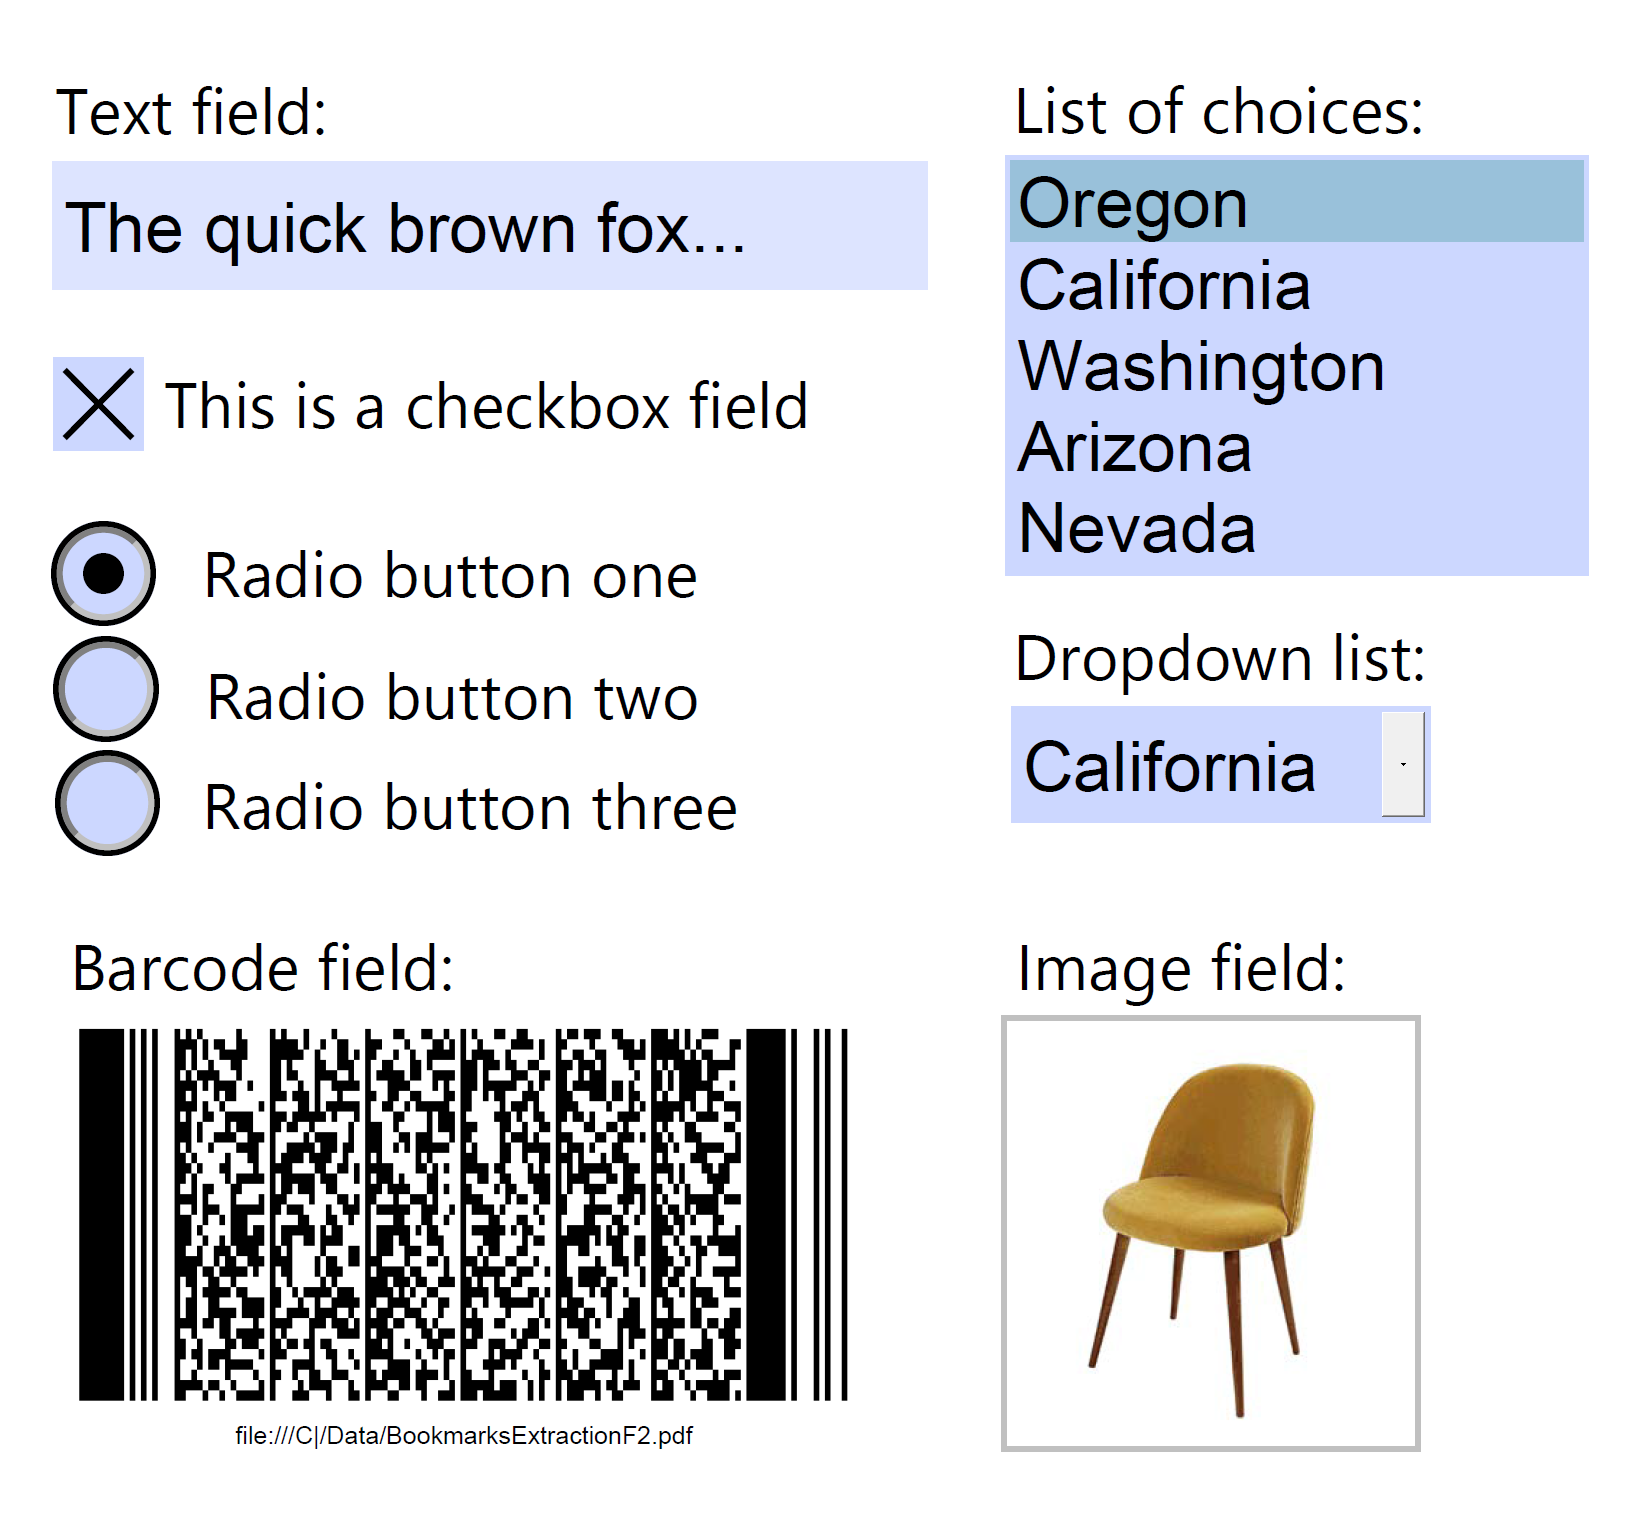
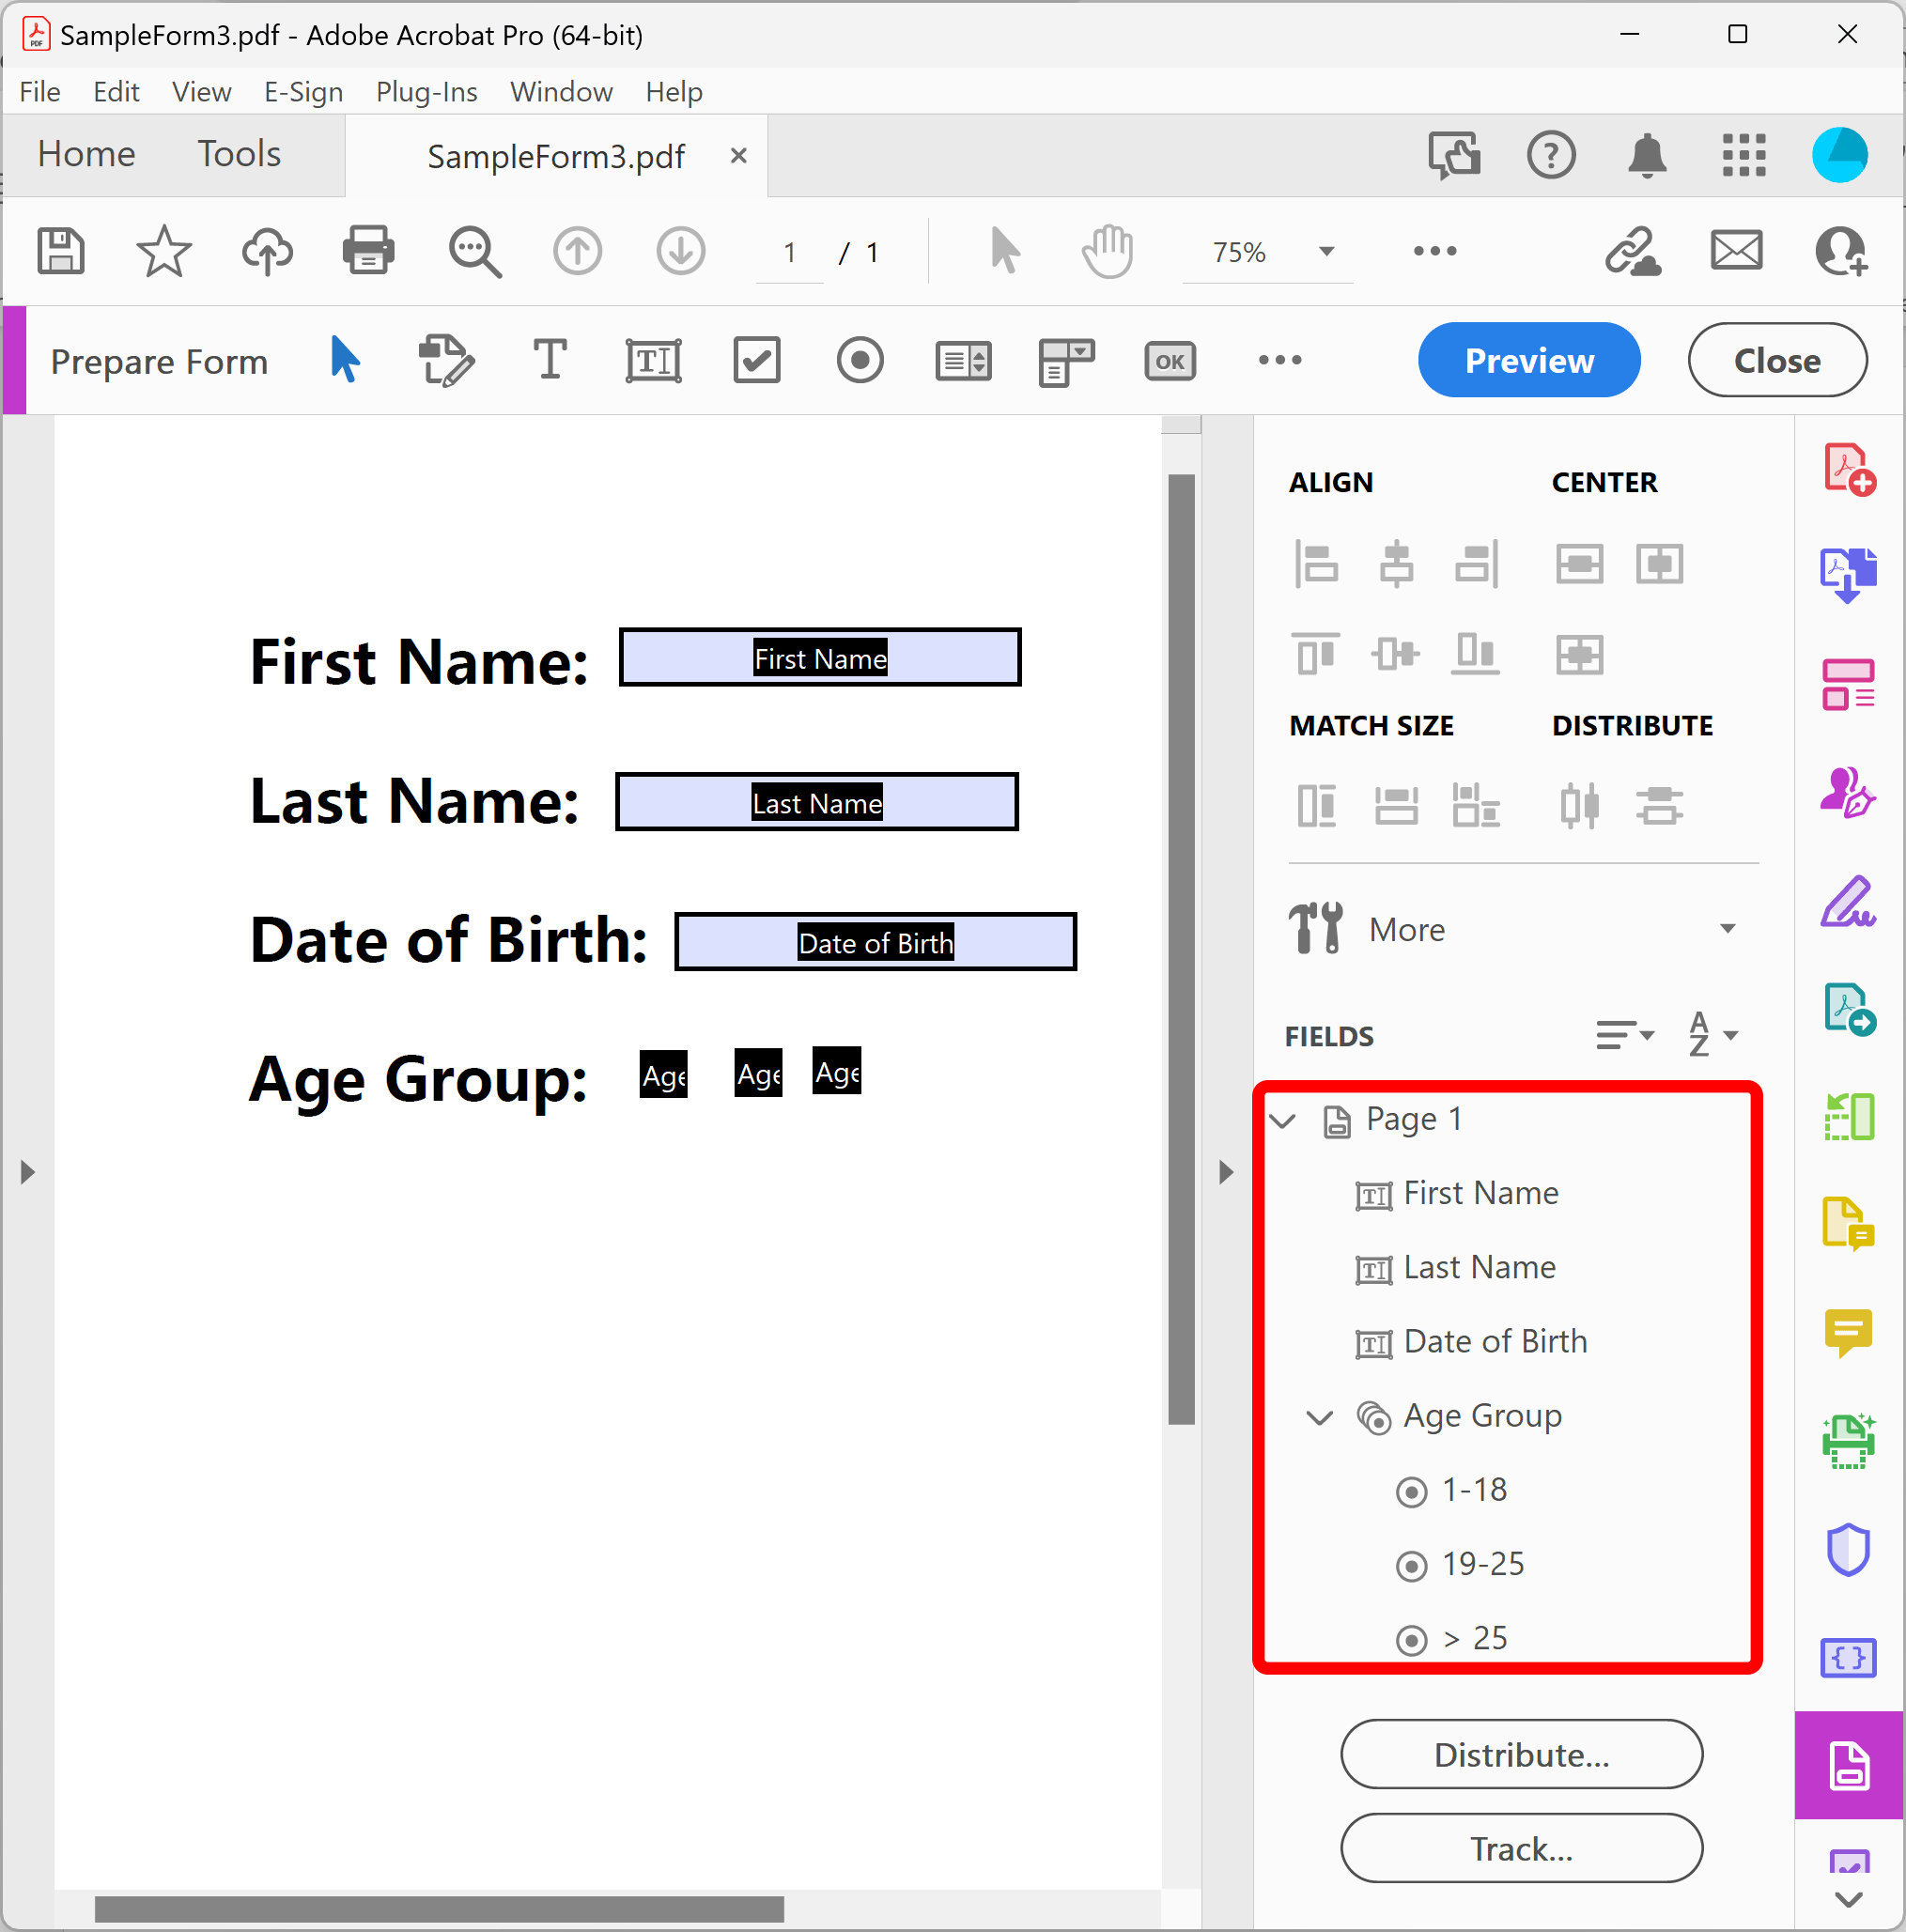
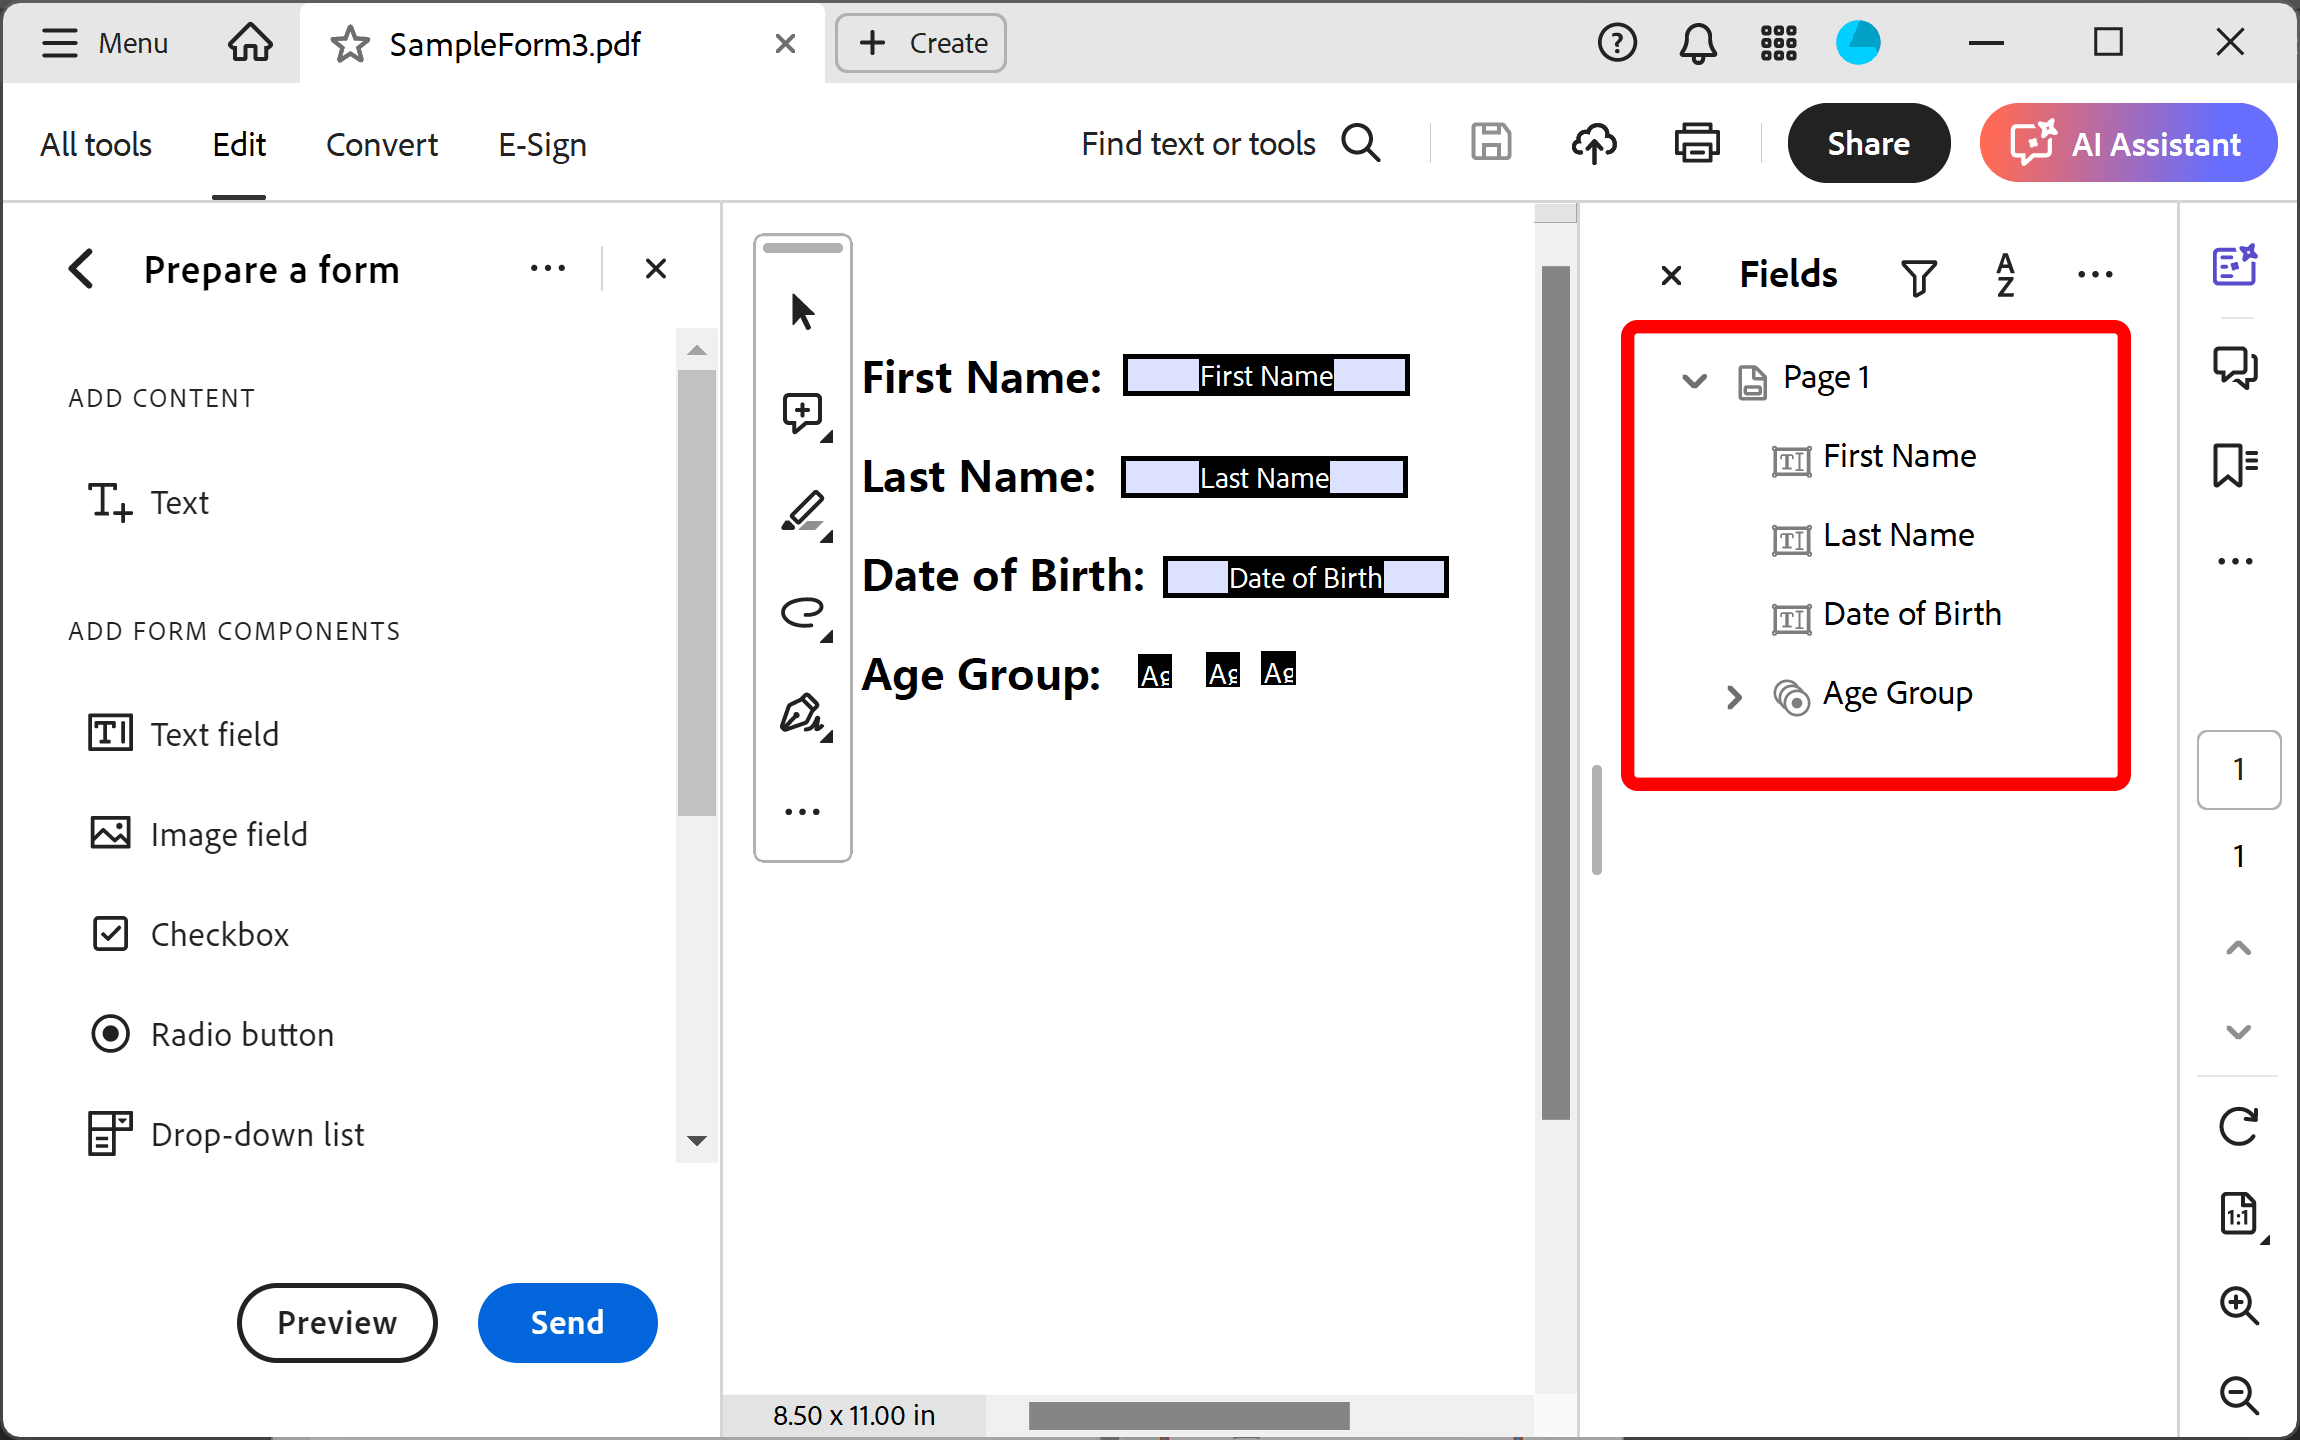
PDF form is a special kind of PDF document that contains interactive fields where textual information
can be entered or check boxes may be selected. You can create a PDF form from any PDF, word processor, image
file or a paper document. You will need to add fields to the regular PDF document using form editing tools
provided by Adobe Acrobat. PDF forms are widely used to collect or distribute various government and bussiness
documents.
Manual filling: PDF forms can be filled manually using Adobe Acrobat Reader,
Adobe Acrobat or any other compatible PDF viewer.
Automatic filling: Use mail merge tool such as AutoMailMerge
plug-in for Adobe Acrobat to automatically produce multiple PDF documents by populating PDF form
template from data files such as spreadsheet or database.
If you already have a PDF document you want to use as a template,
then select File > Open from the main Acrobat menu and load document into Adobe Acrobat.
Alternatively, create desired document in text editor (such as MS Word) and save it as PDF file.
It is also possible to create a PDF document by scanning a paper document (not recommended).
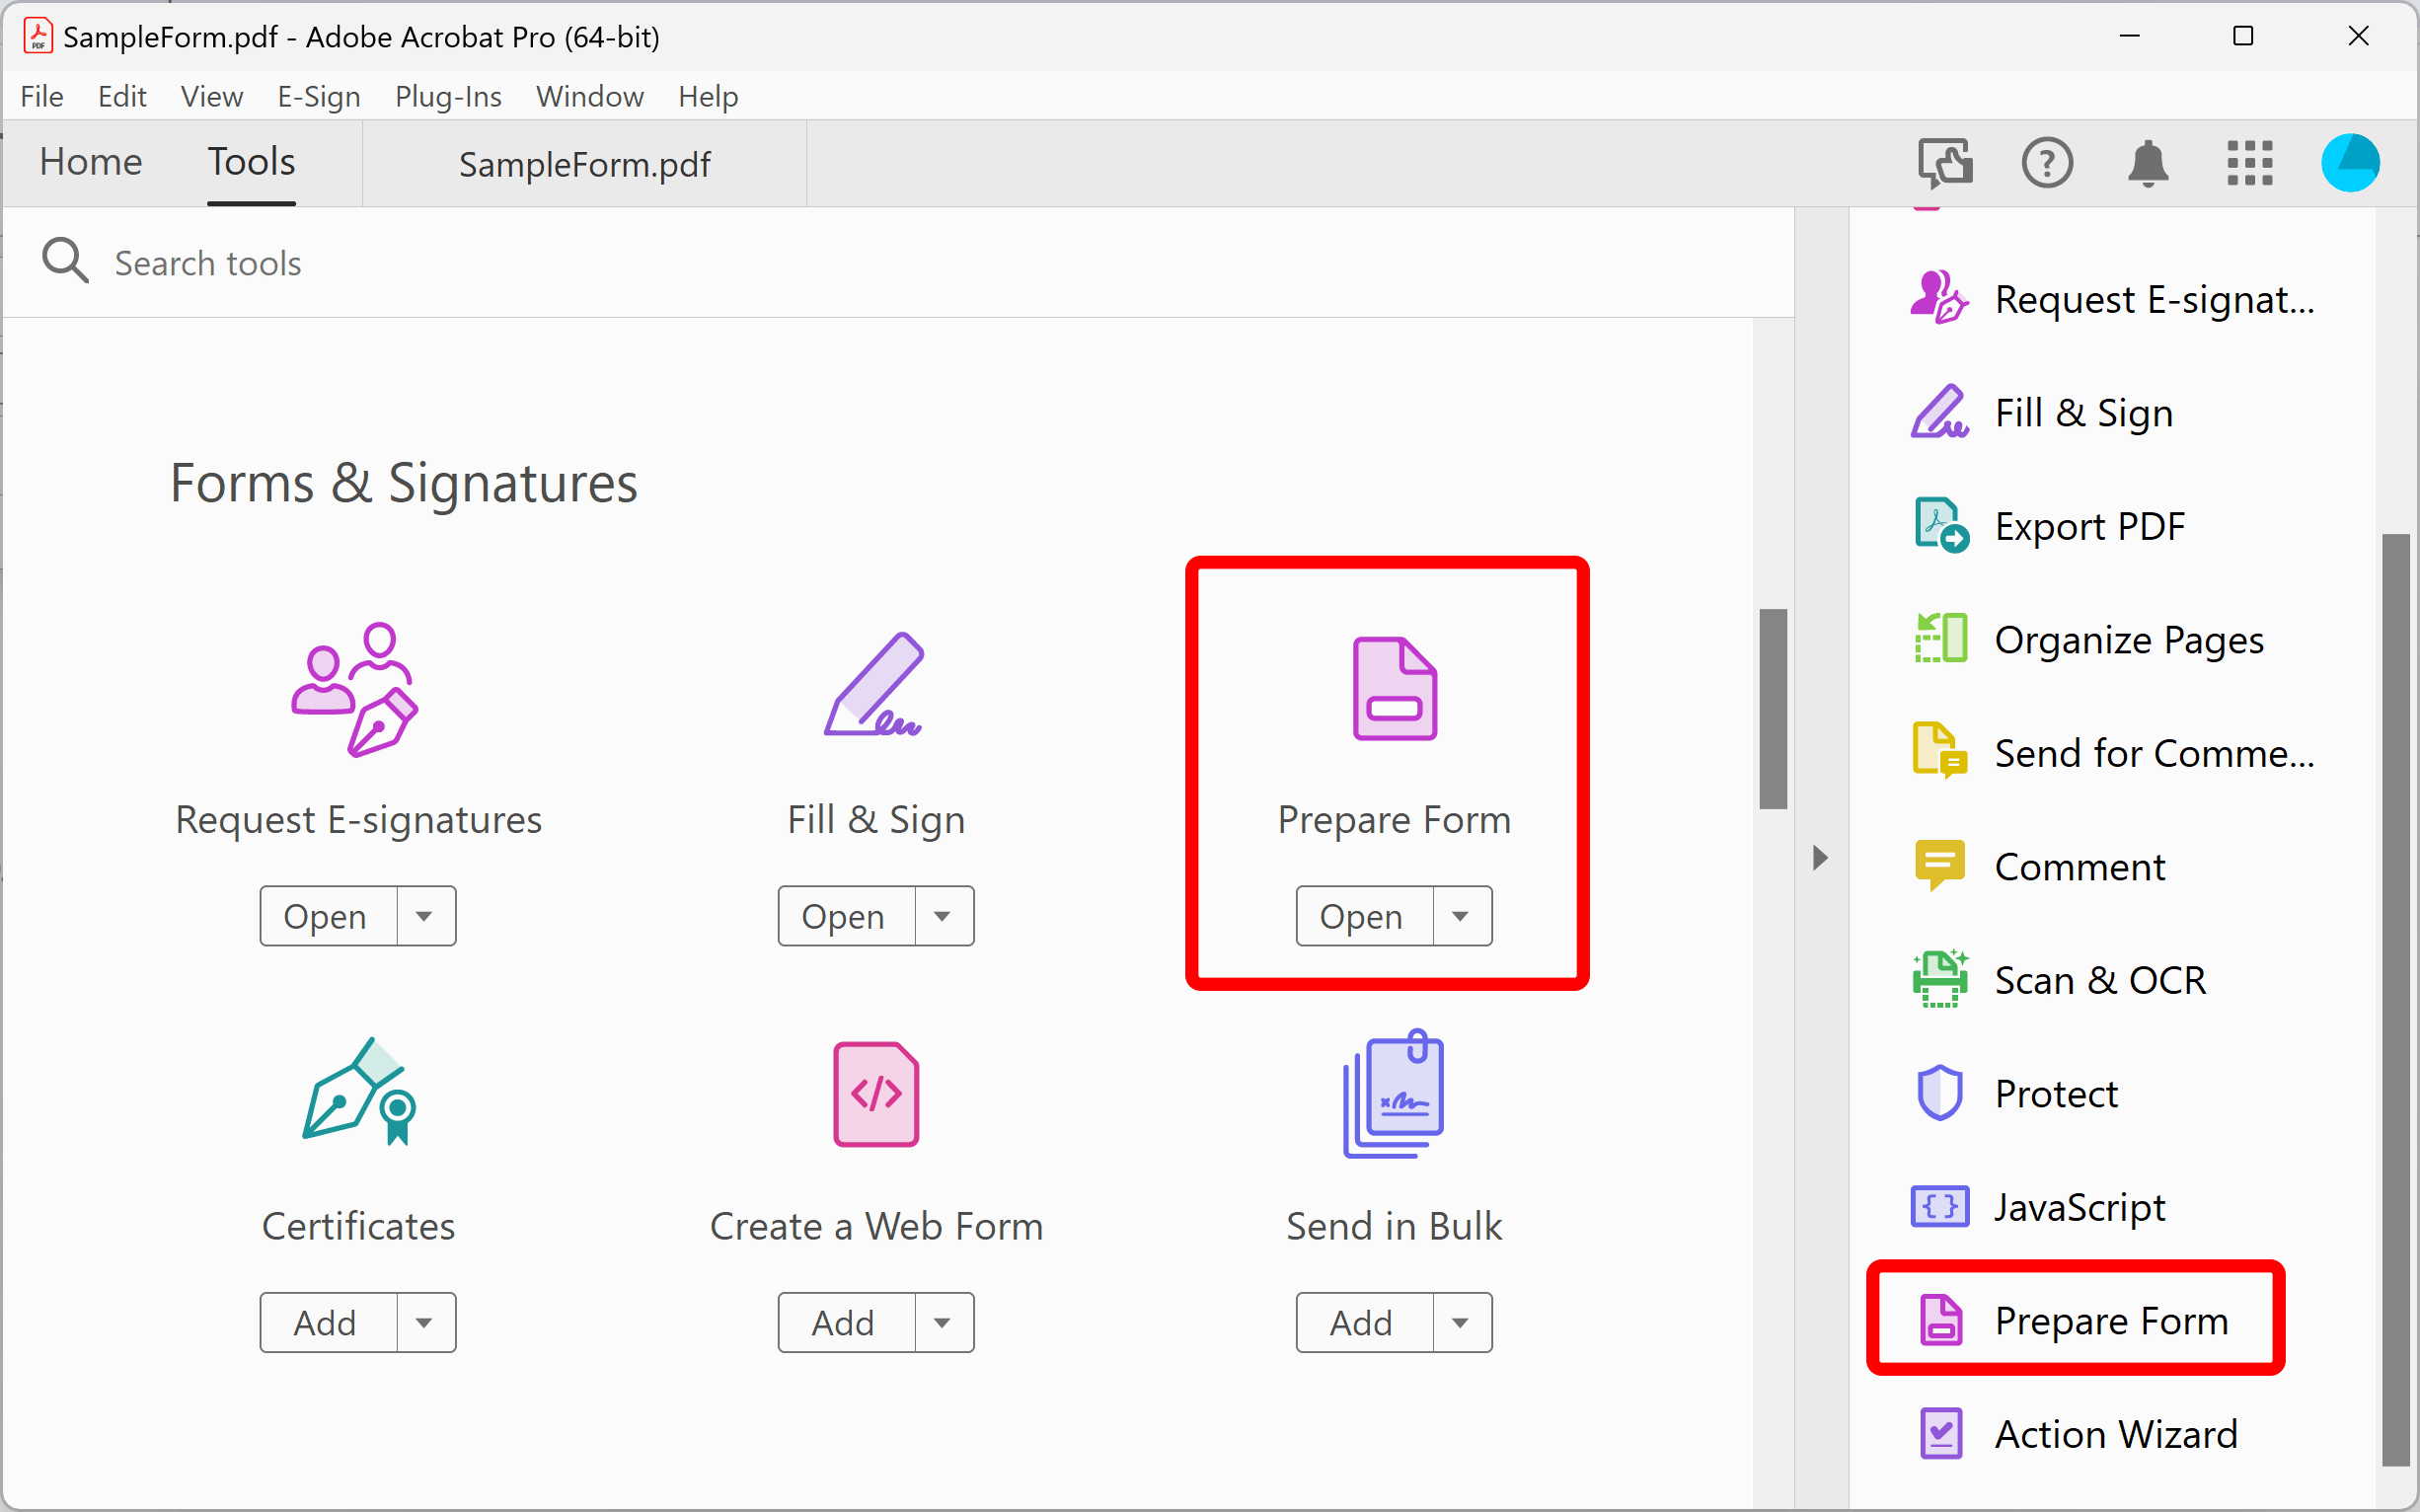
Double-click on the "Prepare Form" icon to open a PDF form editor.
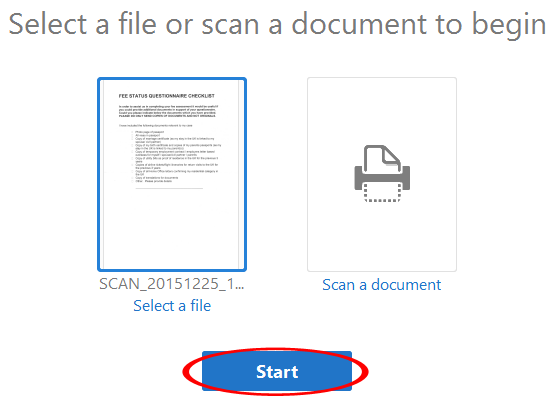
If a currently open document does not contain any form fields, then you would be prompted to
either select an existing file or scan a paper document.
Click "Start" button to use a currently open document:
Once a document is open in the form editor,
click on "Add a text field" icon located on the top toolbar (assuming you are using
a "classic" Adobe Acrobat interface):
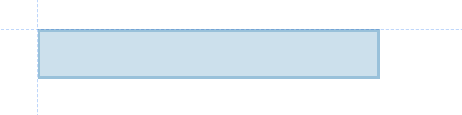
Move cursor to a page location where you want to place a text field. You would see a moving blue rectangle that represents a field.
Press and hold left mouse button and drag a rectangle where you want to place a text field.
You will be able to change field position and size at any time:
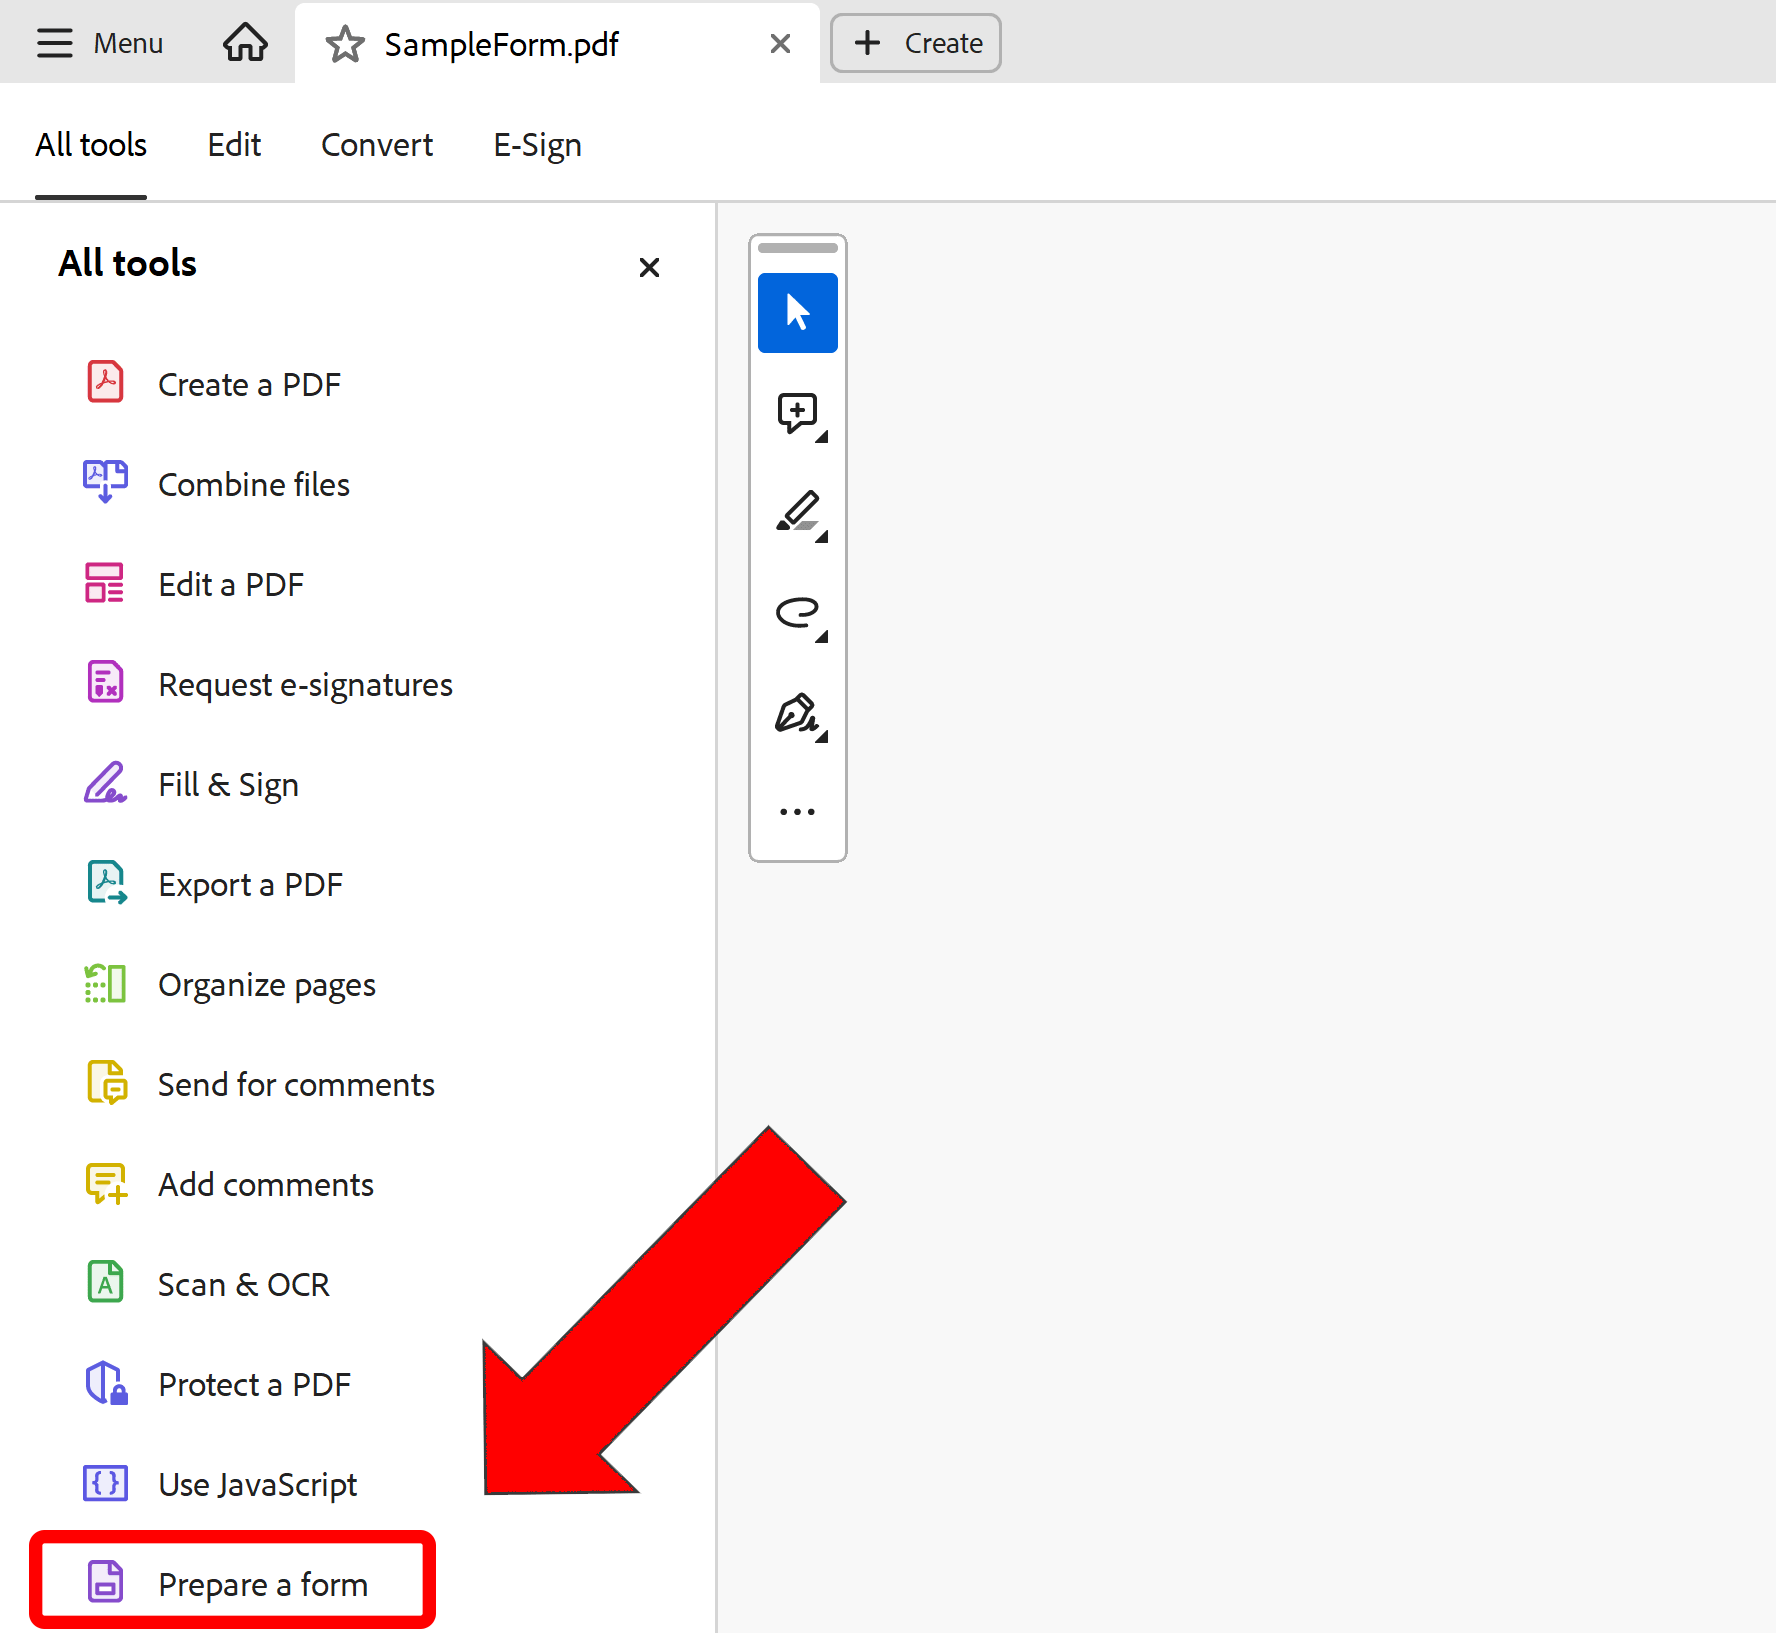
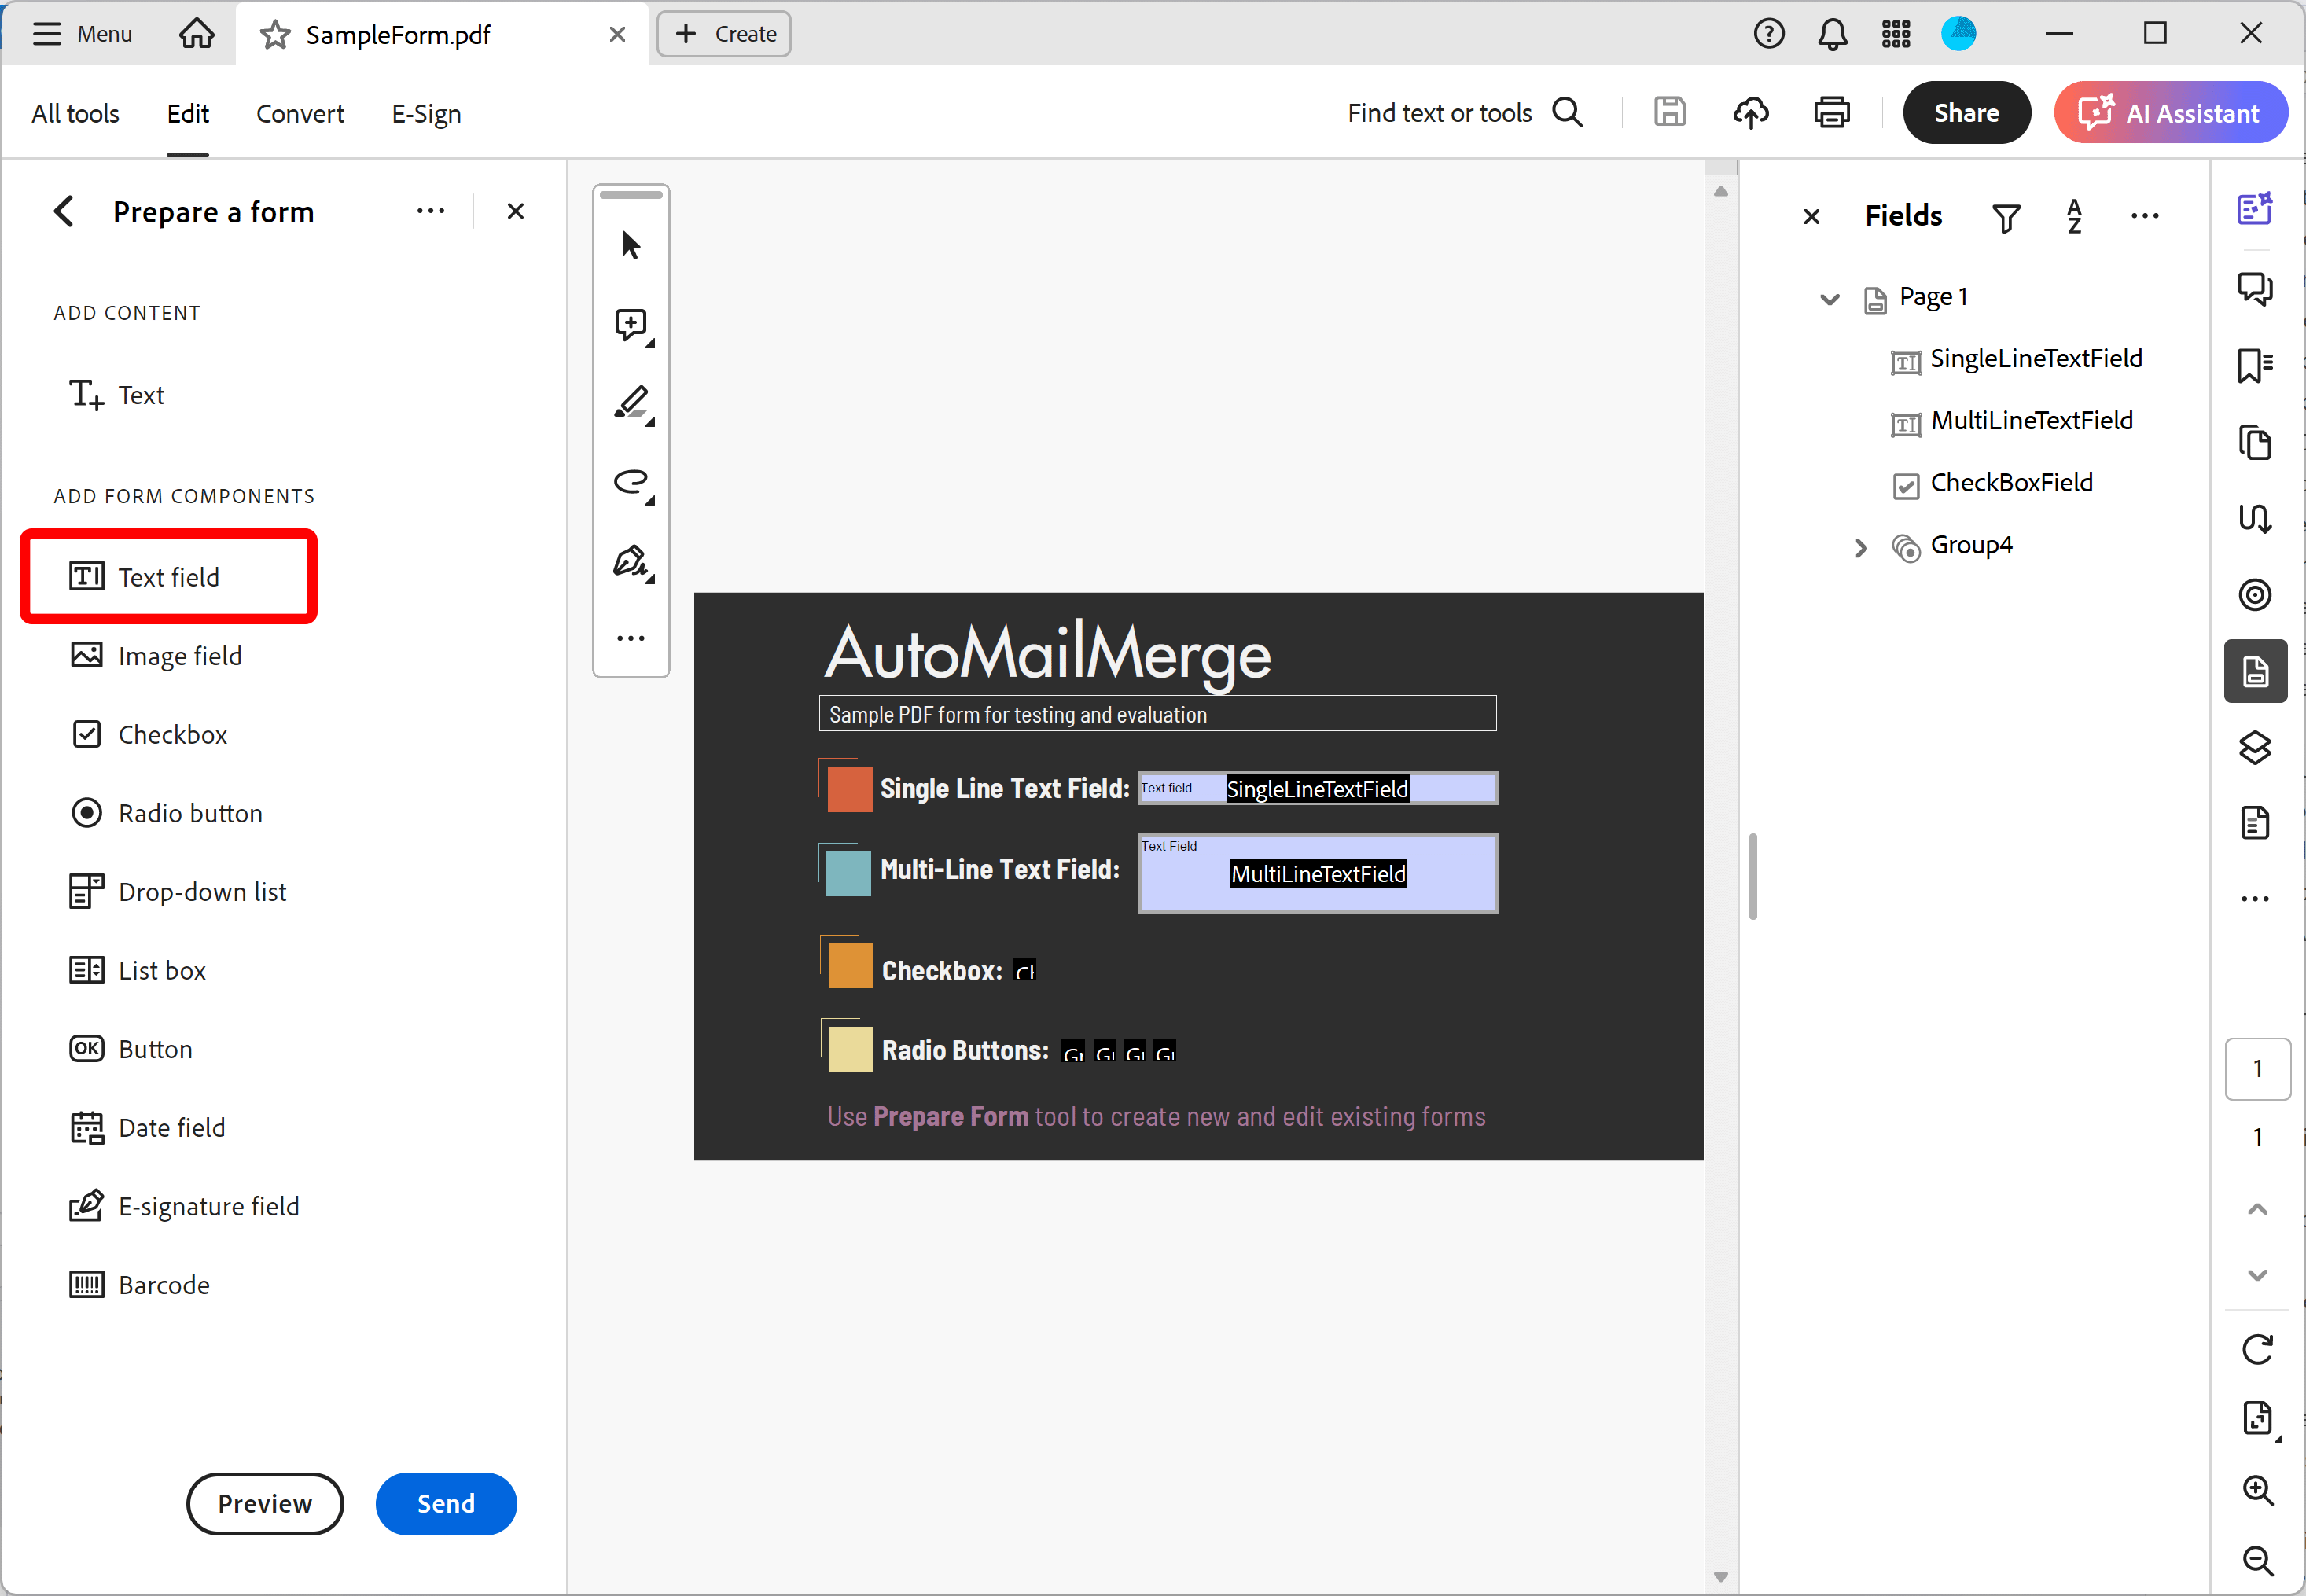
If you are using a new Adobe Acrobat interface,
click on Text field and repeat the same procedure as outlined above:
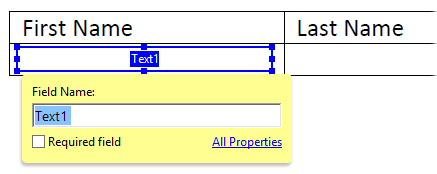
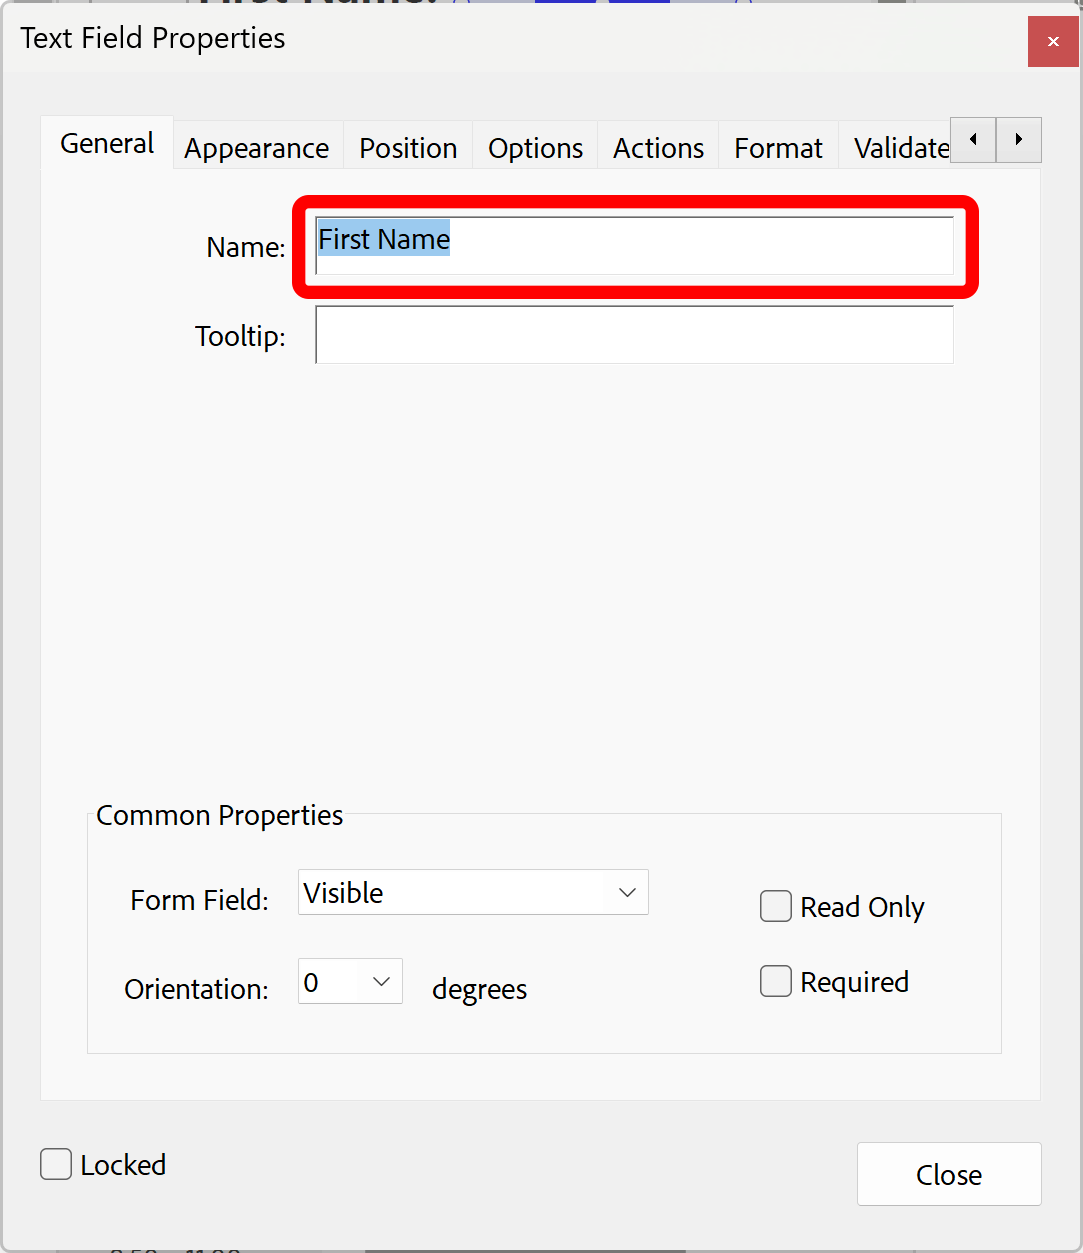
Once the text field is placed, you would be prompted to enter a field name
(by default, all new fields are named Text1, Text2 and etc.):
It is important to know that fields with the same name share the same value. If you want to have two fields that can hold different content, then they need to be named differently. If two text fields have the same name, then they would automatically share the text value. Typing text into one field will automatically show the same
text in all other fields with the same name.
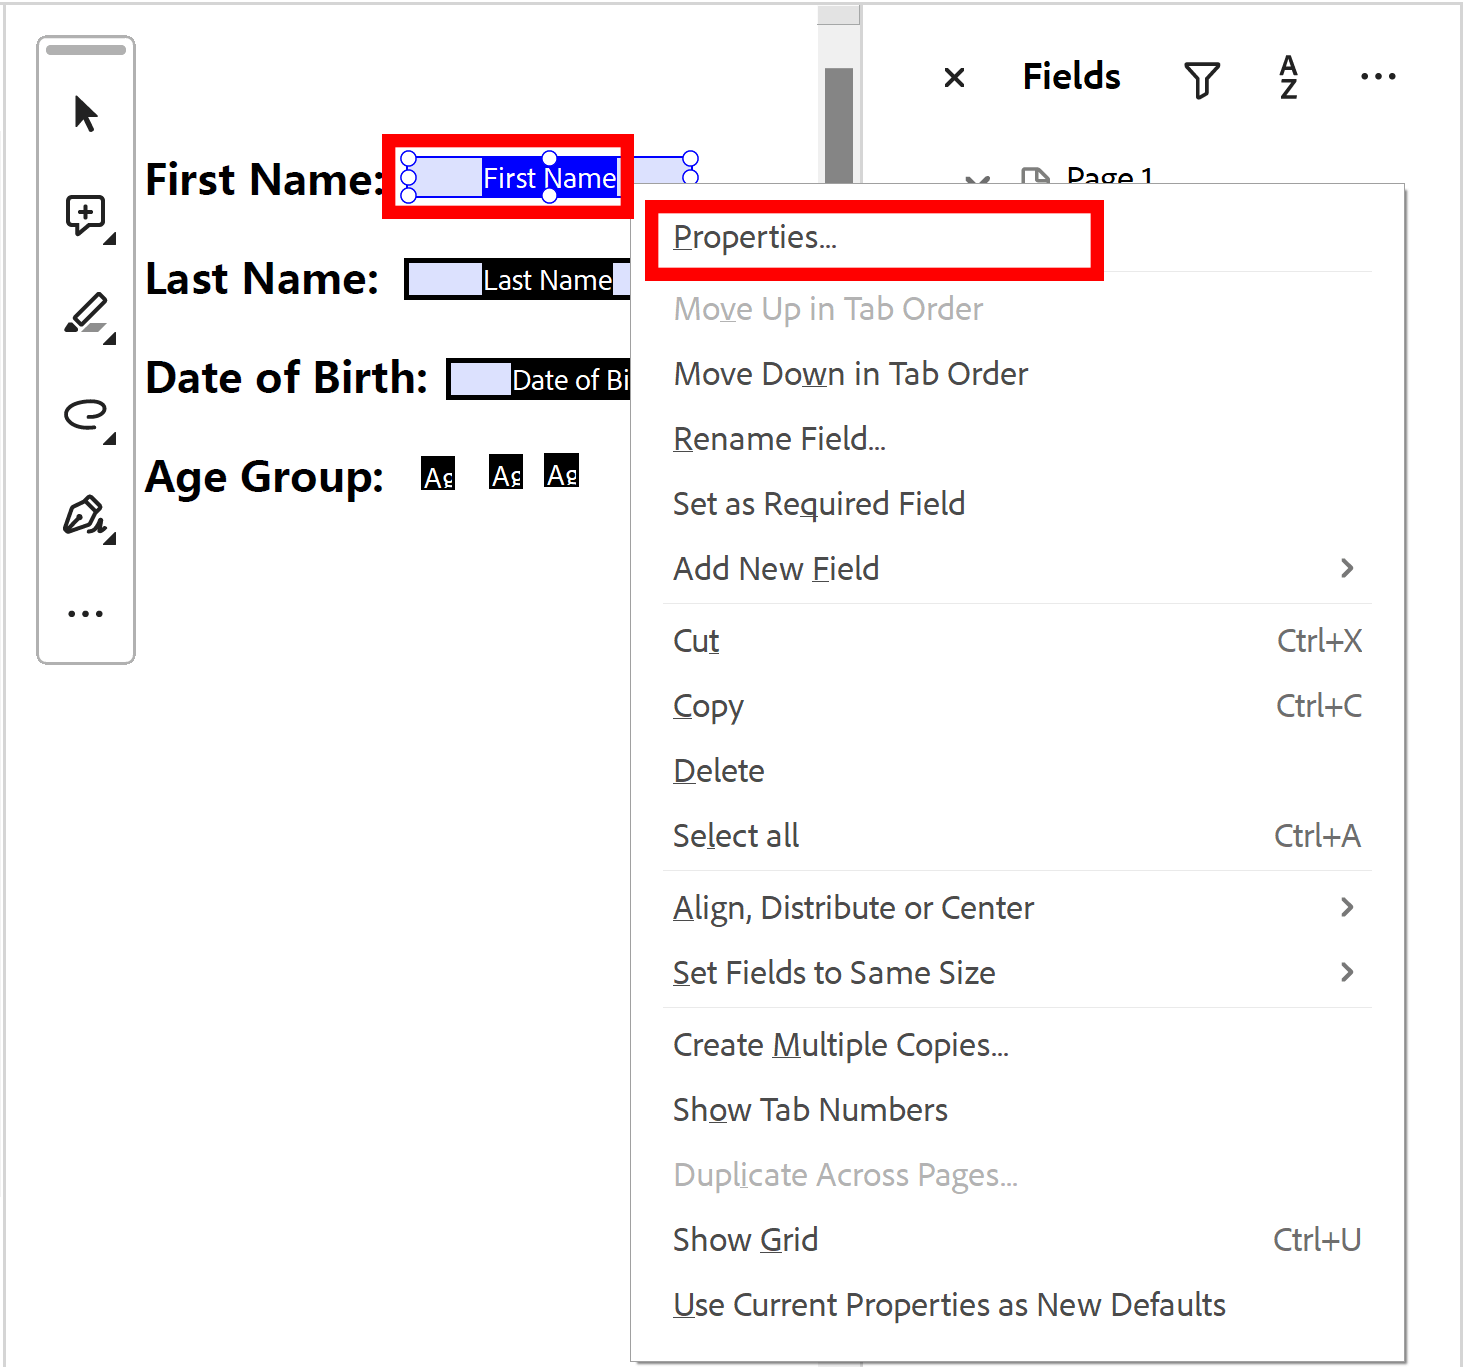
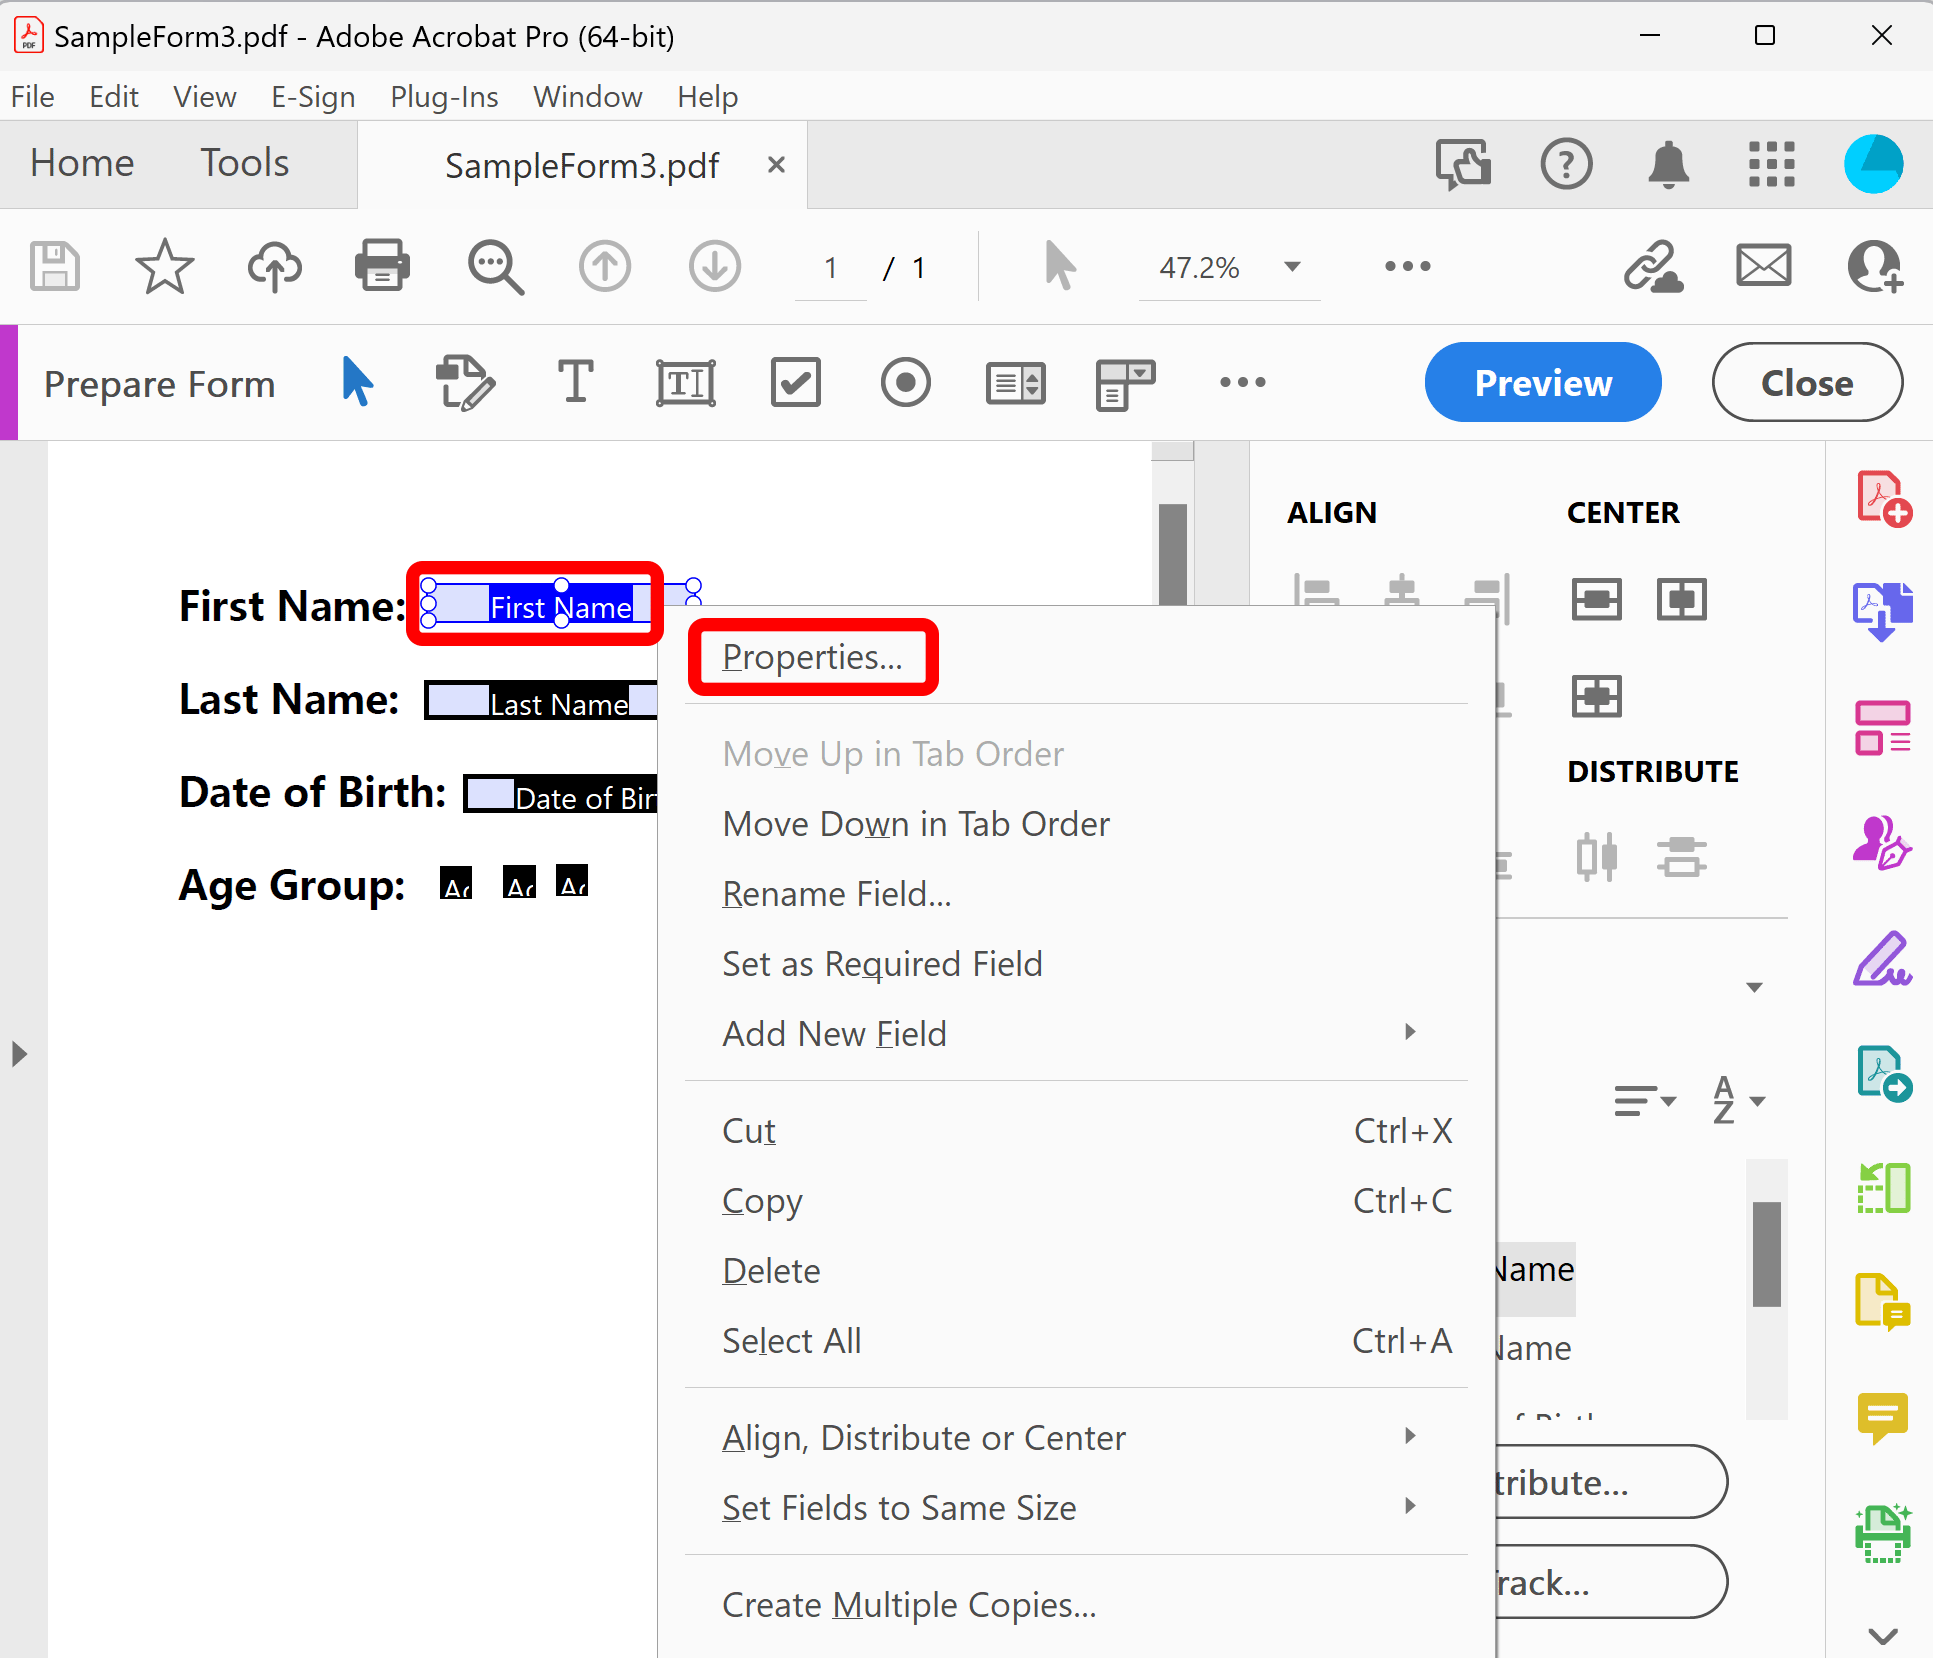
If you are using a new Adobe Acrobat interface, then
you can rename form field by right-clicking on it and
selecting Rename from the popup menu or
clicking on Properties.
Click on Properties to access form field properties dialog where you can
change all field settings.
Field name and visual appearance can be changed at any time via
Properties dialog.
Right-click on the field in the form editor and
choose Properties... from the popup menu ("classic" Acrobat interface):
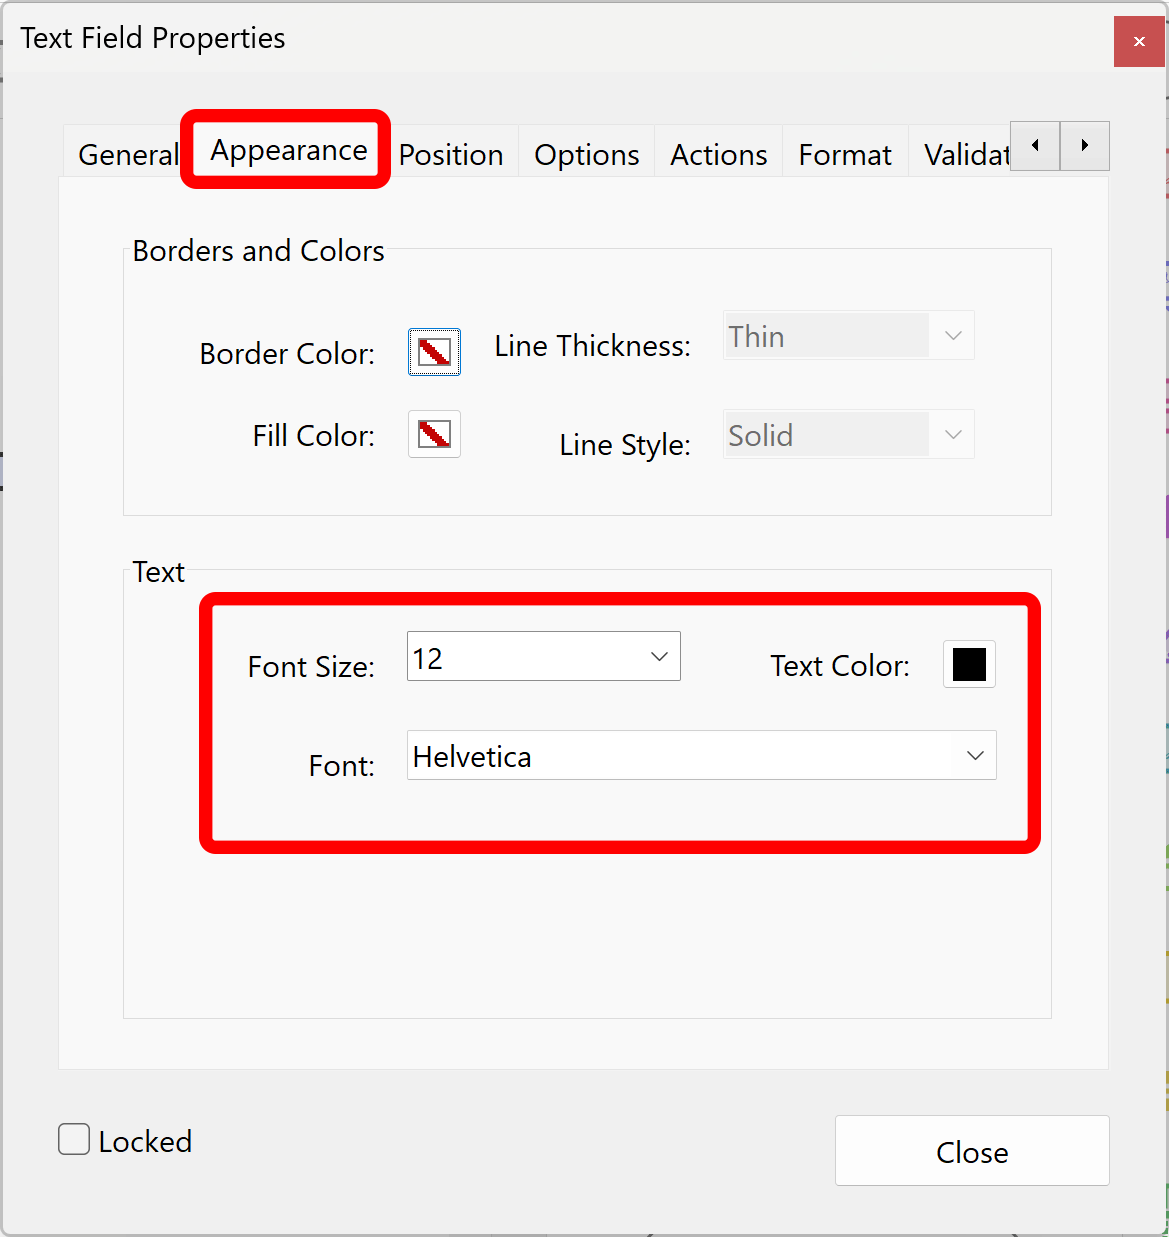
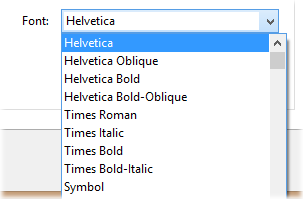
If you want to change text font or color, then select Appearance tab and
use "Font Size" and "Font" menu to choose desired text appearance.
Make sure the field is big enough to display a required number of
characters while using selected font settings.
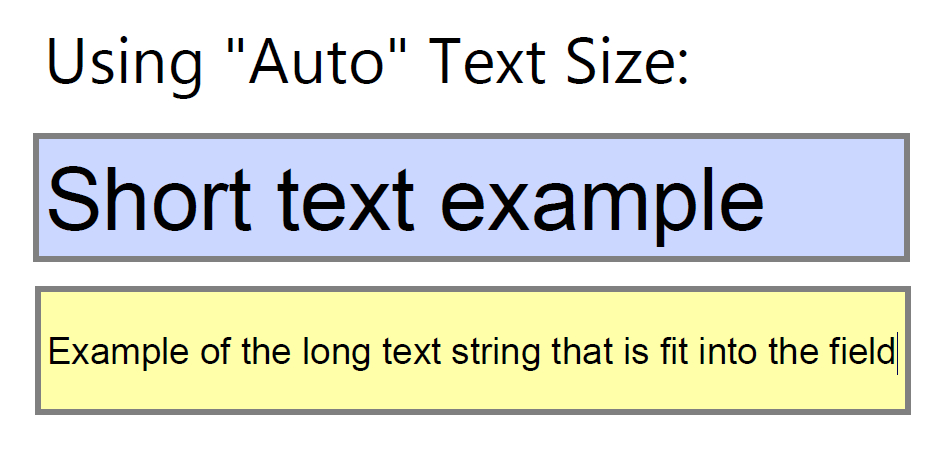
Use "Auto" font size if it is necessary to fit all text into the field and make it
all visible. Note that if text is longer than the field's width some text will be
cutoff.
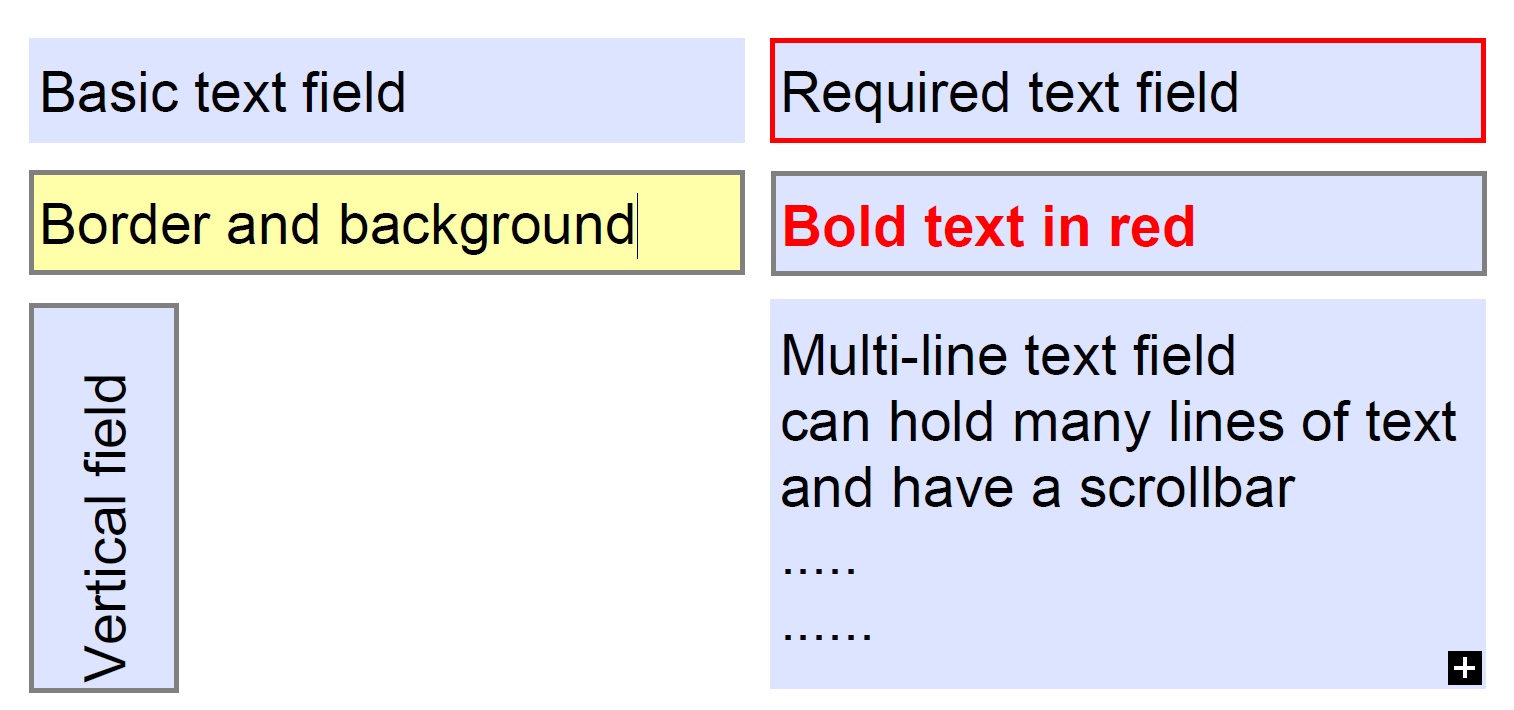
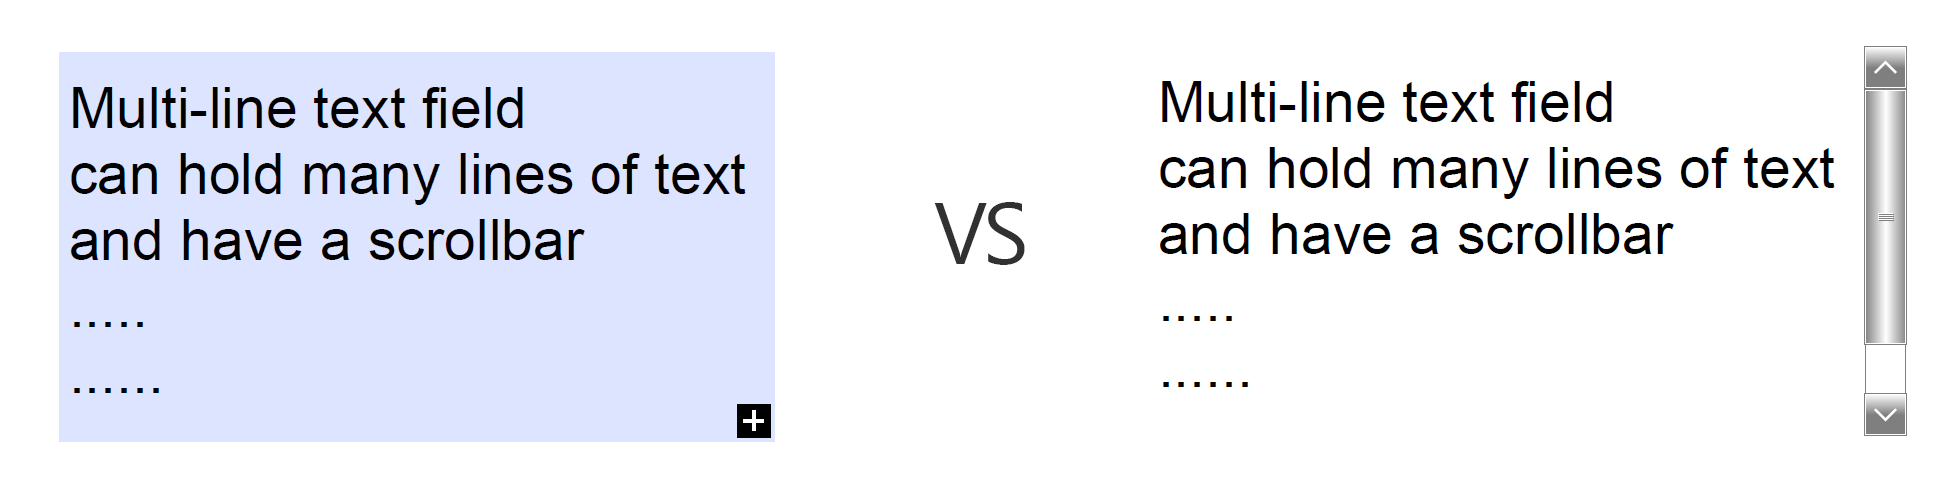
Many appearance options such as border, fill and scrollbars are
only visible when a field has an input focus or "Highlight existing fields" option is turned off (not recommended). The below example shows a multi-line text field with and without a focus.
IMPORTANT: The resulting PDF file size can be greatly affected by selecting certain fonts. It is suggested to use one of the basic fonts to avoid file size increase.
These fonts are listed at the top of the font list: Courier, Helvetica, and Times Roman.
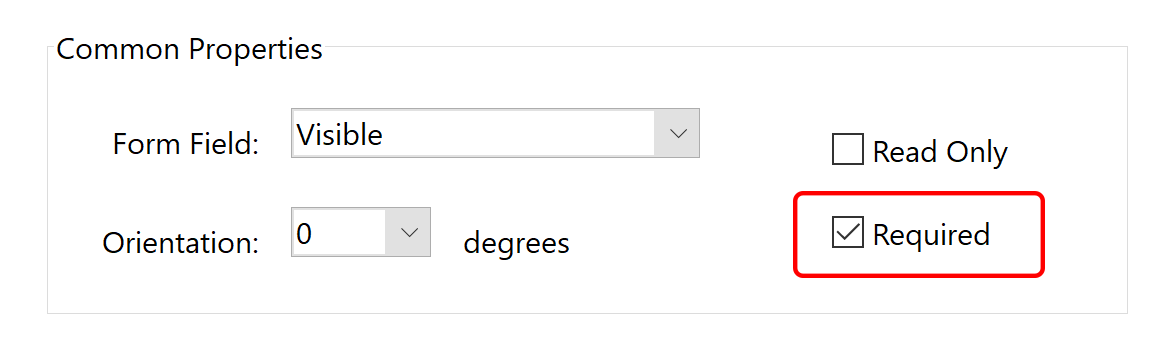
Any form field can be designated as required.
The user of the form will not be able to submit the form without completing all the required fields.
The required field is displayed with a red outline:
Use a "Required" option in the field's Properties dialog to set a field as required. Alternatively, right-click on the field and select Set as Required Field from a context menu.
Use “Auto” font size when it is necessary to fit a variable amount of text into a limited size text field. The PDF viewer will automatically adjust the font size to fit field content into a text
box to make sure all text is visible.
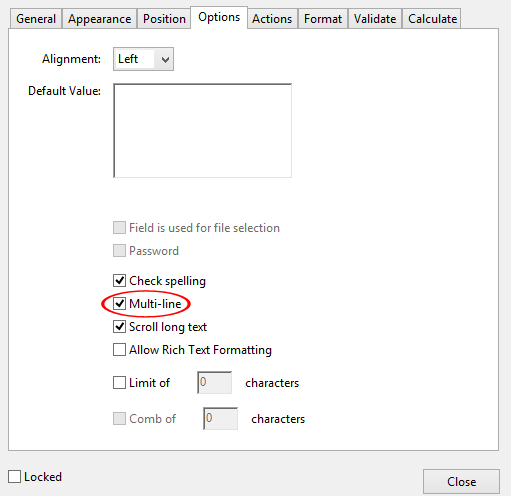
If a text field needs to hold multiple lines of text, then select “Options” tab and check “Multi-line” option:
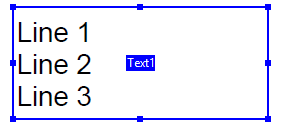
Make sure that text field is tall enough to show a required number of text lines.
You can do that by either typing text into the field or specifying a default value:
Use the form editing tools to nicely align & distribute form fields on the page.
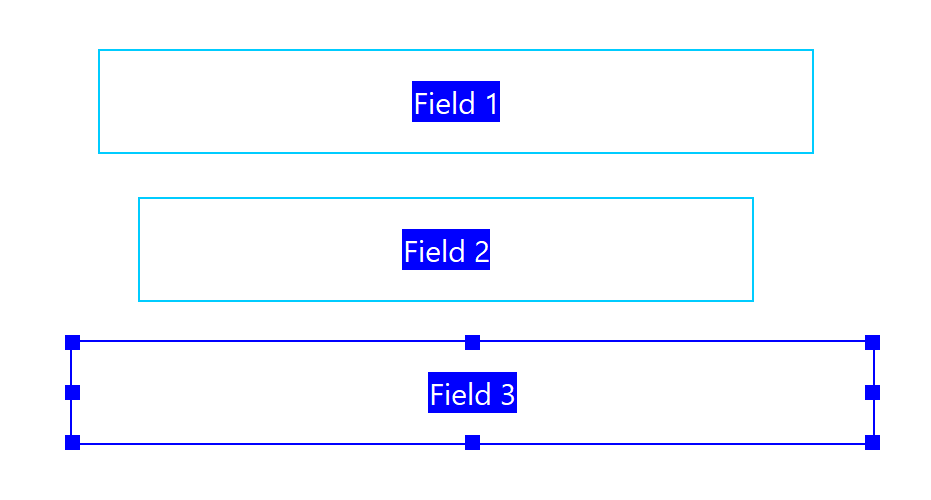
The first step is to select multiple fields at the same time. Click on the each field you want to
select while holding a Shift key. All selected fields will appear with a blue outline:
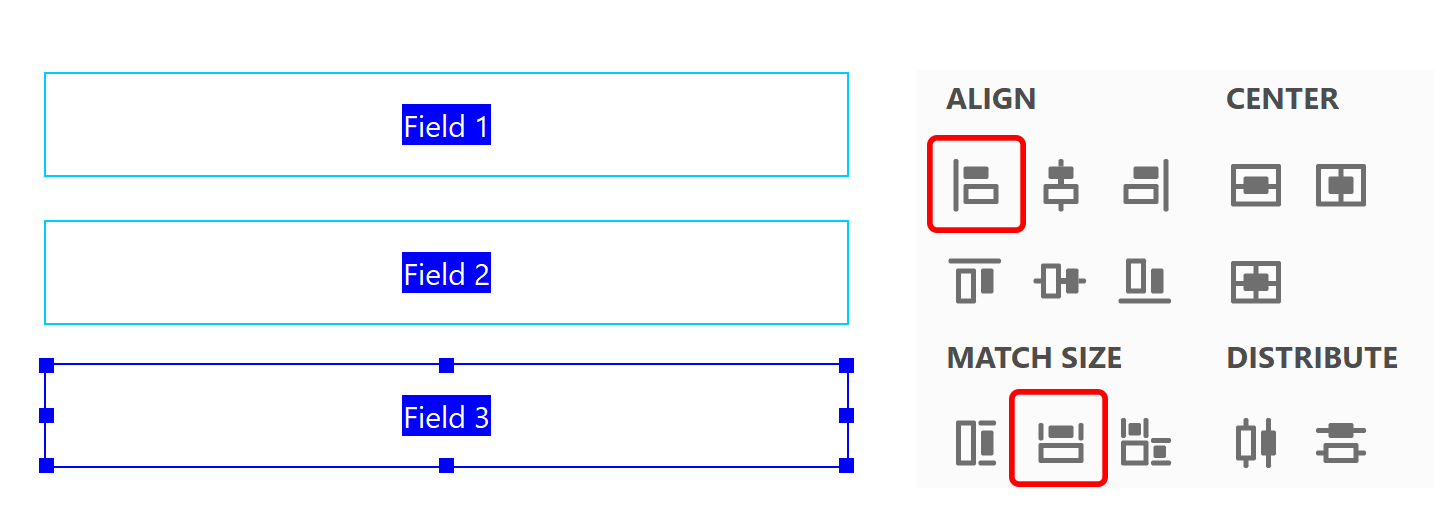
Click on one or more icons that corresponds to the desired editing action.
In the following example, we applied "Match width" and "Align left" operations:
The same method can be used to set visual appearances of the multiple form fields at once.
Repeat the above procedure for every field you need to add to this PDF document.
Make sure to exit form editor once done adding form fields, otherwise some menu items will be inaccessible.
Use File > Save menu to save changes to a file.
Ordinarily, users of Acrobat Reader DC and earlier can’t save filled-in copies of forms
that they complete. However, you can extend the rights of a PDF to allow these users to save form data.
If you have Acrobat DC Pro, you can include additional capabilities
for Acrobat Reader DC users, such as adding text to non-interactive forms.
Use choose File > Save As Other > Reader Extended PDF from the
main Acrobat menu, and choose one of the following options:
Enable Commenting & Measuring - (Acrobat Pro) Allows users to add comments or access the Object Data,
Measuring, and Geospatial tools.